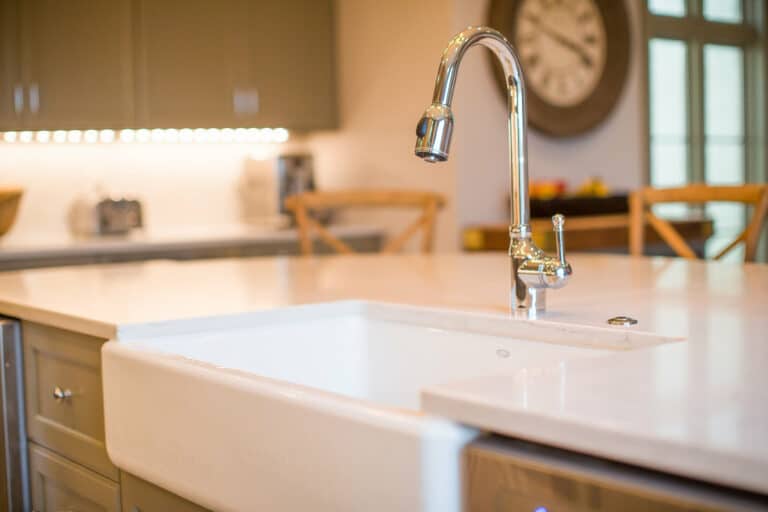
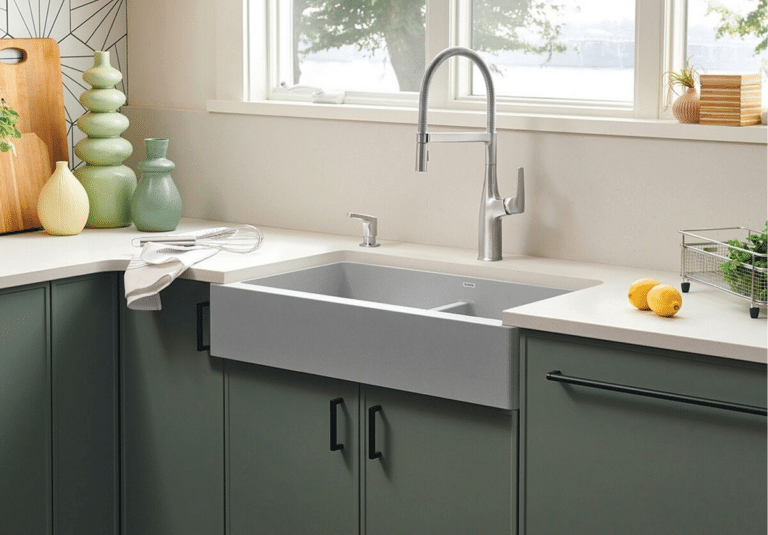
Welcome to our comprehensive guide on installing tiles on kitchen islands! 🏝️ Discover the importance of a kitchen island in your culinary space, and how tiles can enhance both the functionality and beauty of this focal point. Learn how to choose the right tile based on durability, heat resistance, and style.
Follow our step-by-step instructions for proper installation and post-installation care to keep your kitchen island looking flawless. Let’s dive in and transform your kitchen island into a stunning masterpiece! 🌟 #kitchenisland #tileinstallation #homedecor

Introduction to Kitchen Island Tile Installation
When it comes to designing your dream kitchen, the kitchen island plays a crucial role in both functionality and aesthetics. Not only does it provide additional workspace and storage, but it also serves as a focal point in the room. One way to enhance the beauty and durability of your kitchen island is by installing tiles.

Using tiles on your kitchen island offers a multitude of benefits. From withstanding spills and stains to adding a touch of style with endless design possibilities, tiles are a practical and visually appealing choice for any kitchen island.
Choosing the Right Tile for your Kitchen Island

Before diving into the installation process, it is essential to select the right type of tile for your kitchen island. Factors such as durability, heat resistance, and visual appeal should be taken into consideration. Ceramic, porcelain, glass, and stone are some popular options to explore, each with its own unique characteristics.
Pre-Installation Steps for Tiling a Kitchen Island
Proper preparation is key to a successful tile installation on your kitchen island. Make sure to thoroughly clean and dry the surface before applying any adhesive. You will need essential materials like adhesive, grout, a notched trowel, and a tile cutter to get started.
Step-by-Step Guide to Installing Tiles on a Kitchen Island
Now that you have gathered all the necessary materials, it’s time to start the installation process. Begin by applying the adhesive with a notched trowel and carefully placing each tile on the island. Don’t forget to use a tile cutter to achieve a perfect fit for any unique sizes or shapes. Once the tiles are in place, the grouting process will fill in the gaps and give your kitchen island a polished look.
Post-Installation Care and Maintenance
To ensure the longevity and shine of your newly installed tiles, proper cleaning and maintenance are crucial. Regular cleaning routines and avoiding common issues like tile loosening or grout cracking will help preserve the beauty of your kitchen island for years to come.
Choosing the Right Tile for your Kitchen Island
When it comes to tiling your kitchen island, the type of tile you choose will have a significant impact on both the functionality and look of your space. With so many options available on the market, it can be overwhelming to decide which one is the best fit for your needs. Here are some key factors to consider when choosing the right tile for your kitchen island:
Durability

One of the most important aspects to consider when selecting tiles for your kitchen island is durability. Since the island is a high-traffic area where food prep and cooking often take place, you’ll want a tile that can withstand daily wear and tear. Ceramic and porcelain tiles are popular choices for kitchen islands due to their durability and resistance to scratches and stains. These tiles are not only easy to clean but also maintain their appearance over time, making them a practical option for busy kitchens.
Heat Resistance

In a kitchen setting, where hot pots and pans are commonly placed on surfaces, heat resistance is a key factor to consider when choosing tiles for your island. Glass tiles are an excellent choice for kitchen islands as they are heat-resistant and can withstand high temperatures. This makes them ideal for areas near stovetops or ovens where heat exposure is frequent. Additionally, glass tiles come in a variety of colors and finishes, allowing you to add a pop of color or texture to your kitchen island.
Visual Appeal

While durability and heat resistance are essential, the visual appeal of the tile should not be overlooked. Your kitchen island is a focal point in the room, and the tile you choose can significantly impact the overall aesthetic of your space. Stone tiles, such as marble or granite, offer a luxurious and sophisticated look, perfect for creating a high-end feel in your kitchen. These natural stone tiles come in a range of colors and patterns, adding depth and character to your island countertops.
When it comes to choosing the right tile for your kitchen island, taking into account factors such as durability, heat resistance, and visual appeal will help you make an informed decision that suits both your practical needs and design preferences.
Pre-Installation Steps for Tiling a Kitchen Island
Before you dive into the exciting world of kitchen island tile installation, it’s crucial to prepare your island properly. Just like you wouldn’t build a house on a shaky foundation, you shouldn’t install tiles on a dirty or uneven surface.
Importance of Preparing and Cleaning the Kitchen Island
First things first, give your kitchen island a good scrub. You don’t want any grease, grime, or dust getting in the way of your beautiful new tiles. Plus, a clean surface ensures better adhesion for the tile adhesive.
Next, check for any imperfections or uneven spots on your island. You may need to use a leveling compound to create a smooth and sturdy base for your tiles. Remember, a well-prepared surface is key to a successful tile installation!
Necessary Materials for Tile Installation
Now that your island is sparkling clean and level, it’s time to gather your materials. You’ll need tile adhesive to securely attach the tiles to the island, grout to fill in the spaces between the tiles, a notched trowel to spread the adhesive evenly, and a trusty tile cutter for those tricky cuts around corners and edges.

Don’t skimp on quality when it comes to your materials. Investing in high-quality adhesive and grout will ensure a long-lasting and durable tile installation on your kitchen island. Trust me, you’ll thank yourself later for not cutting corners!
By taking the time to properly prepare your kitchen island and gather the necessary materials, you’re setting yourself up for a successful tile installation. Remember, the key to a stunning and functional kitchen island lies in the details, so don’t rush through this crucial pre-installation process!
Step-by-Step Guide to Installing Tiles on a Kitchen Island
When it comes to installing tiles on a kitchen island, it’s important to follow a systematic approach to ensure a successful outcome. From applying adhesive to grouting, each step plays a crucial role in creating a beautiful and functional kitchen space. Let’s dive into the detailed instructions on how to properly install tiles on your kitchen island.
1. Prepare the Surface
Before you start laying down tiles, make sure the surface of your kitchen island is clean, dry, and free of any debris. This step is essential to ensure proper adhesion of the tiles and prevent any issues down the road. Use a suitable cleaning solution to thoroughly clean the surface and allow it to dry completely before moving on to the next step.
2. Apply Adhesive
Using a notched trowel, apply a thin layer of tile adhesive to the surface of the kitchen island. Make sure to work in small sections to prevent the adhesive from drying out before you lay down the tiles. The size of the notches on the trowel will depend on the type and size of tiles you are using. Follow the manufacturer’s instructions for the specific adhesive you have chosen.
3. Place the Tiles
Carefully place the tiles onto the adhesive, starting from one corner and working your way across the surface. Use spacers to maintain consistent grout lines between the tiles. Make sure to press each tile firmly into the adhesive to ensure a strong bond. If you need to cut any tiles to fit around edges or corners, use a tile cutter for precision.
4. Grout the Tiles
Once the adhesive has dried and the tiles are securely in place, it’s time to grout the joints. Mix the grout according to the manufacturer’s instructions and apply it using a grout float, pressing it into the gaps between the tiles. Use a damp sponge to remove any excess grout from the tile surfaces, working at a 45-degree angle to avoid pulling the grout out of the joints. Allow the grout to dry before wiping away any remaining haze with a clean, dry cloth.
5. Finishing Touches
After the grout has dried completely, take a step back and admire your handiwork. Your kitchen island is now adorned with beautiful tiles that not only enhance the aesthetics of the space but also provide a durable and easy-to-clean surface. To protect your investment, consider applying a sealant to the grout lines to prevent staining and prolong the life of your tiles.
By following these step-by-step instructions for installing tiles on your kitchen island, you can transform your space into a stylish and functional hub of culinary creativity. Enjoy the process, and remember that every tile you lay down is a testament to your craftsmanship and vision for your kitchen island.
Post-Installation Care and Maintenance

So, you’ve successfully installed beautiful tiles on your kitchen island, transforming it into a stunning focal point in your kitchen. But the journey doesn’t end there – now it’s time to make sure your newly tiled kitchen island stays pristine for years to come with proper care and maintenance.
Cleaning Tiles
One of the most important aspects of tile maintenance is regular cleaning. Keeping your tiles clean not only helps them look beautiful but also prevents dirt and grime from building up and causing damage.
When it comes to cleaning tiles on your kitchen island, make sure to use a gentle cleanser that won’t damage the surface. A mixture of warm water and a mild dish soap is usually sufficient for routine cleaning. Avoid using harsh chemicals or abrasive scrubbers, as these can cause scratches or wear down the tile’s protective seal.
For tougher stains or grime, you can use a commercial tile cleaner or a mixture of water and vinegar. Just be sure to test it on a small, inconspicuous area first to ensure it won’t damage the tile.
Preventing Issues
While proper cleaning is essential for maintaining your tiles, there are also a few preventative measures you can take to avoid common issues that may arise after installation.

One common issue is tile loosening. This can occur if the adhesive wasn’t applied properly during installation, or if the substrate wasn’t properly prepared. To prevent tiles from loosening, make sure to follow the manufacturer’s guidelines for adhesive application and ensure that the surface beneath the tiles is clean and level.
Another issue to watch out for is grout cracking. Grout can crack over time due to wear and tear, movement in the substrate, or improper installation. To avoid grout cracking, make sure to use a high-quality grout that is appropriate for the size and spacing of your tiles. Regularly inspect the grout lines for any signs of cracking and repair them promptly to prevent further damage.
By staying on top of cleaning and addressing any issues that may arise, you can enjoy your beautifully tiled kitchen island for years to come.
Wrapping Up: Sailing Smooth on Your Tile Island Adventure
In a nutshell, installing tiles on your kitchen island is a journey worth embarking on. From choosing the right tile to post-installation care, each step is crucial for a successful outcome. So, remember to prep your island, choose the perfect tile, and sail smoothly through the installation process. With some TLC, your tiled kitchen island will not only be a practical addition but also a stunning centerpiece in your kitchen. Bon voyage on your tile island adventure!


