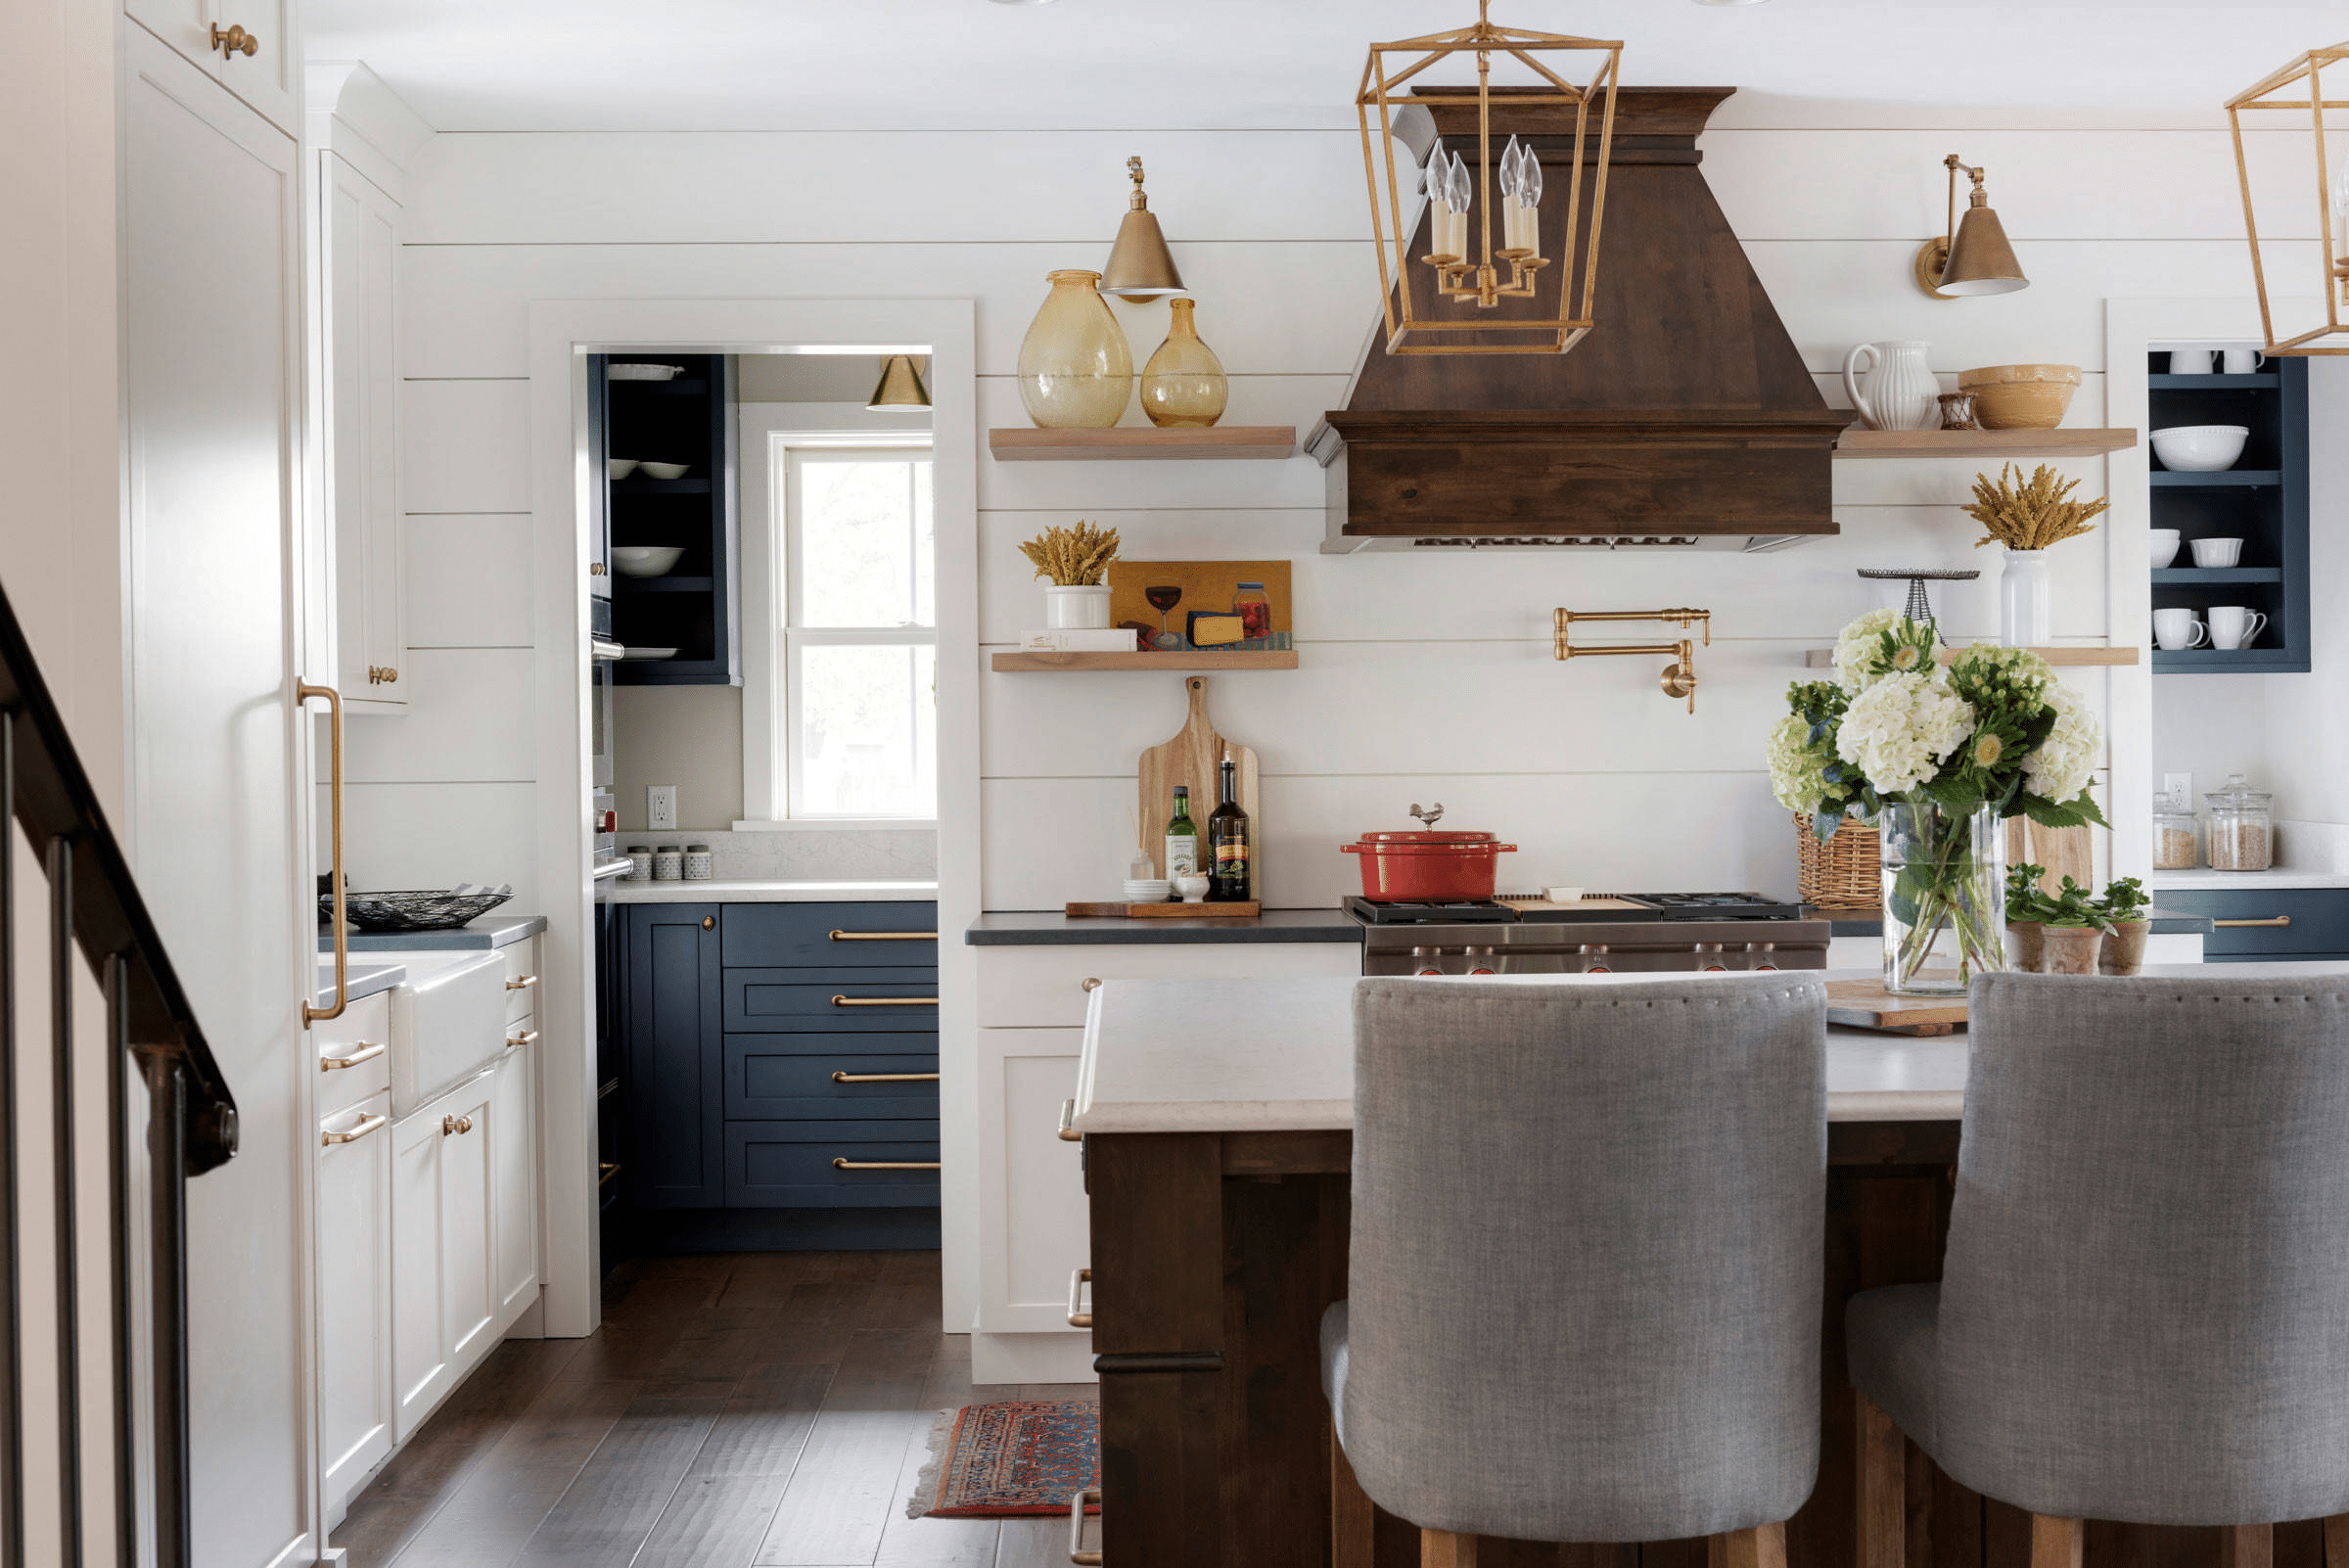
Hey there! Have you ever considered adding a touch of rustic charm to your kitchen with shiplap? In this blog post, we’ll dive into the world of kitchen shiplap and explore its aesthetic advantages.
From choosing the right materials and tools to step-by-step installation guides, we’ve got you covered. Stay tuned for practical tips on prepping your kitchen, installing shiplap, and finishing touches for maintenance. Let’s get your kitchen looking fresh and new with our installation tips for kitchen shiplap!
Introduction to Kitchen Shiplap
So, you’ve decided to add some charm and character to your kitchen with shiplap walls. Great choice! But before diving into the installation process, let’s take a moment to understand what kitchen shiplap is all about and why it has become such a popular design trend.

Shiplap is a type of wooden board used commonly for exterior siding on barns and sheds, but it has recently found its way indoors as a trendy wall treatment. Its overlapping design creates a subtle, textured look that adds warmth and rustic appeal to any space, including kitchens. The horizontal lines of shiplap can also make a room feel larger and more inviting.
Whether you’re a seasoned DIYer or just starting out, don’t worry! This blog will guide you through the essential tips and guidelines for installing kitchen shiplap, from getting the right materials and tools to finishing touches and maintenance.
Getting the Right Materials and Tools for Shiplap Installation
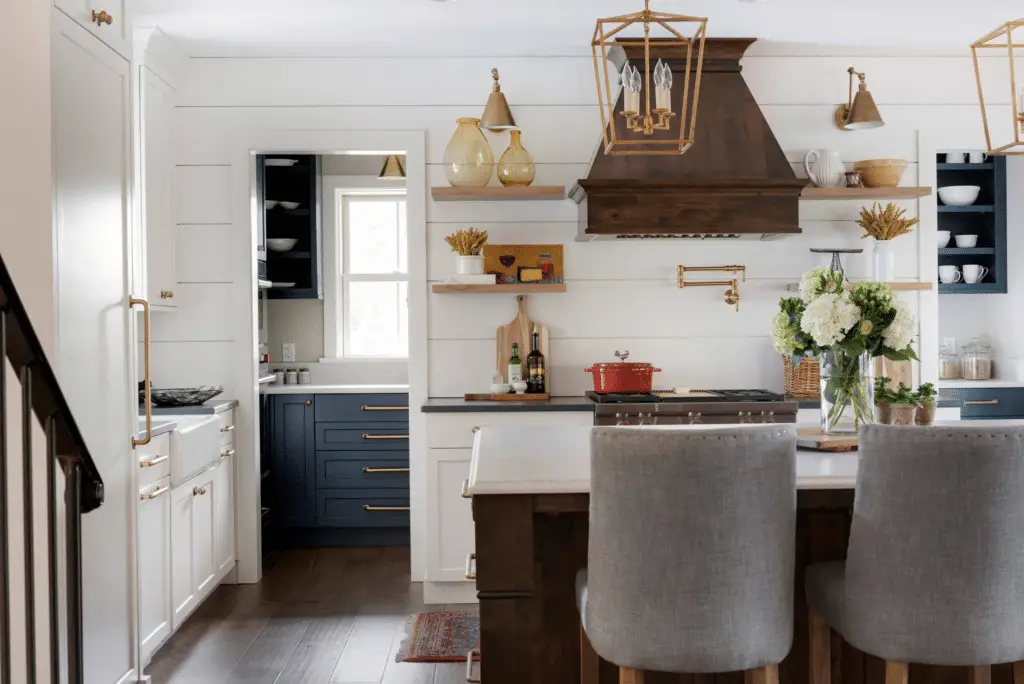
When it comes to installing shiplap in your kitchen, one of the most critical steps is ensuring you have the right materials and tools on hand. Not only will choosing high-quality shiplap boards enhance the durability and aesthetic value of your kitchen, but having the necessary tools will make the installation process much smoother.
Importance of Choosing High-Quality Shiplap Boards
Before you begin your shiplap installation project, take the time to carefully select your shiplap boards. Opting for high-quality boards will not only ensure that your shiplap stands the test of time but will also enhance the overall appearance of your kitchen. Look for boards that are straight, free of knots, and have a smooth finish to achieve the best results.
Essential Installation Tools
In addition to quality shiplap boards, you will need a set of essential tools to complete the installation process. A level is crucial for ensuring that your shiplap is installed straight and evenly across your kitchen walls. A stud finder will help you locate the wall studs, allowing you to secure the shiplap boards properly. A nail gun will speed up the installation process and provide a secure hold for the boards. Lastly, a saw will come in handy for cutting boards to size and making any necessary adjustments during installation.
By having these tools at your disposal, you’ll be well-prepared to tackle your kitchen shiplap installation project with confidence. Remember, investing in quality materials and tools upfront will pay off in the long run by creating a beautiful and long-lasting addition to your kitchen.
Preparing your Kitchen for Shiplap Installation
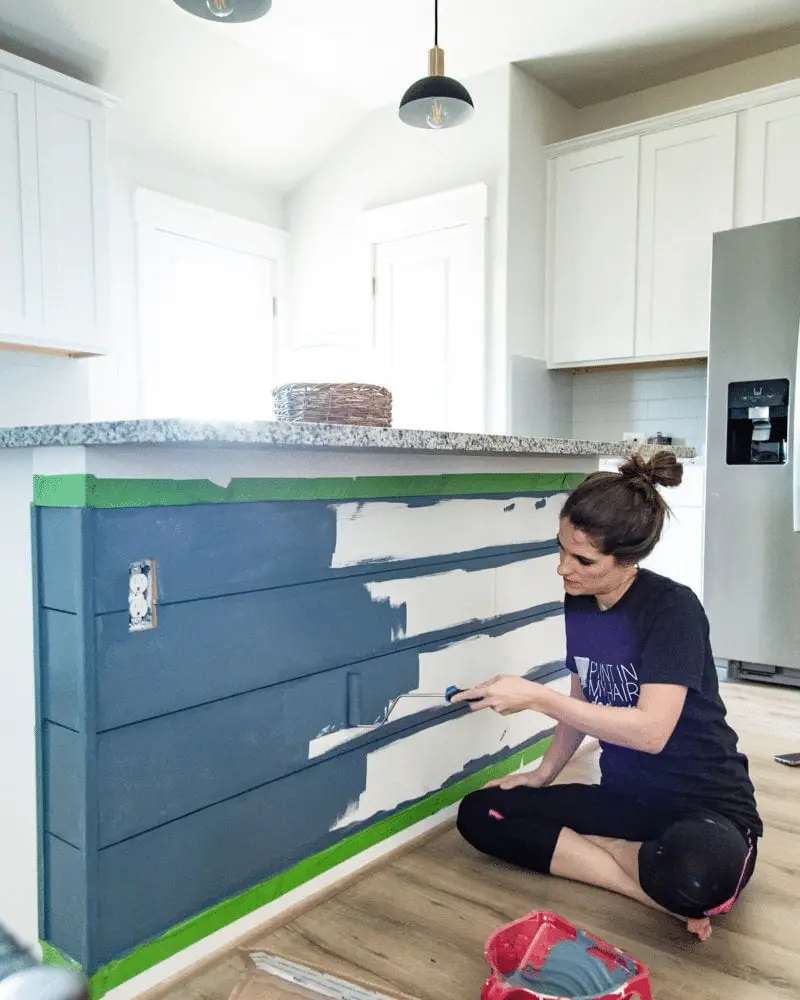
Before diving into the exciting process of installing shiplap in your kitchen, it’s crucial to ensure that your space is adequately prepared for the project. A smooth, clean, and even surface is essential for a successful installation that not only looks great but also stands the test of time.
Identifying and Marking Wall Studs
One of the first steps in preparing your kitchen for shiplap installation is identifying the location of your wall studs. Using a stud finder, locate the studs behind your walls and mark their placement. This step is crucial as it will determine where you can securely nail your shiplap boards to ensure they are firmly attached to the wall.
By marking the wall studs, you can strategically plan where to place your shiplap boards for optimal support and stability. This will prevent any potential issues with the boards coming loose or sagging over time, giving you peace of mind that your shiplap installation is secure.
Removing Wall Plates and Trimming
Another key aspect of preparing your kitchen for shiplap installation is removing any wall plates or trimming that may obstruct the installation process. Take the time to carefully remove these elements to ensure a seamless and professional-looking finish once the shiplap is in place.
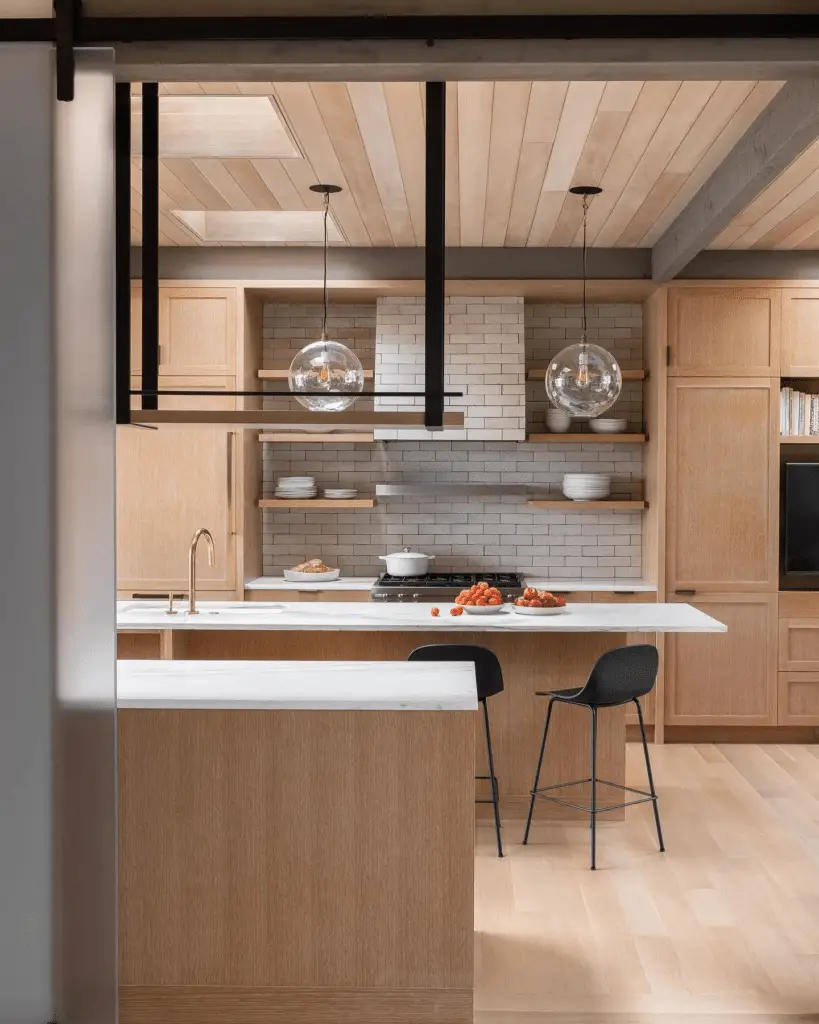
By clearing the area of wall plates and trimming, you create a clean canvas for your shiplap installation, allowing the boards to be placed flush against the wall without any obstructions. This attention to detail in the preparation phase will result in a polished final look that enhances the overall aesthetic of your kitchen.
With your kitchen prepped and ready for shiplap installation, you’re one step closer to transforming your space with this popular trend. By ensuring a clean, smooth surface and marking the location of your wall studs, you set the stage for a successful and visually stunning shiplap installation in your kitchen.
Step-by-step Guide to Shiplap Installation
Installing shiplap in your kitchen can be a rewarding project that adds a touch of charm and character to the space. But before you dive into the installation process, it’s essential to understand the step-by-step guide to ensure a successful outcome.
Starting from the Bottom
One of the crucial steps in shiplap installation is to start from the bottom and work your way up. This ensures that each board overlaps the one below it, creating a seamless and clean finish. As you progress upwards, make sure to use a level to maintain straight lines and avoid any crooked installation that could detract from the overall aesthetics of the shiplap.
Using a Level
A level is your best friend when it comes to shiplap installation. Ensuring that each board is perfectly straight not only enhances the visual appeal but also makes the installation process easier. By regularly checking with a level as you install each board, you can correct any misalignments or uneven placements, resulting in a professional-looking finish.
Allowing for Expansion and Contraction
One important factor to consider during shiplap installation is the natural expansion and contraction of the boards due to changes in humidity and temperature. To prevent buckling or warping of the boards, make sure to leave a small gap between each board to accommodate these fluctuations. This gap allows the wood to expand and contract without causing any damage to the overall installation.
By following these step-by-step guidelines, you can ensure a smooth and successful shiplap installation in your kitchen. Remember to take your time, use the right tools, and pay attention to detail to achieve a beautiful and long-lasting result that enhances the aesthetics of your space.
Finishing Touches and Maintenance of Kitchen Shiplap
Now that you’ve successfully installed your beautiful kitchen shiplap, it’s time to add those finishing touches to truly make it shine. Whether you choose to paint or stain your shiplap, this step allows you to customize the look of your kitchen while also providing additional protection to the boards.
Painting or Staining Shiplap
When it comes to finishing your shiplap, the possibilities are endless. You can opt for a classic white paint for a clean and timeless look, or go bold with a pop of color to add personality to your kitchen. Staining the shiplap is another option that allows the natural beauty of the wood to shine through while adding a protective layer.
Whichever finish you choose, make sure to follow the manufacturer’s instructions and allow for proper drying time before reattaching any trim or decor to the walls. This step not only enhances the aesthetics of your kitchen but also helps protect the shiplap from moisture and wear over time.
Regular Maintenance Practices
To keep your kitchen shiplap looking fresh and new, regular maintenance is key. Wipe down the boards with a damp cloth periodically to remove dust and debris, and avoid using harsh chemicals that can damage the finish. If you notice any dents, scratches, or water damage, address them promptly to prevent further issues.

Additionally, be mindful of the environment when choosing finishes for your shiplap. Opt for low-VOC or zero-VOC paints and stains to minimize harmful emissions and create a healthier indoor air quality in your kitchen. These eco-friendly options not only benefit your home but also the planet.
By incorporating these finishing touches and maintenance practices into your kitchen shiplap routine, you can enjoy the beauty and durability of this timeless design element for years to come.
Shiplap Success: Your Kitchen Awaits!
In conclusion, installing kitchen shiplap is a rewarding journey that enhances your kitchen’s aesthetics. Remember, quality materials, meticulous preparation, and attention to detail are key. As you take on this project, embrace the process with enthusiasm and patience. From selecting the right tools to adding the finishing touches, each step contributes to a beautiful outcome. So, roll up your sleeves, grab that level, and transform your kitchen with stylish shiplap! Happy installing!

