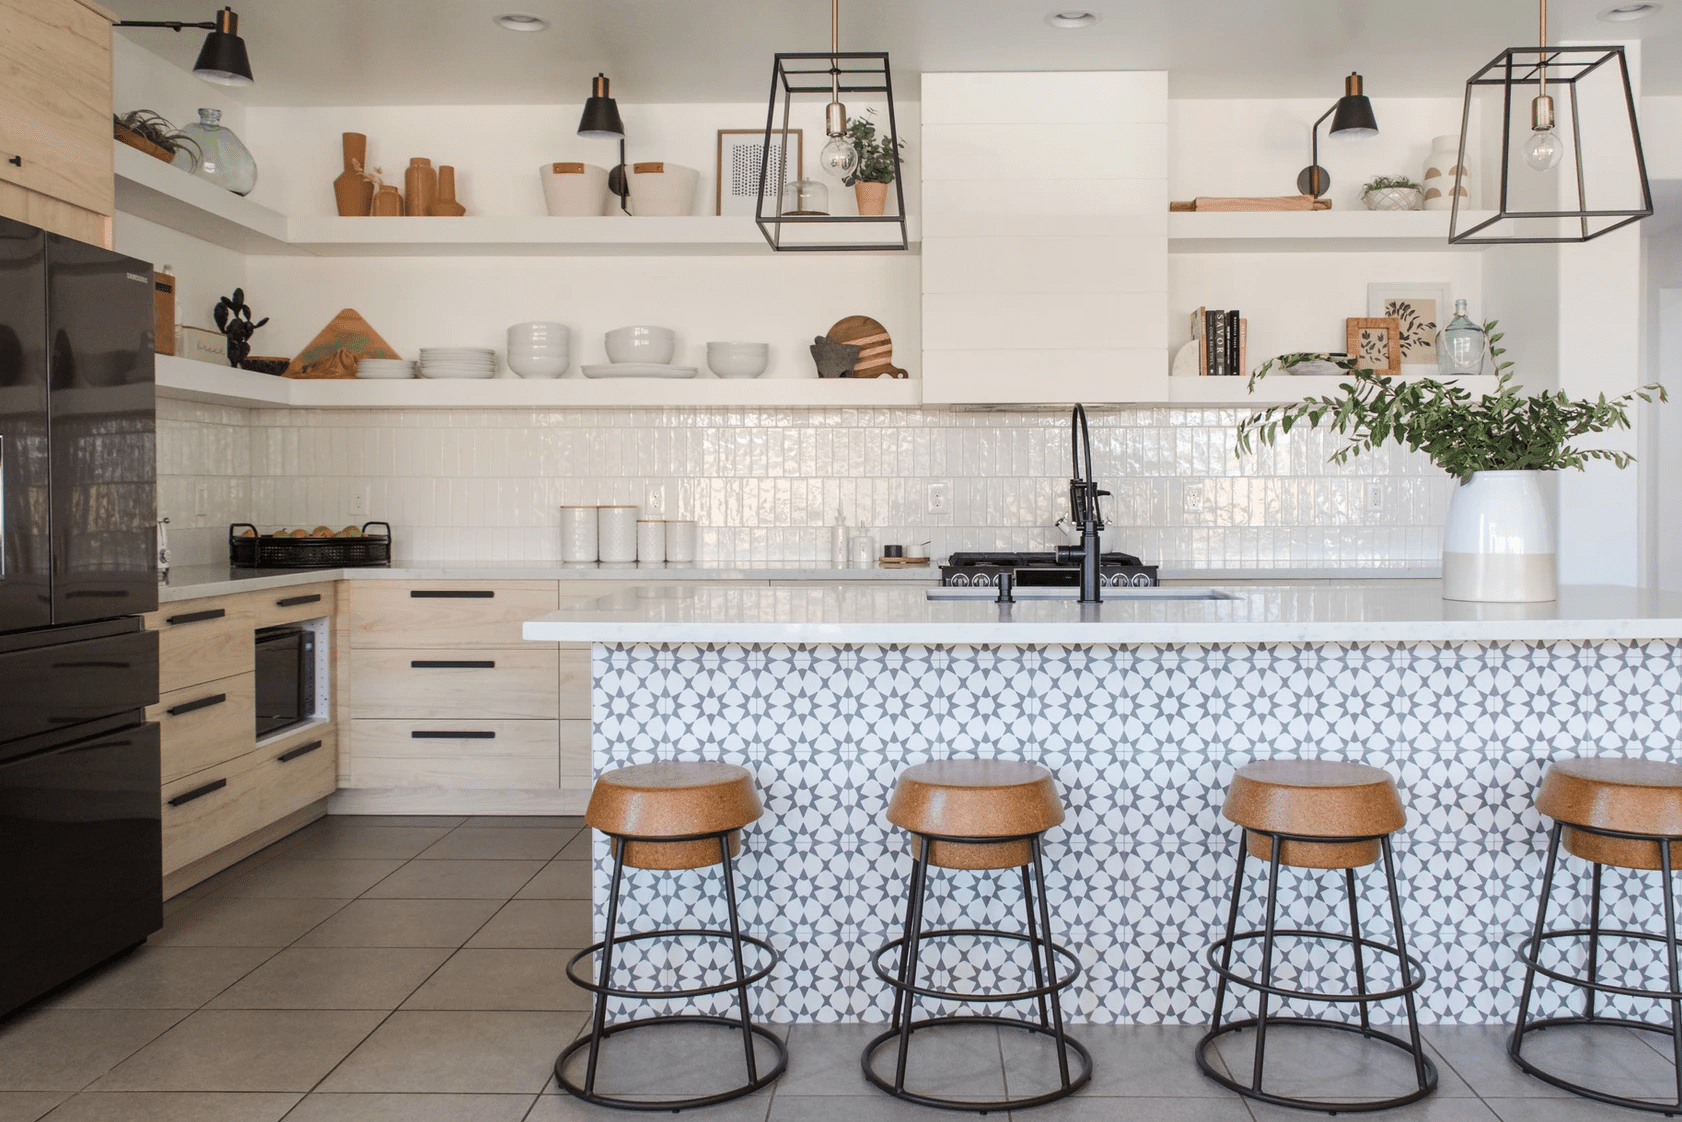
Hey there, ready to take your kitchen to the next level with some stylish upgrades? Let’s talk about the unsung heroes of kitchen design – kitchen island tiles! From their functional benefits to the latest trends in design, we’ve got you covered.
Discover the right materials, installation tips, and maintenance tricks to keep your kitchen island tiles looking pristine. Get ready to spice up your cooking space with some tile inspiration!

Exploring the Use and Purpose of Kitchen Island Tiles

When it comes to designing your kitchen, choosing the right materials for your kitchen island can make a significant impact on both functionality and aesthetics. One popular choice that has been gaining traction in recent years is incorporating tiles into the design of your kitchen island. Let’s dive into the benefits of using tiles on the kitchen island and explore how they can enhance your overall kitchen space.
Functionality Meets Style

One of the key benefits of incorporating tiles into your kitchen island is the versatility they offer. Not only do tiles provide a durable and easy-to-clean surface, but they also come in a wide range of styles, colors, and patterns to suit any kitchen aesthetic. Whether you prefer a sleek and modern look or a more traditional feel, there are endless options available to customize your kitchen island tiles to fit your personal style.
Additionally, tiles can help protect your kitchen island from everyday wear and tear, such as spills, stains, and scratches. This added layer of protection can prolong the life of your kitchen island, making it a worthwhile investment in the long run.
Elevating Your Kitchen Design
From a design perspective, incorporating tiles into your kitchen island can add a touch of sophistication and visual interest to your space. Whether you opt for a classic subway tile or a bold patterned tile, the possibilities are endless when it comes to creating a unique and stylish focal point in your kitchen.

Furthermore, tiles can help tie the design elements of your kitchen together, creating a cohesive look that complements the rest of your space. By carefully selecting the right tile material, color, and pattern, you can create a kitchen island that not only serves as a functional workspace but also as a stylish centerpiece that enhances the overall aesthetic of your kitchen.
Choosing the Right Materials for Kitchen Island Tiles
When it comes to selecting materials for your kitchen island tiles, there are a variety of options to choose from. Each material comes with its own set of benefits and considerations, so it’s important to weigh your options carefully before making a decision. Let’s dive into some of the most common materials used for kitchen island tiles and explore what factors you should keep in mind when making your selection.
Types of Materials for Kitchen Island Tiles
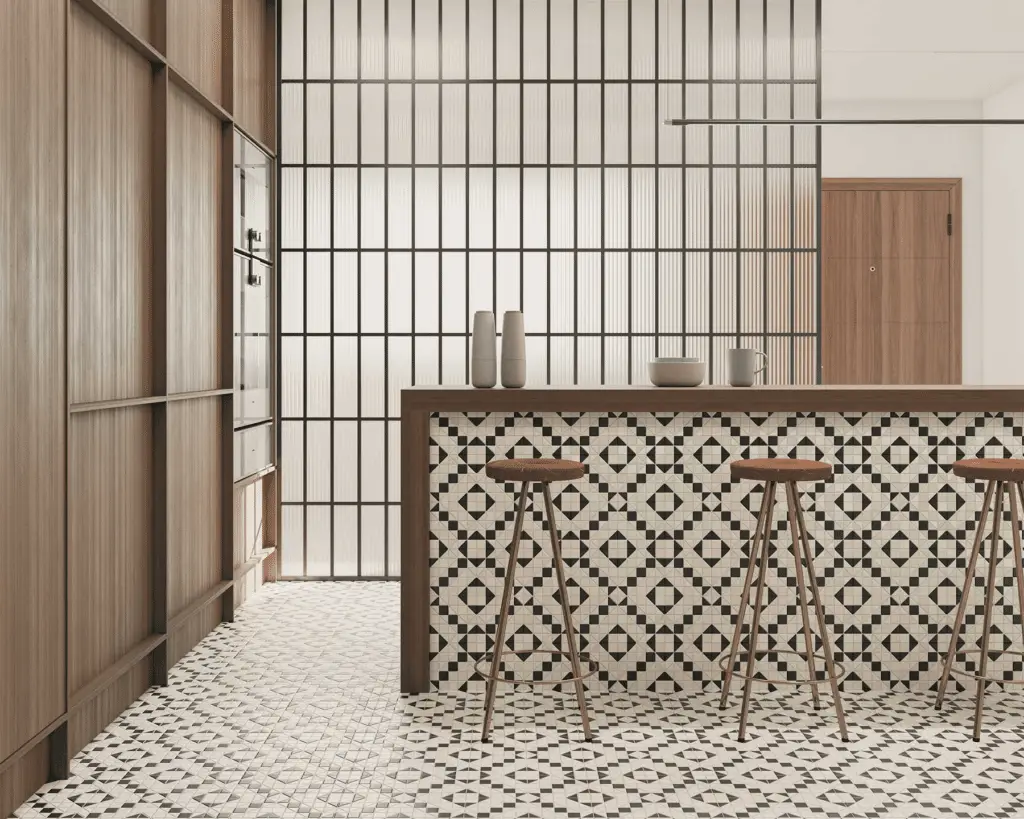
One of the most popular choices for kitchen island tiles is ceramic tile. Ceramic tiles are versatile, affordable, and come in a wide range of colors and styles. They are durable, easy to clean, and can withstand high levels of foot traffic.

Another common material for kitchen island tiles is porcelain tile. Porcelain tiles are known for their strength, durability, and resistance to moisture, making them an ideal choice for high-traffic areas like the kitchen.
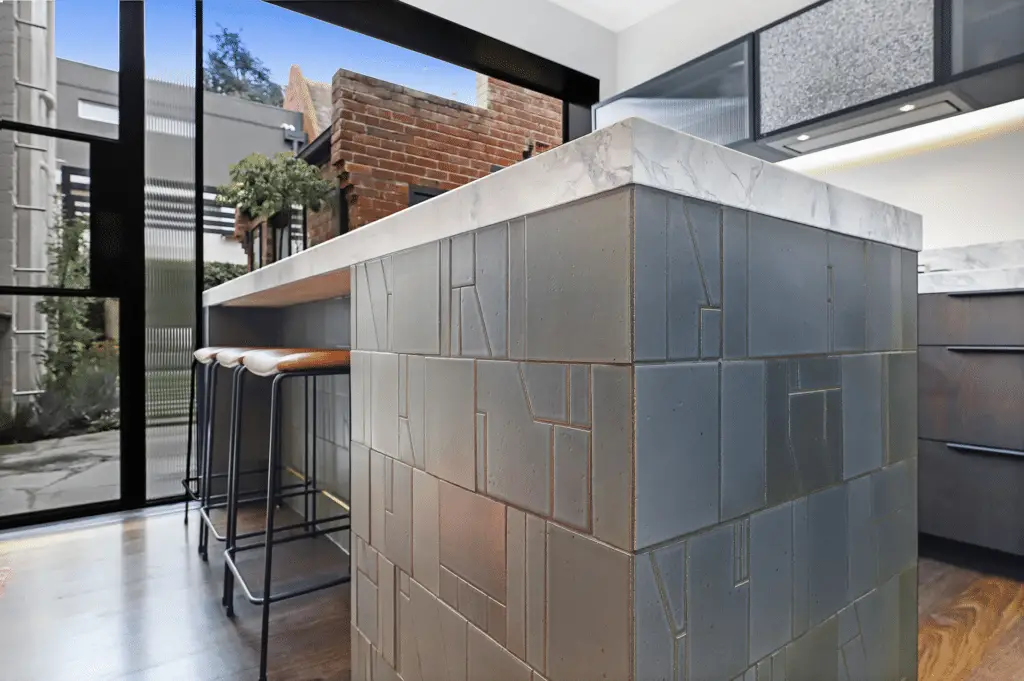
Natural stone tiles, such as marble, granite, and travertine, are also popular choices for kitchen island tiles. These materials add a touch of luxury and elegance to the space, but they do require more maintenance than ceramic or porcelain tiles.
Factors to Consider When Selecting Materials
When choosing materials for your kitchen island tiles, there are several factors to keep in mind. Durability is a key consideration, especially in a high-traffic area like the kitchen. Make sure the material you choose can withstand the wear and tear of daily use.
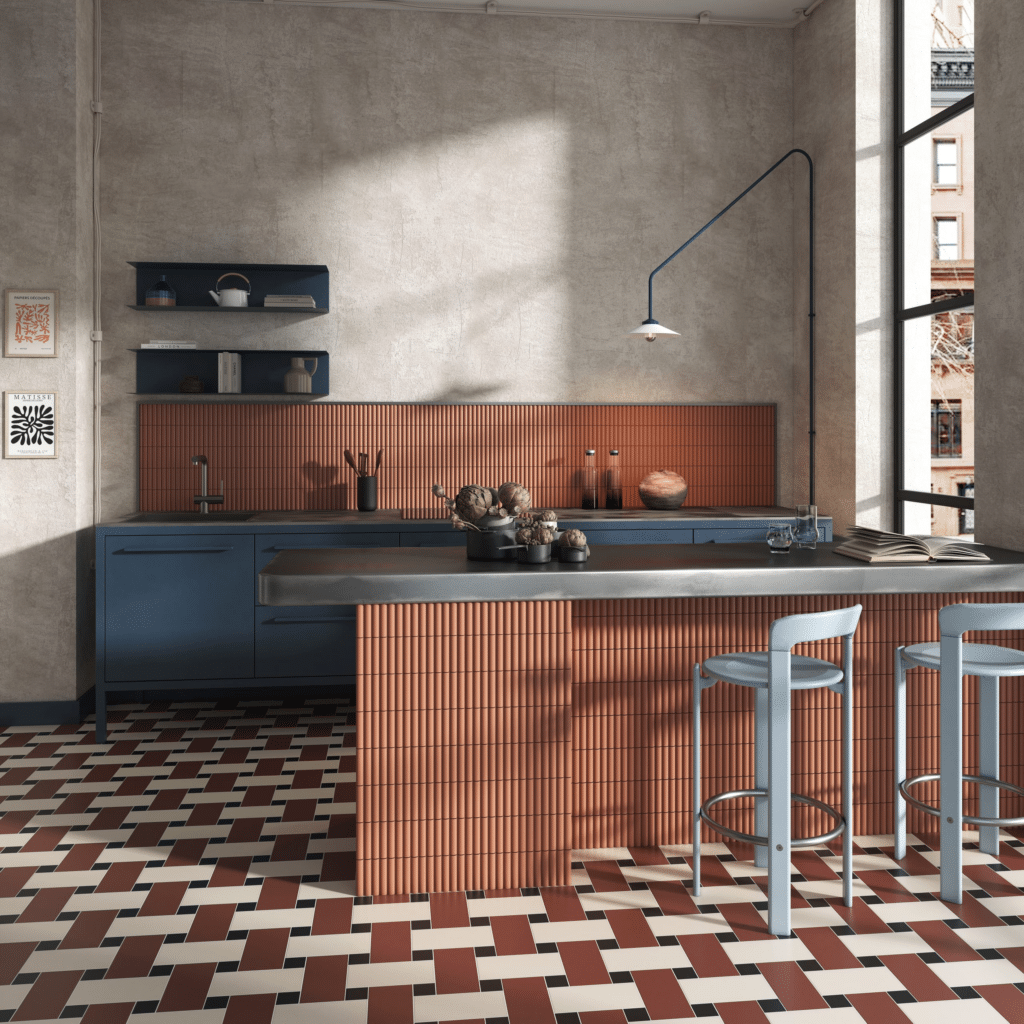
Maintenance is another important factor to consider. Some materials require more upkeep than others, so think about how much time and effort you’re willing to invest in cleaning and maintaining your tiles.
Finally, consider your budget when selecting materials for your kitchen island tiles. Some materials are more expensive than others, so make sure you choose a material that fits within your financial constraints.
Latest Trends in Kitchen Island Tiles Design
When it comes to designing your kitchen island, the tiles you choose can make a significant impact on both the functionality and aesthetics of the space. Staying up-to-date with the latest trends in kitchen island tile design can help you create a modern and stylish kitchen that reflects your personal taste. Let’s delve into some of the hottest trends in kitchen island tile design that are sweeping the interior design world.
Diverse Styles, Shapes, and Colors
One of the key trends in kitchen island tile design is the use of diverse styles, shapes, and colors to create a unique and eye-catching look. From geometric patterns to intricate mosaic designs, there are endless possibilities when it comes to choosing tiles for your kitchen island. Mix and match different shapes and colors to add visual interest and personality to your space.
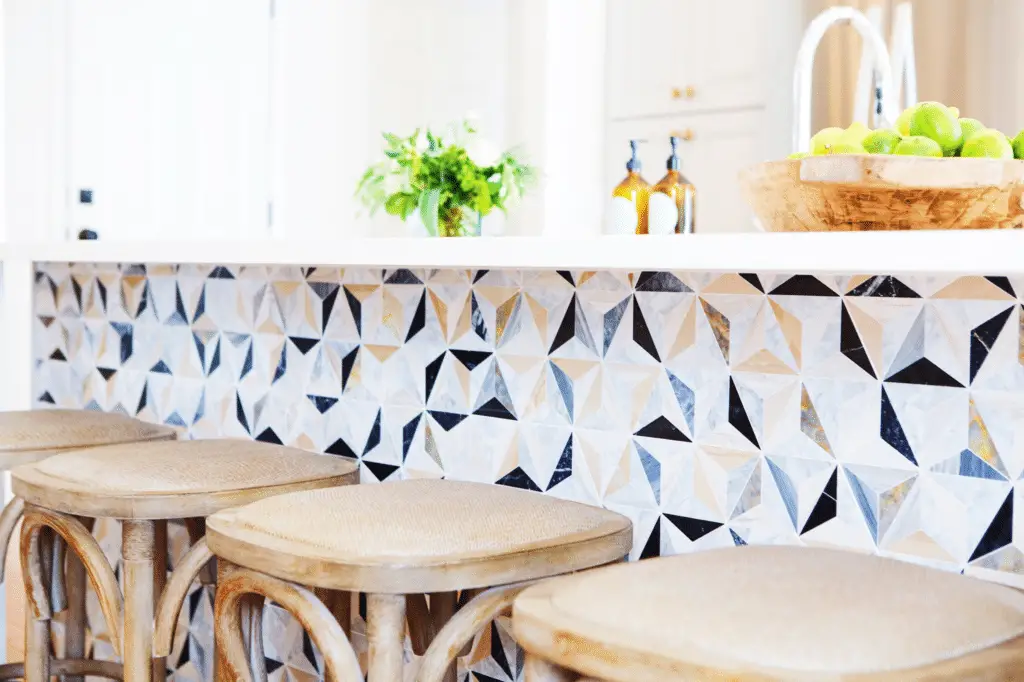
For a contemporary and sleek look, consider opting for large format tiles in a neutral color palette. These tiles can create a seamless and sophisticated finish that will enhance the overall aesthetic of your kitchen island. On the other hand, if you want to make a bold statement, experiment with vibrant colors or unique textures to add a pop of personality to your space.
Texture and Finish
Another trend that is gaining popularity in kitchen island tile design is the use of textured tiles and unique finishes. Textured tiles can add depth and dimension to your kitchen island, creating a visually interesting focal point in the room. Consider incorporating tiles with a matte finish for a modern and understated look, or opt for glossy tiles to add a touch of glamour and elegance to your space.
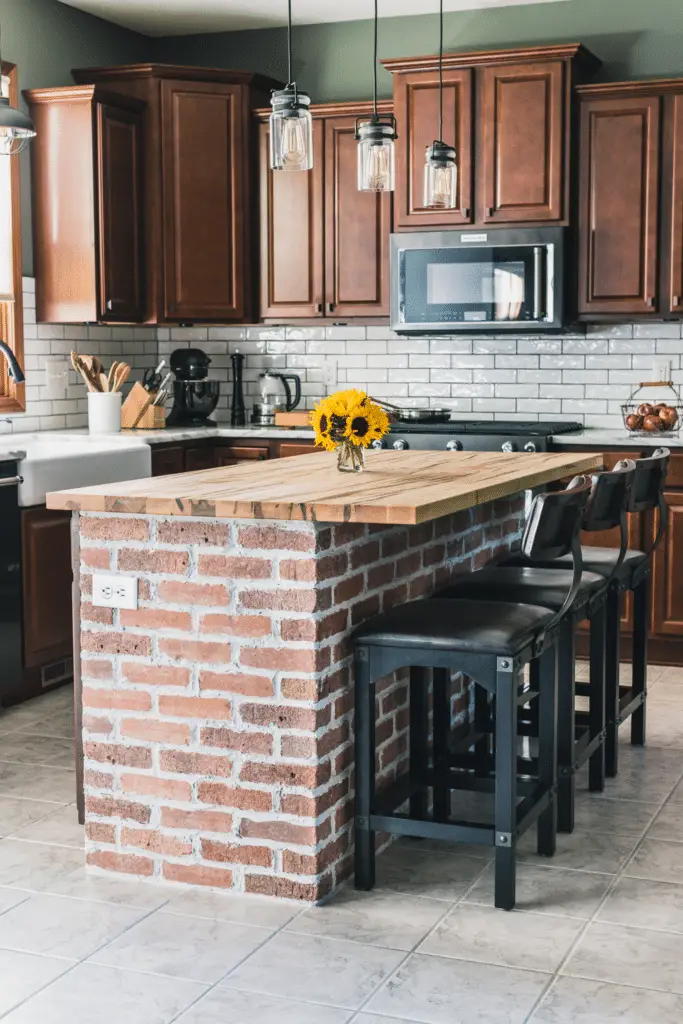
Experiment with different finishes such as metallic, iridescent, or crackled tiles to add a touch of luxury to your kitchen island. These unique finishes can create a stunning visual effect that will elevate the overall design of your space. Whether you prefer a more subtle and minimalist look or a bold and dramatic style, there are endless options to choose from when it comes to texture and finish in kitchen island tile design.
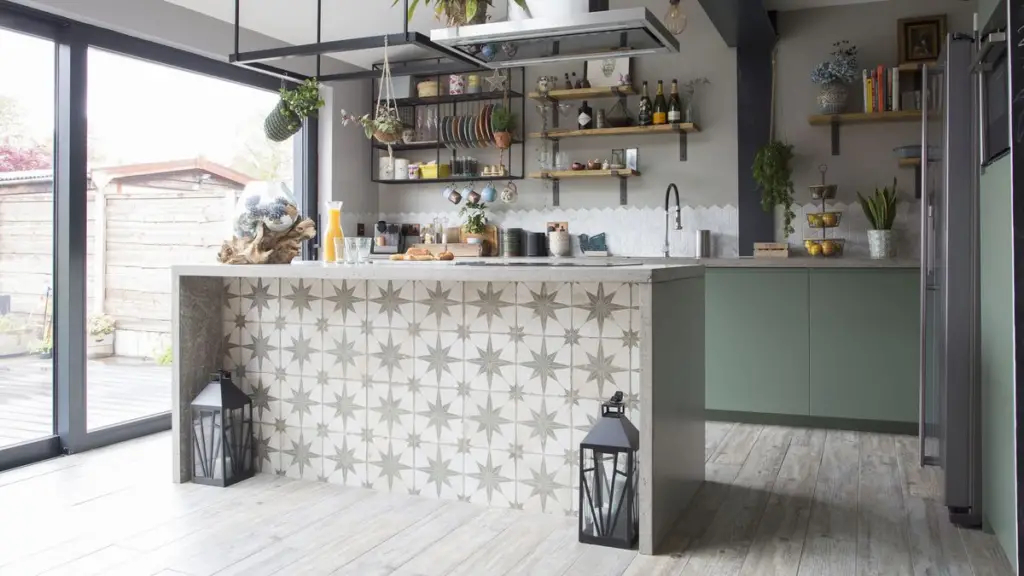
By keeping up with the latest trends in kitchen island tile design, you can create a stylish and functional space that reflects your personal style and taste. From diverse styles, shapes, and colors to texture and finish options, there are endless possibilities to explore when it comes to designing a modern and trendy kitchen island.
Step by Step Guide on How to Install Kitchen Island Tiles
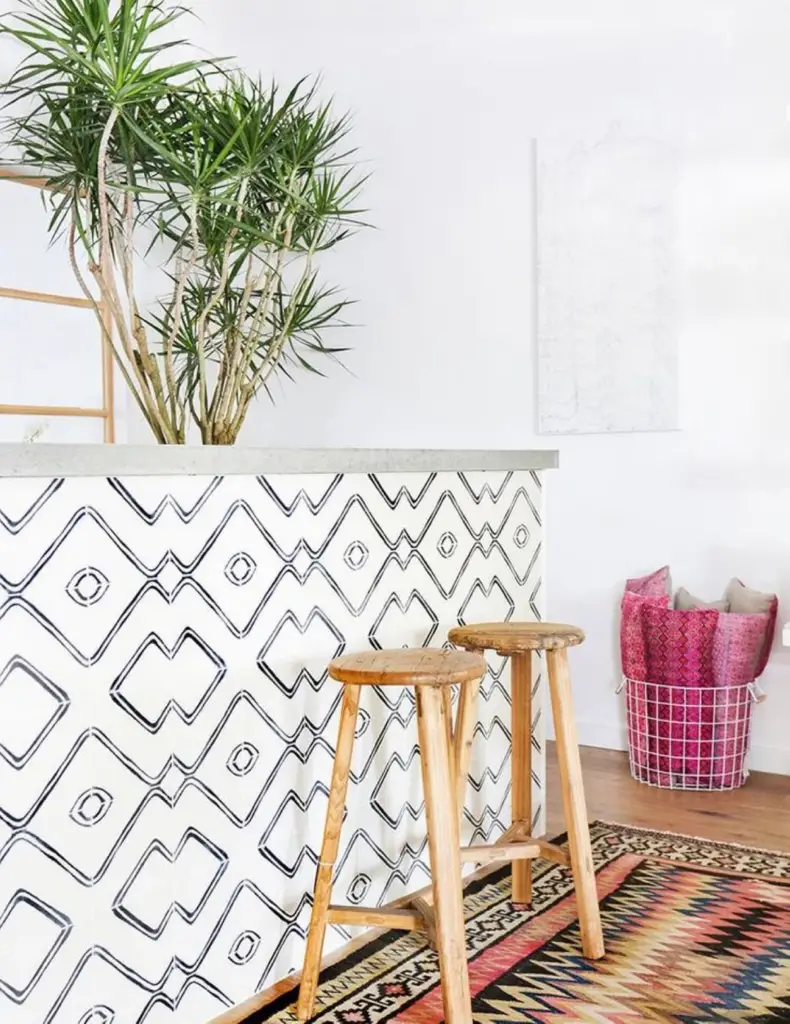
Are you ready to elevate your kitchen island with beautiful tiles? Follow this step-by-step guide to achieve a flawless installation that will transform your kitchen space.
1. Surface Preparation
The first step in installing kitchen island tiles is to ensure that the surface is clean and level. Remove any existing materials, such as laminate or wood, and make sure the surface is free of dust and debris. Use a level to check for any uneven areas that may need to be addressed before laying the tiles.
Additionally, apply a layer of primer to the surface to create a strong bond between the tiles and the island. This will help prevent the tiles from shifting or cracking over time.
2. Tile Arrangement
Before you start laying the tiles, plan out the arrangement to ensure a cohesive and visually appealing design. Consider the size and shape of the tiles, as well as the pattern you want to create on your kitchen island.
Start by applying thin-set mortar to the surface using a trowel, then place the tiles one by one, pressing them firmly into the mortar. Use tile spacers to ensure an even gap between each tile for grout application later on.
3. Finishing Touches
Once all the tiles are in place, allow the mortar to dry according to the manufacturer’s instructions. After the mortar has set, it’s time to grout the tiles to secure them in place and fill in the gaps between each tile.
Apply the grout using a grout float, pressing it into the gaps and then wiping away the excess with a damp sponge. Let the grout dry completely before applying a sealer to protect the tiles from stains and water damage.
Lastly, step back and admire your newly tiled kitchen island! The installation process may seem daunting at first, but with patience and attention to detail, you can achieve a professional-looking result that will enhance the beauty and functionality of your kitchen.
How to Maintain and Clean Your Kitchen Island Tiles
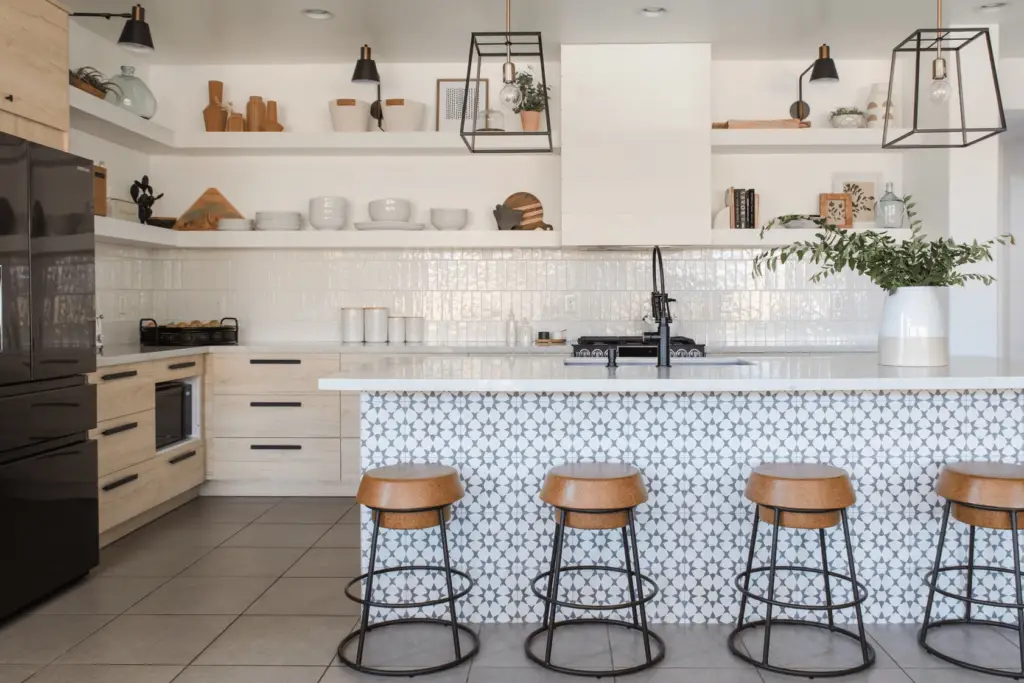
Now that you have beautifully installed tiles on your kitchen island, it’s essential to maintain them regularly to ensure they retain their aesthetic appeal for years to come. Proper maintenance and cleaning routines can not only enhance the longevity of the tiles but also keep your kitchen looking fresh and inviting.
Maintaining Your Kitchen Island Tiles
One of the key factors in maintaining kitchen island tiles is to ensure that they are properly sealed. Sealing the tiles protects them from stains, moisture, and daily wear and tear. Depending on the type of material used for your kitchen island tiles, you may need to reseal them periodically to maintain their protective barrier.
In addition to sealing, it’s crucial to avoid harsh cleaning chemicals that can damage the tiles. Opt for gentle, non-abrasive cleaning solutions that are specifically designed for the type of tiles you have. Regularly wiping down the tiles with warm water and a mild detergent can help prevent grime buildup and maintain their shine.
Cleaning Your Kitchen Island Tiles
When it comes to cleaning your kitchen island tiles, the key is consistency. Establishing a regular cleaning routine can prevent dirt and grime from accumulating, making it easier to maintain the tiles’ pristine appearance. Here are some tips to keep your kitchen island tiles looking their best:
- Wipe down the tiles with a damp cloth or sponge after each use to remove spills and food debris.
- Use a pH-neutral cleaner to mop the tiles regularly, ensuring that dirt and grease are removed without damaging the surface.
- Avoid using abrasive scrubbers or pads that can scratch the tiles, opting instead for a soft-bristled brush for tough stains.
- For stubborn stains, create a paste of baking soda and water and gently scrub the affected area before rinsing thoroughly.
- Regularly inspect the grout lines between the tiles and clean them with a grout cleaner to prevent mold and mildew buildup.
By following these cleaning and maintenance tips, you can prolong the life of your kitchen island tiles and keep them looking as good as new. Remember, a little effort goes a long way in preserving the beauty and functionality of your kitchen island!
Fun and Fabulous Finale: Mastering Your Kitchen Island Tile Game
When it comes to kitchen island tiles, the choices are endless! From exploring their benefits to choosing the right materials, diving into the latest trends, and mastering installation and maintenance, you’re now equipped to transform your kitchen.
So, go ahead, unleash your creativity, and make your kitchen island the heart of your home with stunning tiles that reflect your style and personality. Happy tiling, folks!

