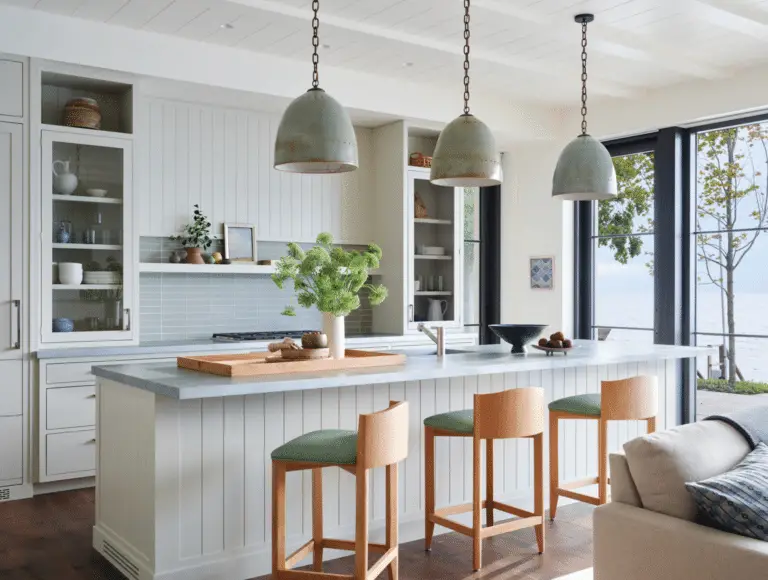
Looking to add a touch of charm to your kitchen island? Vertical shiplap could be the answer! Discover the rising trend of vertical shiplap in modern kitchen design. From choosing the best materials to step-by-step painting and finishing techniques, we’ve got you covered. Learn how to maintain your painted shiplap for long-lasting beauty.
Let’s dive into the world of vertical shiplap on kitchen islands!
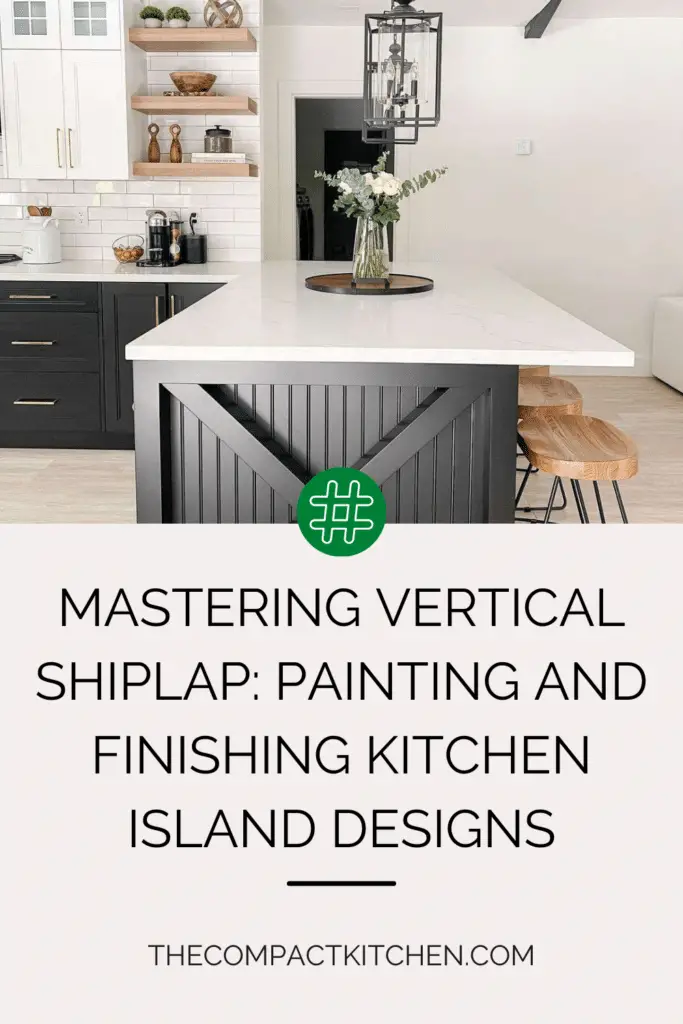
Introduction to Vertical Shiplap on Kitchen Islands
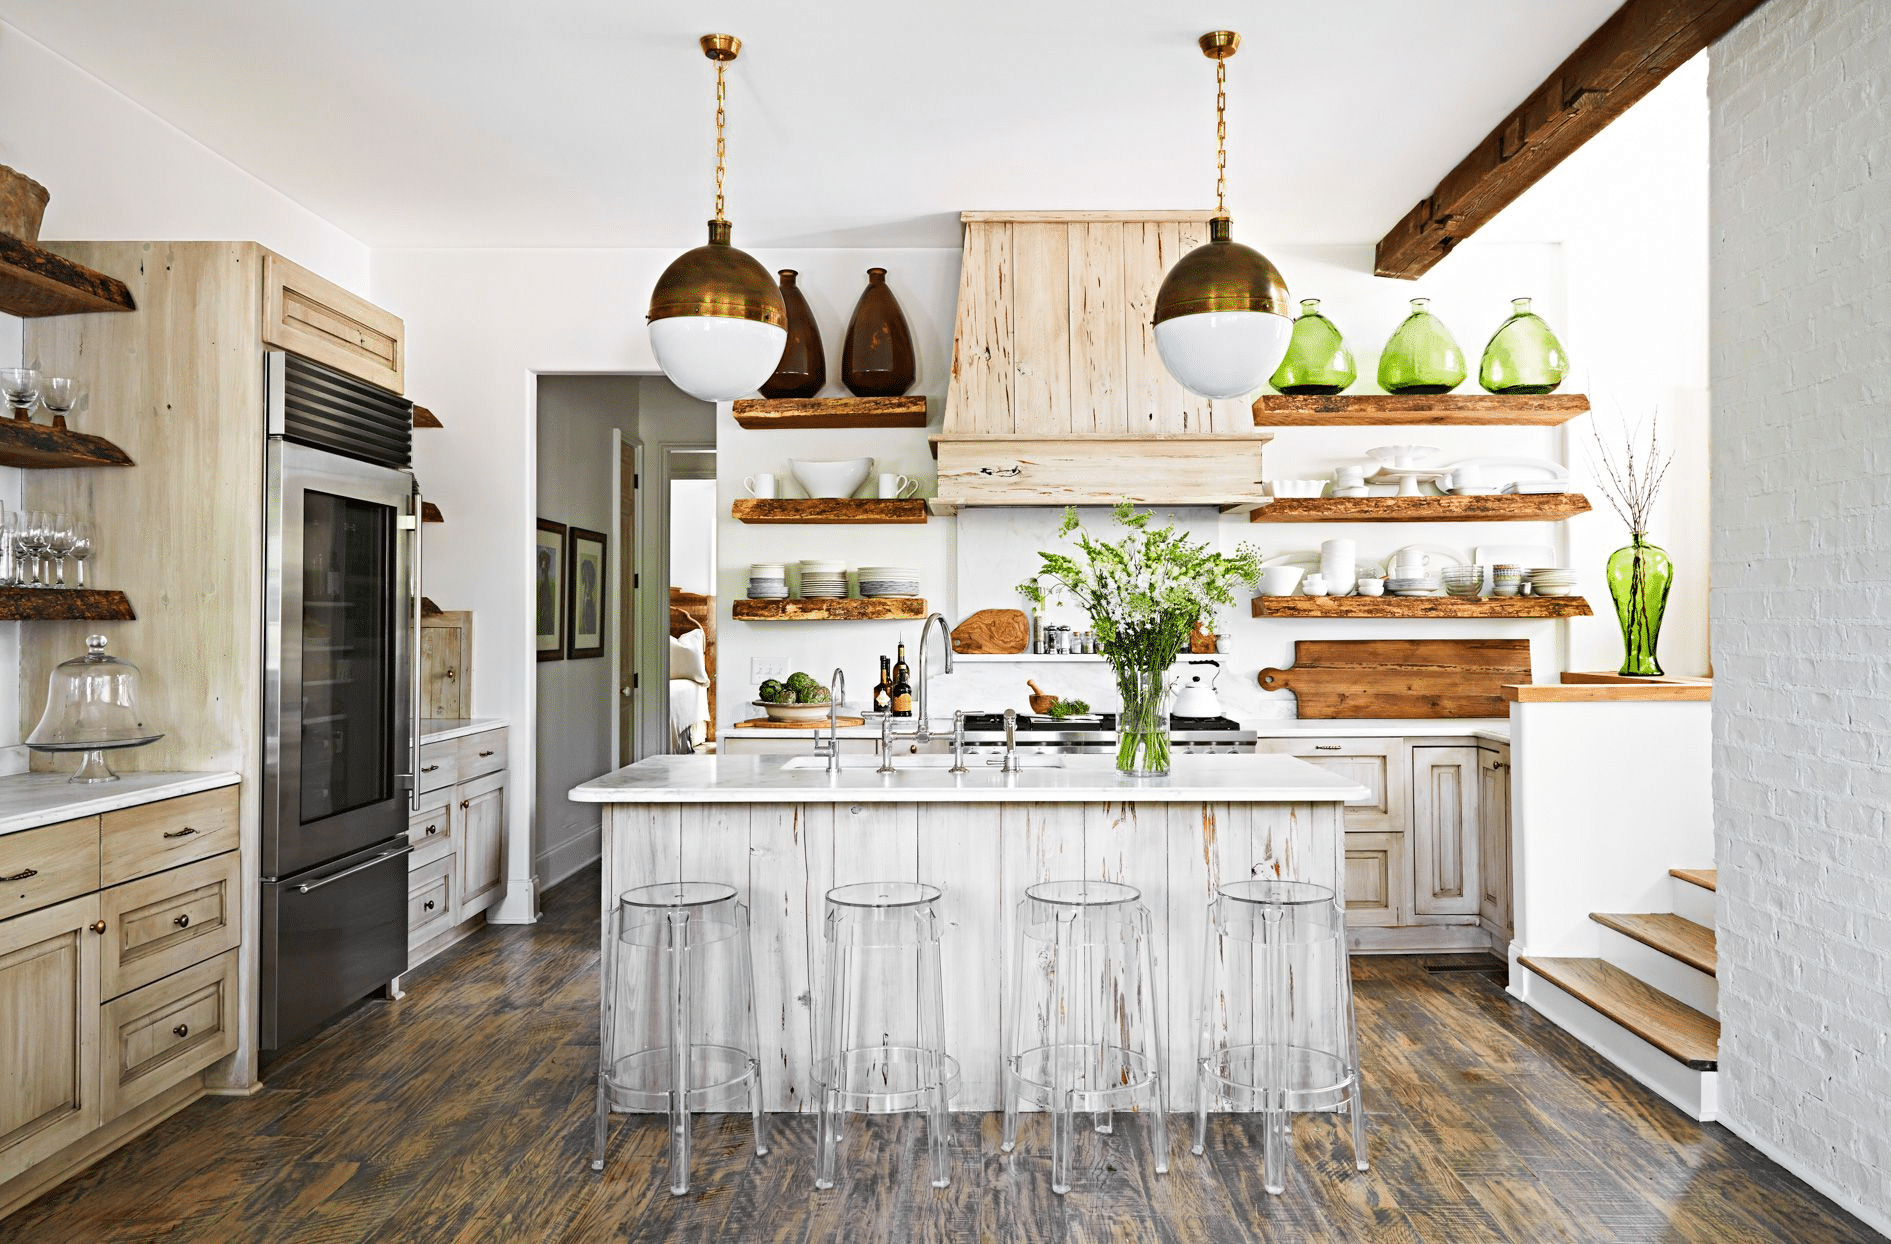
Vertical shiplap is a trendy design choice that has been making waves in modern kitchen designs. This style of paneling consists of overlapping wooden boards that are installed vertically, creating a charming and rustic look. The clean lines and visual interest that vertical shiplap adds to kitchen islands have made it a popular choice for homeowners looking to inject some character into their space.
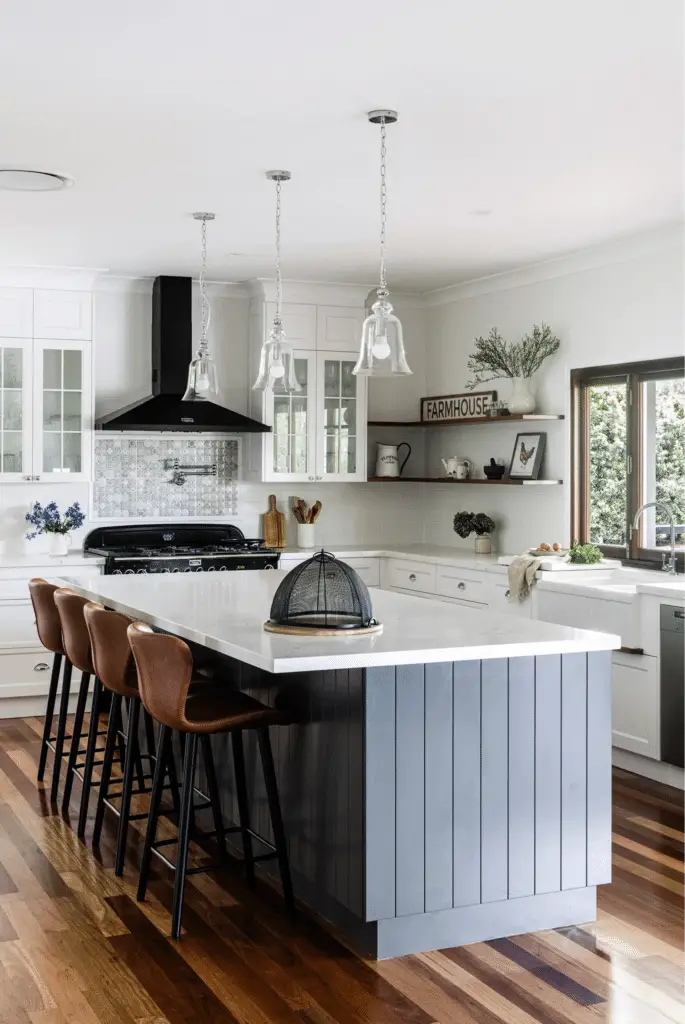
One of the reasons why vertical shiplap has become so popular is its versatility. It can be used to create a variety of looks, from a coastal-inspired vibe to a more industrial feel. By choosing the right materials and finishes, you can customize your vertical shiplap to suit your personal style and the overall aesthetic of your kitchen.
Choosing the Best Materials for Your Vertical Shiplap Project
When it comes to embarking on a vertical shiplap project for your kitchen island, one of the most crucial decisions you’ll make is choosing the right materials. The materials you select will not only impact the durability and cost of your project but also play a key role in achieving the aesthetic look you desire.
Consider Durability
First and foremost, consider the durability of the materials you choose for your vertical shiplap. Since kitchen islands are high-traffic areas that often endure spills and splashes, it’s essential to opt for materials that can withstand daily wear and tear. Look for materials that are easy to clean and resistant to moisture, such as PVC shiplap or treated wood.
Weigh Cost and Quality
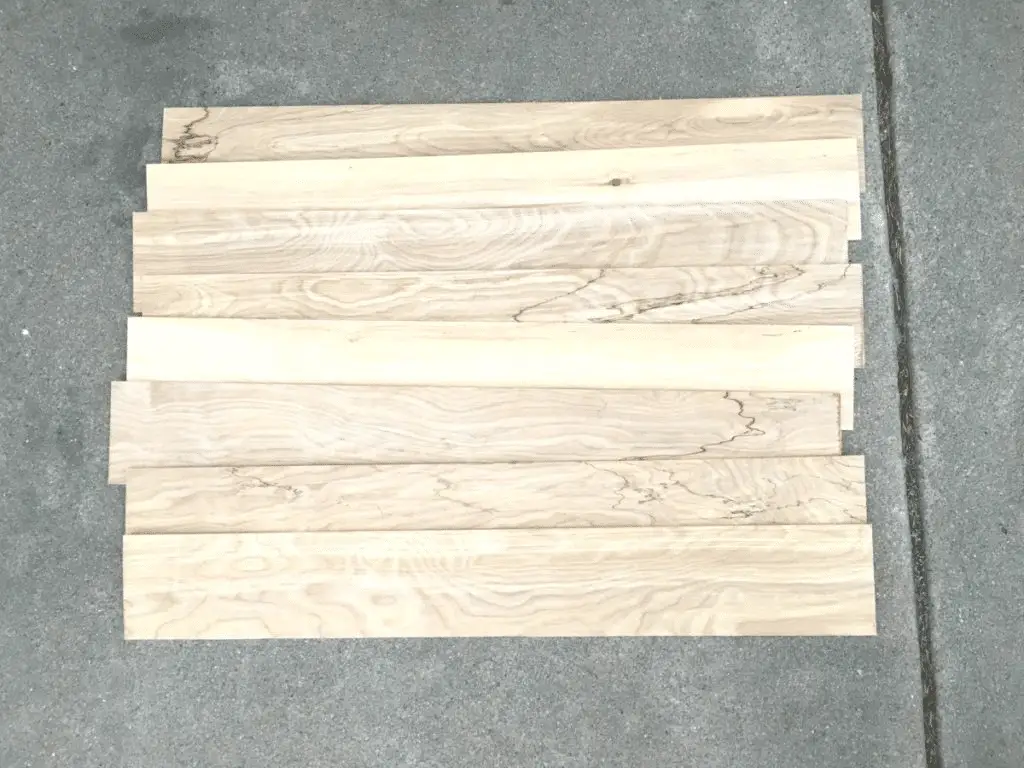
While it’s tempting to go for the cheapest option available, it’s important to strike a balance between cost and quality. Investing in high-quality materials may come with a higher price tag upfront, but it can save you money in the long run by reducing the need for frequent repairs or replacements.
Prioritize Aesthetic Preference
Lastly, don’t forget to consider your aesthetic preferences when selecting materials for your vertical shiplap project. Whether you prefer the natural warmth of wood shiplap or the sleek look of PVC shiplap, choose materials that align with your overall design vision for your kitchen island.

By carefully considering factors like durability, cost, and aesthetic preference, you can choose the best materials for your vertical shiplap project that will not only enhance the beauty of your kitchen island but also stand the test of time.
Step-by-Step Guide to Painting Your Vertical Shiplap
Vertical shiplap has become a popular choice for adding texture and visual interest to kitchen islands. Once you’ve chosen the best materials for your project, it’s time to dive into the painting process. Properly painting your vertical shiplap is crucial for achieving a professional finish that will stand the test of time.
Preparation is Key
Before you even think about picking up a paintbrush, make sure to properly prepare your vertical shiplap for painting. Start by cleaning the surface to remove any dirt, dust, or grease that could affect the paint’s adhesion. Sand down any rough spots or imperfections to ensure a smooth finish. If your shiplap is made of wood, consider priming it to prevent any tannin bleed-through.
Choose the Right Paint
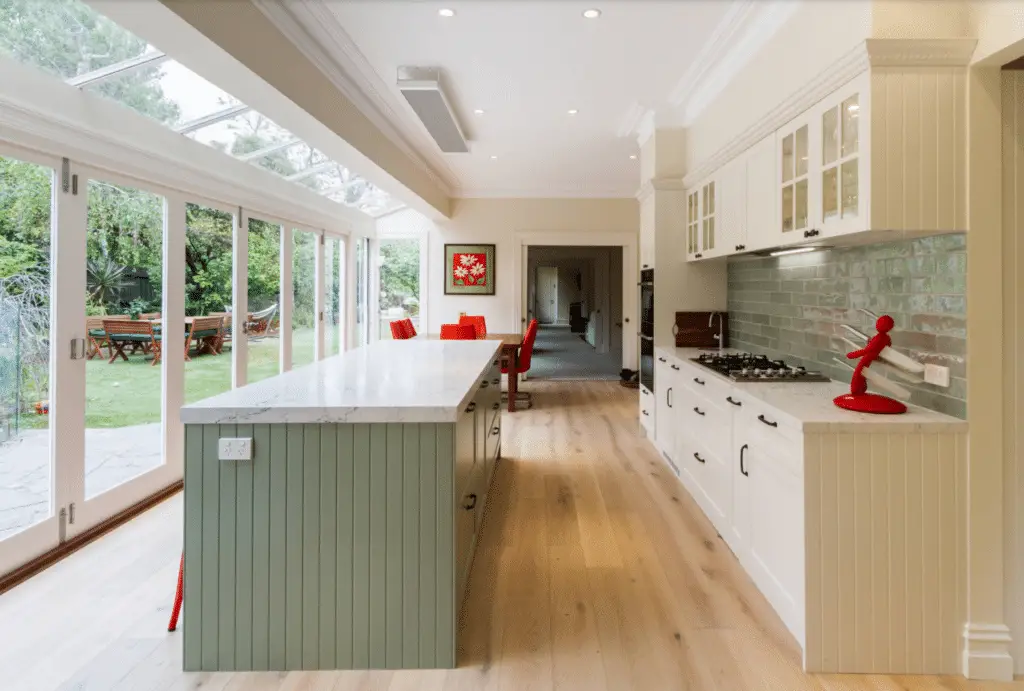
When it comes to painting vertical shiplap, choosing the right paint is essential. Opt for a high-quality, water-based paint that is durable and easy to clean. Matte or eggshell finishes work well for a more subtle look, while semi-gloss or high-gloss finishes can add a touch of sophistication and are easier to clean in a high-traffic area like the kitchen.
Application Techniques
When it’s time to paint, consider using a brush or roller to apply the paint to your vertical shiplap. Start with the edges and grooves of the shiplap using a brush, then use a roller to fill in the larger flat areas for a smooth, even finish. Be sure to work in small sections to prevent the paint from drying too quickly and causing lap marks.
Multiple Coats for Durability
For a long-lasting finish, consider applying multiple coats of paint to your vertical shiplap. Allow each coat to dry completely before applying the next one to prevent streaks or uneven coverage. Sand lightly between coats to smooth out any imperfections and ensure a flawless finish.
Final Touches
Once you’ve finished painting your vertical shiplap, take a step back and admire your handiwork. Check for any missed spots or uneven coverage, and touch up as needed. Consider adding a clear topcoat for added protection and durability, especially if your kitchen island sees heavy use.

By following these step-by-step instructions for painting your vertical shiplap, you’ll be well on your way to creating a stunning focal point in your kitchen. A fresh coat of paint can completely transform the look of your shiplap and enhance the overall aesthetic of your space. So roll up your sleeves, grab a paintbrush, and get ready to give your kitchen island a makeover!
Techniques for Finishing Your Vertical Shiplap
When it comes to finishing your vertical shiplap, the possibilities are endless. This is where you can really let your creativity shine and make your kitchen island stand out. From distressing to antiquing, there are various techniques you can use to achieve a unique and custom look that suits your style and preferences.
Distressing Your Shiplap
Distressing is a popular technique that gives your vertical shiplap a weathered and aged appearance. To distress your shiplap, you can use tools like sandpaper, wire brushes, or even chains to create dents, scratches, and other imperfections on the surface. This adds character and charm to your shiplap, giving it a rustic and lived-in feel.

One simple way to distress your shiplap is to lightly sand the edges and corners to mimic natural wear and tear. You can also use a hammer to create small indentations or a screwdriver to make scratches and grooves. The key is to be strategic and intentional with your distressing, focusing on areas that would naturally show wear over time.
Antiquing Your Shiplap
If you prefer a more vintage or aged look, antiquing is a great technique to consider. This involves applying a glaze or stain over your painted shiplap to create an antique finish. The glaze or stain adds depth and richness to the color, giving your shiplap a timeless and elegant appearance.
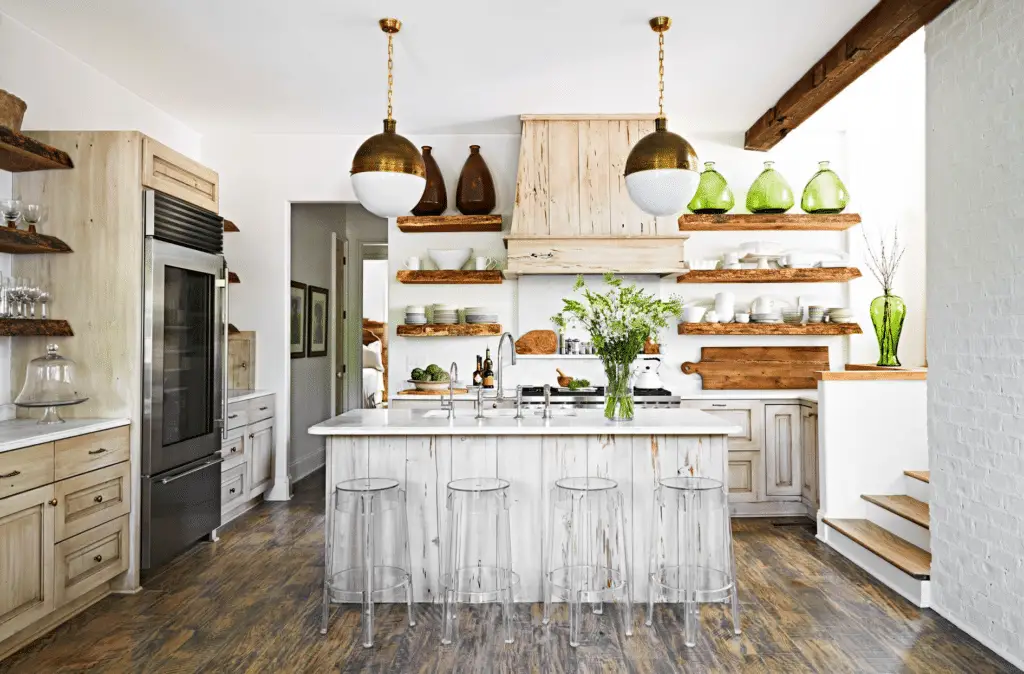
To antique your shiplap, start by applying a base coat of paint in your desired color. Once the paint is dry, mix a glaze or stain in a darker shade and apply it over the painted surface. Use a rag or brush to spread the glaze evenly and then wipe off any excess to create a subtle, antiqued effect. You can also experiment with different shades and layers of glaze to achieve a more dramatic or textured finish.
Combining Techniques for a Custom Look
Don’t be afraid to mix and match different finishing techniques to create a truly unique look for your vertical shiplap. You can distress certain areas of the shiplap while antiquing others, or combine distressing and antiquing for a multi-dimensional finish. The key is to experiment and have fun with the process, letting your creativity guide you to a finished product that reflects your personal style and taste.
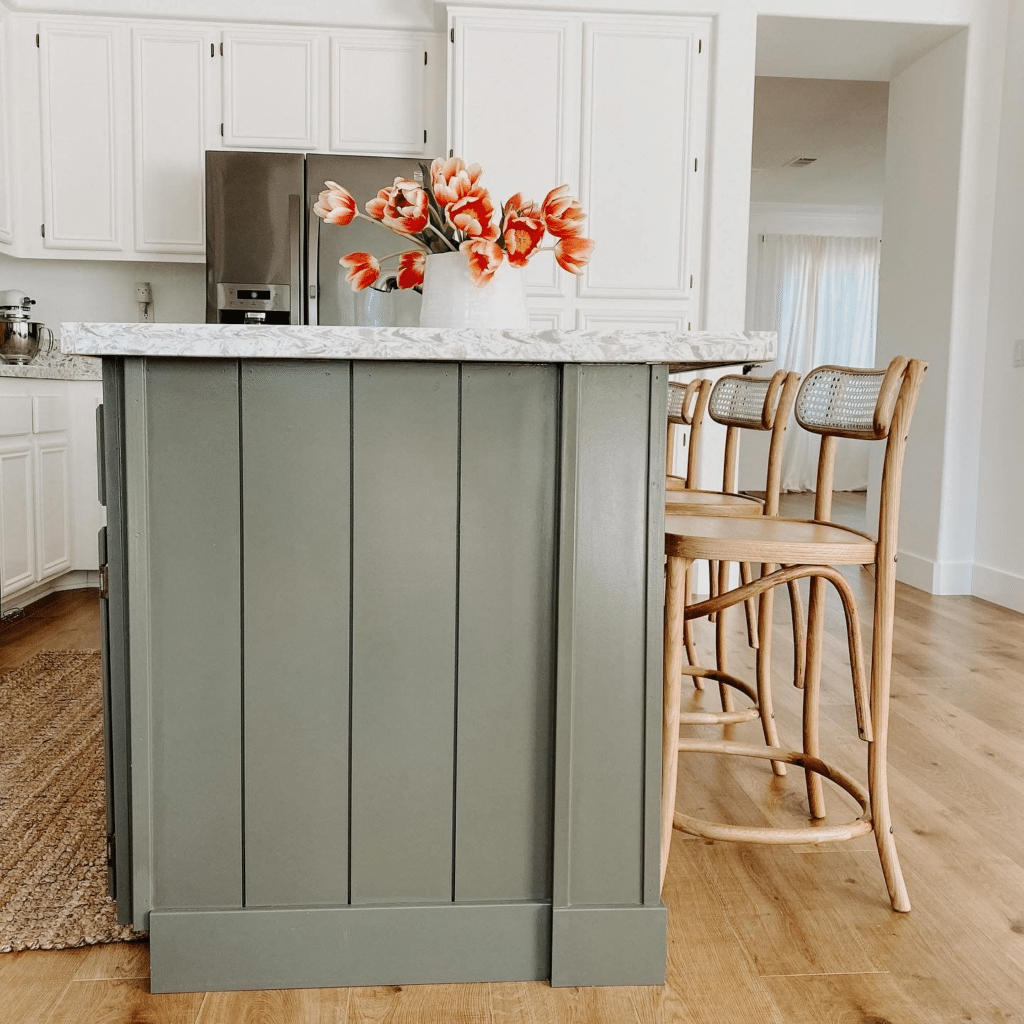
By exploring different techniques for finishing your vertical shiplap, you can transform your kitchen island into a one-of-a-kind masterpiece that adds warmth and character to your space. Whether you choose to distress, antique, or combine techniques, the end result will be a beautifully finished shiplap that enhances the overall look and feel of your kitchen.
Maintaining Your Painted and Finished Vertical Shiplap
So, you’ve successfully painted and finished your vertical shiplap on your kitchen island, and now you’re wondering how to keep it looking pristine for years to come. Taking care of your painted and finished shiplap is essential to ensure its longevity and maintain its beauty. Here are some tips on how to properly maintain your vertical shiplap:
Regular Cleaning
One of the easiest ways to maintain your painted and finished shiplap is by regularly cleaning it. Use a soft cloth or a duster to remove dust and debris from the surface. Avoid using harsh chemicals or abrasive materials that can damage the paint finish.
Avoid Water Damage
Since your vertical shiplap is in the kitchen, it’s important to prevent water damage. Wipe up any spills or splashes immediately to avoid water seeping into the wood and causing it to warp or swell. Consider applying a waterproof sealant to protect your shiplap from moisture.
Inspect for Wear and Tear
Periodically inspect your painted and finished shiplap for any signs of wear and tear. Look for chipped paint, scratches, or dents, and address them promptly to prevent further damage. Touch up any areas that need repainting to keep your shiplap looking fresh.
Maintain Proper Humidity Levels
Wood is sensitive to changes in humidity, so it’s important to maintain proper humidity levels in your kitchen. Use a dehumidifier or humidifier as needed to prevent the wood from expanding or contracting, which can lead to cracks or warping in the paint finish.
Protect from Direct Sunlight
Direct sunlight can fade the paint finish on your vertical shiplap over time. Consider using window treatments or UV-protective coatings to shield your shiplap from the sun’s harmful rays. This will help preserve the vibrancy of the paint color and prevent premature fading.
By following these maintenance tips, you can ensure that your painted and finished vertical shiplap on your kitchen island remains in top condition for years to come. With proper care and attention, your shiplap will continue to enhance the beauty and charm of your kitchen for many more meals and memories to come.
Parting Words on Perfecting Your Vertical Shiplap Masterpiece
As you embark on your vertical shiplap journey in your kitchen island project, remember that the key to success lies in thoughtful material selection, precise painting, creative finishing, and diligent maintenance. Your efforts will surely pay off with a stunning and unique kitchen feature that reflects your personal style. Embrace the process, have fun with it, and don’t be afraid to get a little messy along the way – after all, every paint splatter tells a story! Happy crafting!

