Hey there, RV owners! Dealing with a pesky kitchen sink leak underneath your beloved home on wheels? Don’t worry, we’ve got you covered. In this post, we’ll dive into the causes of RV kitchen sink leaks from underneath and the effects on your vehicle’s structure.
From diagnosis to repair, we’ll walk you through the steps, tools needed, and preventive measures to keep your sink leak-free. Say goodbye to those drips and create a watertight seal in no time!
Understanding the Issue: RV Kitchen Sink Leaking Underneath

One of the most common issues that RV owners face is a kitchen sink leaking from underneath. This can be a frustrating problem that not only affects the functionality of your sink but can also lead to more serious damage if left unchecked. In order to address this issue effectively, it’s important to understand the causes behind the leak and recognize the effects it can have on the overall structure of your RV.
Causes of RV Kitchen Sink Leaking Underneath
There are several potential reasons why your RV kitchen sink may be leaking from underneath. It could be due to worn-out seals, loose connections, or even cracks in the pipes. Identifying the specific cause of the leak is crucial in determining the best course of action for repair. By closely examining the area of the leak and checking for any visible signs of damage, you can begin to pinpoint the source of the problem.
Effects of Prolonged Leaks on the RV Structure
Ignoring a leaking kitchen sink underneath your RV can have serious consequences for the overall structure of your vehicle. Prolonged exposure to water can lead to mold growth, wood rot, and even structural damage if not addressed promptly. Not only does this pose a safety risk to you and your passengers, but it can also result in costly repairs down the line. By taking the time to properly address the issue of a leaking sink, you can prevent further damage and ensure the longevity of your RV.
Don’t wait until the problem worsens – tackle that leak head-on and keep your RV in top condition!
Detailed Steps of Detecting the Source of the Leak
The first step in addressing a leaking RV kitchen sink is to determine where the leak is coming from. This can often be a challenging task, as the source of the leak may not always be readily apparent. One common method for detecting a leak is to visually inspect the area underneath the sink for any signs of water damage or moisture. This can include looking for water stains, mold, or mildew, as these can indicate the presence of a leak.

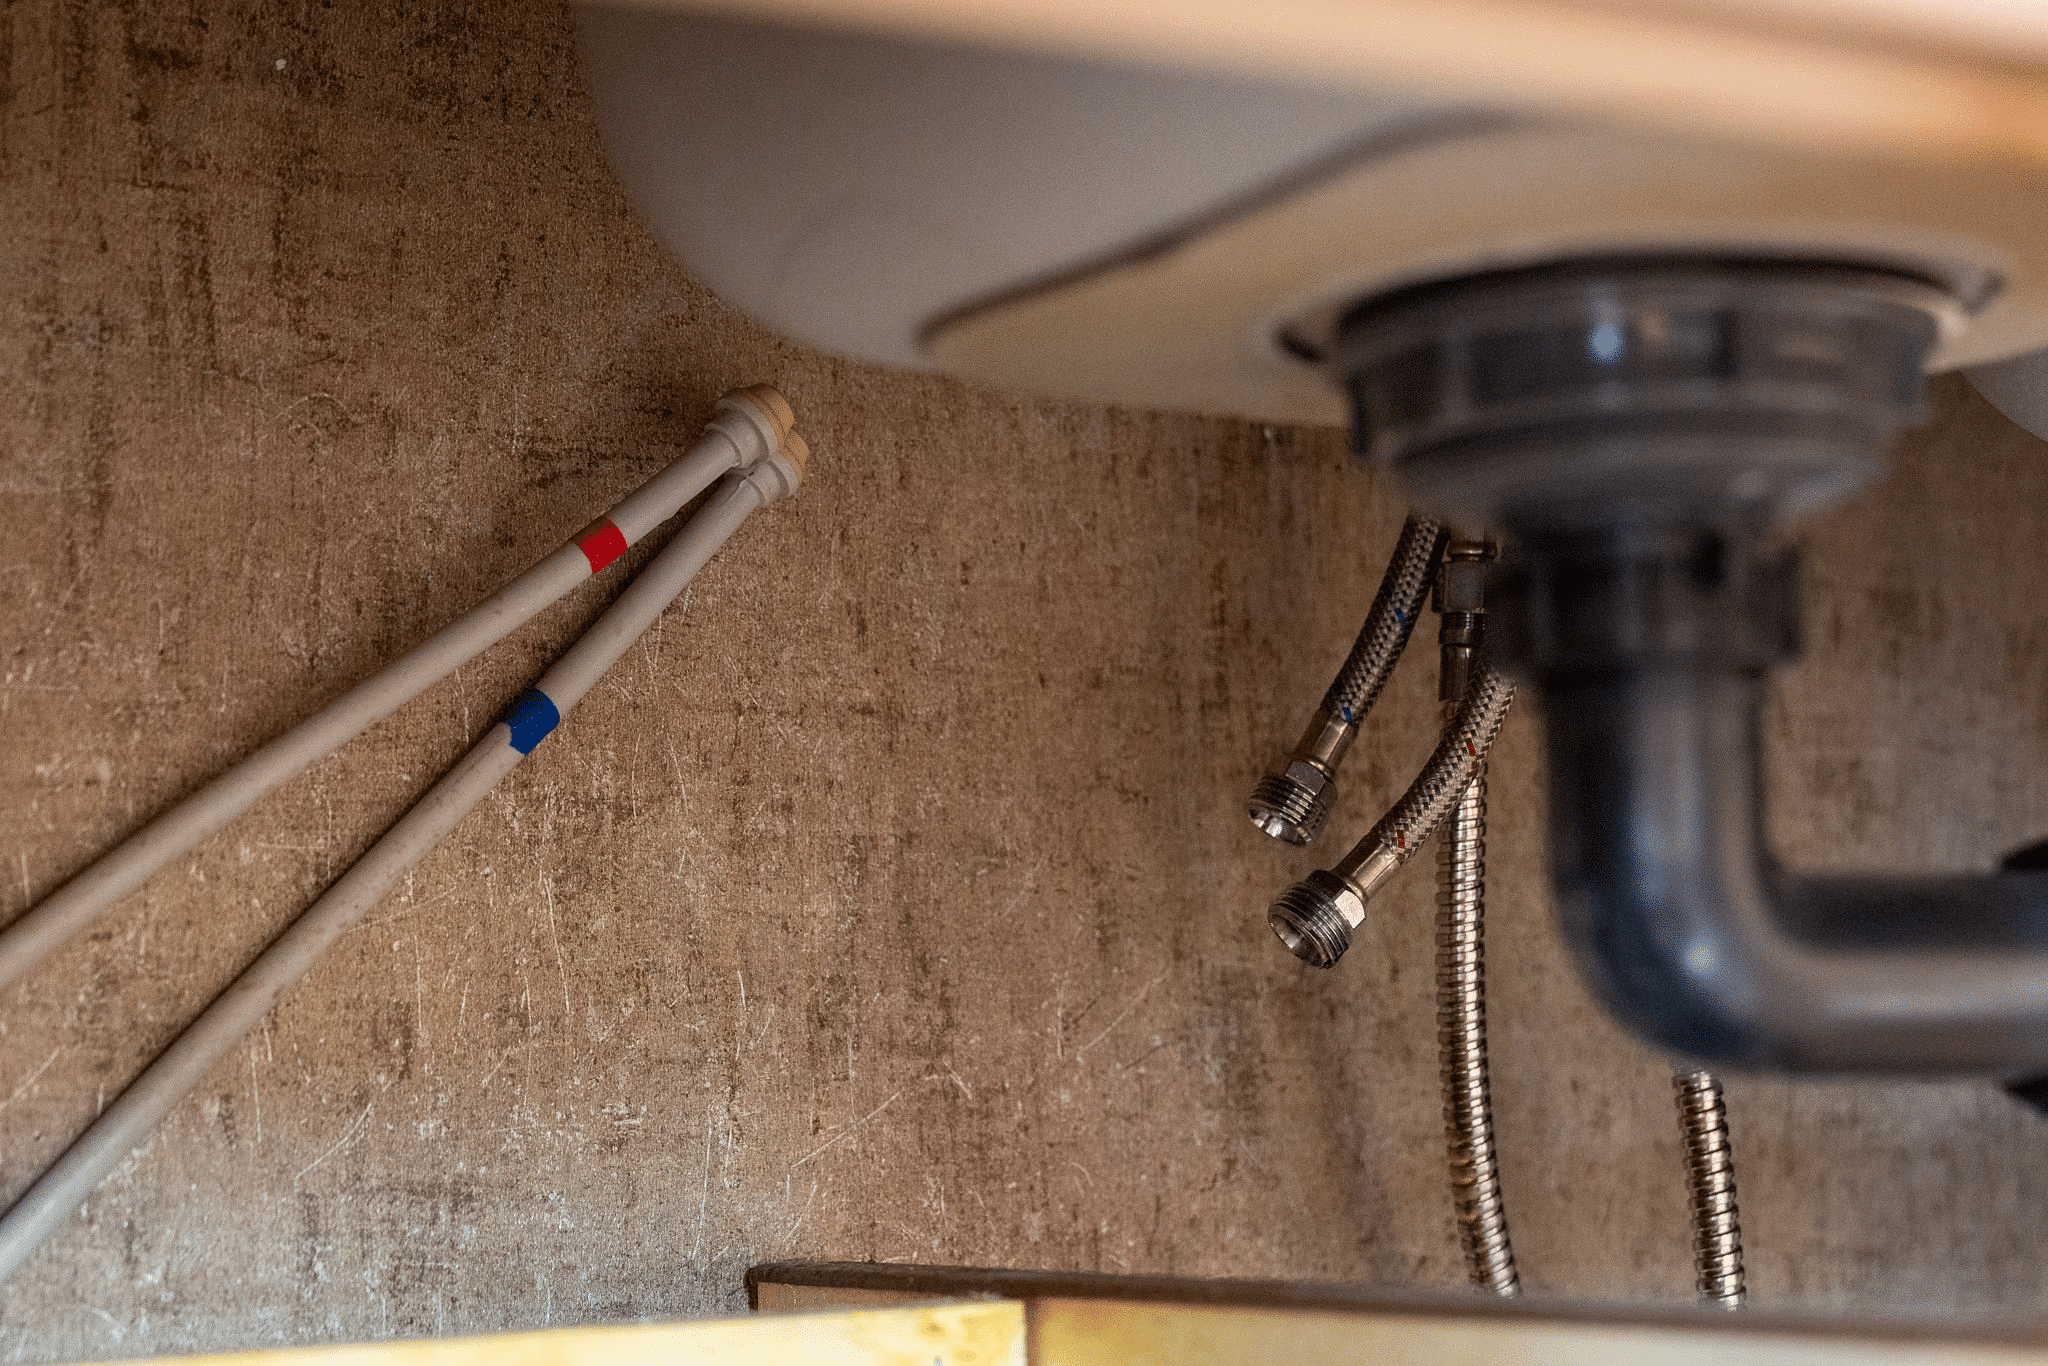
Another method for identifying the source of the leak is to use a flashlight to carefully examine the pipes and connections underneath the sink. Look for any visible cracks, corrosion, or loose fittings that may be causing the leak. In some cases, the leak may be coming from a damaged pipe or connection, which will need to be repaired or replaced in order to stop the leak.
Importance and Methods of Properly Diagnosing the Type of Leak
Once you have identified the source of the leak, it’s important to properly diagnose the type of leak in order to determine the best course of action for repair. There are several common types of leaks that can occur in an RV kitchen sink, including leaks from the faucet, sink drain, or water supply lines.

One method for diagnosing the type of leak is to perform a simple water test. This involves filling the sink with water and then observing where the water is leaking from. If the leak is coming from the faucet, for example, you may need to replace the faucet cartridge or washer to stop the leak. If the leak is coming from the sink drain, on the other hand, you may need to tighten or replace the drain fittings to prevent further leakage.
By properly diagnosing the type of leak in your RV kitchen sink, you can ensure that the necessary repairs are made to stop the leak and prevent any further damage to your RV.
Tools and Equipment Needed for the Repair

When it comes to fixing an RV kitchen sink leaking underneath, having the right tools and equipment is essential to get the job done efficiently and effectively. Without the proper tools, you may find yourself struggling to address the issue or even causing further damage to your RV’s plumbing system. In this section, we will discuss the essential tools necessary for repairing a leaking RV kitchen sink and the safety equipment needed to ensure a successful repair process.
Essential Tools for Fixing a Leaking RV Kitchen Sink
One of the first steps in repairing a leaking RV kitchen sink is gathering the necessary tools to handle the job. Some of the essential tools you will need include:
– Wrenches: Adjustable wrenches are vital for loosening and tightening nuts and bolts that may be contributing to the leak.
– Plumber’s Tape: Also known as Teflon tape, this thin white tape is used to seal pipe threads and prevent leaks.
– Pipe Cutter: A pipe cutter will come in handy if you need to replace any damaged pipes that are causing the leak.
– Plungers: A sink plunger can help clear any clogs that may be putting pressure on the pipes and causing leaks.
– Plumbers Putty: This moldable putty is used to create a watertight seal around sink drains and fixtures.
Safety Equipment for Preventing Accidents During Reparations
In addition to the essential tools, it’s crucial to have the right safety equipment to protect yourself during the repair process. Some of the safety equipment you may need includes:
– Safety Goggles: Protect your eyes from debris, chemicals, and other hazards while working on your RV kitchen sink.
– Gloves: Keep your hands safe from sharp edges, hot pipes, and chemicals by wearing durable gloves.
– Respirator: If you will be working with any harsh chemicals or substances, a respirator can help protect your lungs from harmful fumes.
– Knee Pads: Working on RV plumbing can be hard on your knees, so investing in a pair of knee pads can help prevent discomfort and injury.
By ensuring you have the necessary tools and safety equipment before starting the repair process, you can effectively address the issue of an RV kitchen sink leaking underneath without putting yourself or your RV at risk. Remember, safety should always come first when working on any repairs, especially those involving plumbing systems.
Step-by-step Guide to Fixing Your Leaking RV Kitchen Sink

So, your RV kitchen sink is leaking underneath, huh? Don’t worry, we’ve got you covered! In this section, we’ll walk you through a step-by-step guide to help you fix that pesky leak and get back to enjoying your road trips leak-free.
Step 1: Turn Off the Water Supply
The first step in fixing any plumbing issue is to turn off the water supply. Locate the shut-off valves under your sink and make sure the water is completely turned off before you start working.
Step 2: Identify the Source of the Leak
Next, you’ll need to identify where exactly the leak is coming from. Check for any visible cracks, loose connections, or damaged pipes underneath the sink. Once you’ve pinpointed the source of the leak, you can move on to the next step.
Step 3: Gather Your Tools
Now that you know what you’re dealing with, gather all the necessary tools to fix the leak. You might need a wrench, plumber’s tape, sealant, and replacement parts if any of the components are beyond repair.
Step 4: Repair or Replace Damaged Parts
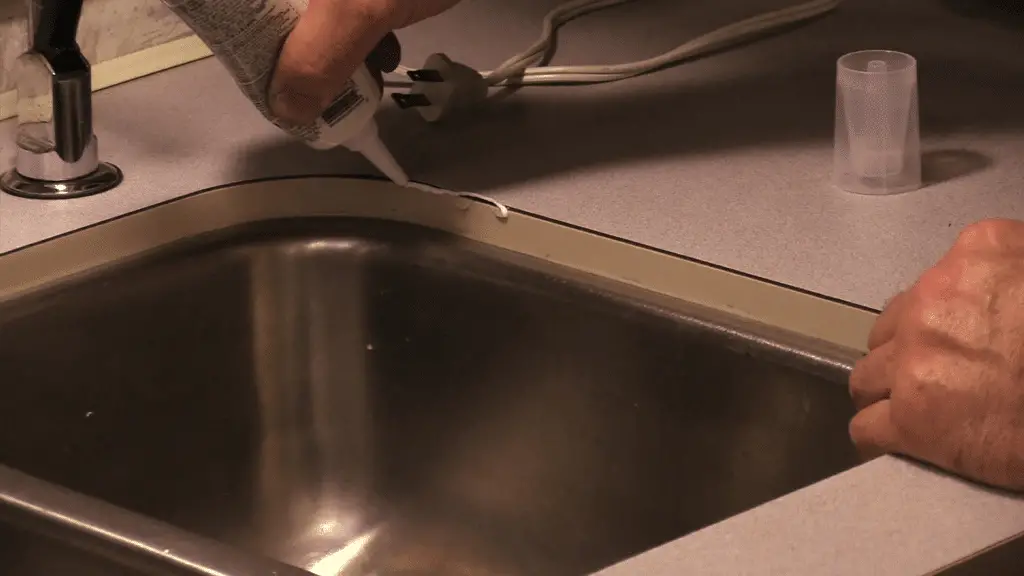
If you’ve identified a cracked pipe or a loose connection as the source of the leak, it’s time to repair or replace the damaged parts. Use your tools to tighten connections, apply sealant to cracks, or replace any faulty components.
Step 5: Test for Leaks
Once you’ve made the necessary repairs, turn the water supply back on and test for leaks. Keep an eye out for any signs of water dripping or pooling underneath the sink. If you don’t see any leaks, congratulations – you’ve successfully fixed your RV kitchen sink!
Step 6: Preventative Maintenance
To prevent future leaks, make sure to perform regular maintenance on your RV kitchen sink. Check for any signs of wear and tear, tighten connections periodically, and don’t ignore small leaks that could turn into bigger problems down the road.
By following these simple steps and taking preventative measures, you can keep your RV kitchen sink in tip-top shape and avoid any more pesky leaks underneath. Happy trails!
Preventive Measures and Maintenance Tips
Now that you have successfully fixed your RV kitchen sink leaking underneath, it’s crucial to take preventive measures and follow maintenance tips to ensure that the issue doesn’t reoccur in the future. By implementing these practices, you can prolong the lifespan of your RV’s plumbing system and avoid costly repairs down the line.
Regular Maintenance Tasks
One of the most effective ways to prevent leaks in your RV kitchen sink is to perform regular maintenance tasks. This includes checking for any signs of leaks or damages, such as water stains, dripping noises, or unusual odors coming from the sink area. By catching any issues early on, you can address them before they escalate into larger problems.
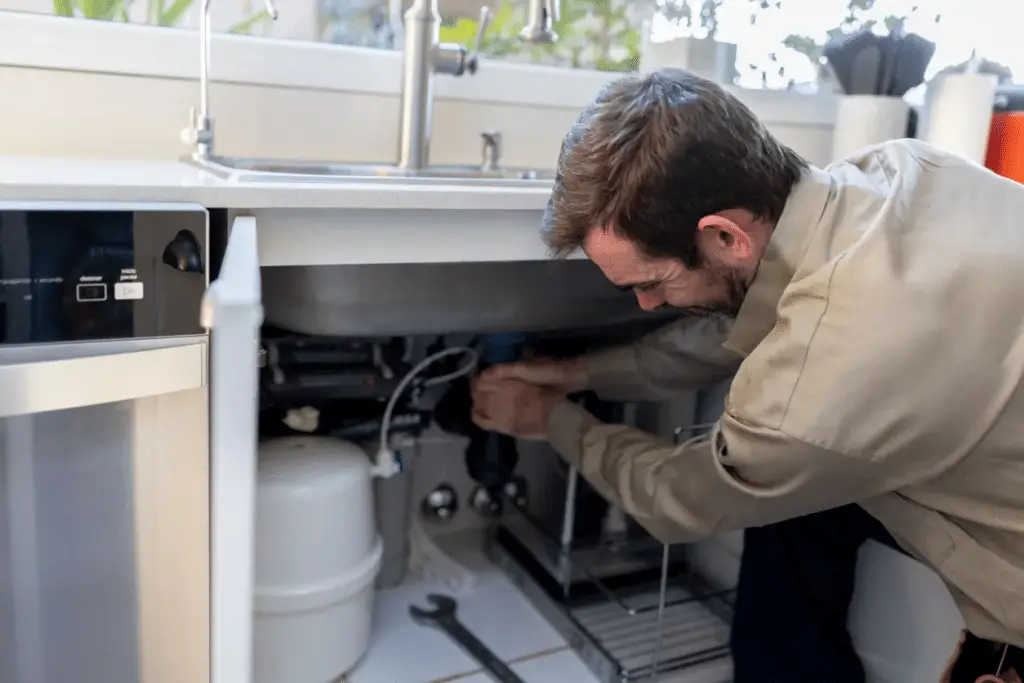
Additionally, it’s essential to clean your RV kitchen sink regularly to prevent clogs and buildup that can lead to leaks. Use gentle cleaning agents and avoid harsh chemicals that can corrode the pipes. A monthly deep clean can help you maintain the integrity of your plumbing system and prevent leaks from occurring.
Top Tips for Preventing Wear and Tear
Along with regular maintenance tasks, there are some top tips you can follow to prevent wear and tear on your RV kitchen sink and pipes. These tips can help you extend the lifespan of your plumbing system and avoid costly repairs in the future.
First and foremost, be mindful of what you put down your kitchen sink drain. Avoid dumping grease, coffee grounds, large food scraps, and other debris that can clog the pipes and lead to leaks. Use a sink strainer to catch food particles and prevent them from entering the plumbing system.
Another important tip is to ensure that your RV is level when parked. Uneven surfaces can cause stress on the plumbing system and lead to leaks. Use leveling blocks or ramps to make sure that your RV is on a stable and even surface to prevent damage to the pipes.
Lastly, consider investing in a water pressure regulator to protect your plumbing system from high water pressure, which can cause leaks and other damages. By regulating the water pressure in your RV, you can prevent unnecessary strain on the pipes and keep your kitchen sink running smoothly.
By following these preventive measures and maintenance tips, you can keep your RV kitchen sink in top condition and avoid any future leaks from occurring underneath. Remember, prevention is key when it comes to maintaining your RV’s plumbing system!
Leaky RV Kitchen Sink: The Drip Stops Here!
Don’t let a leaking RV kitchen sink bring you down! Learn the causes, diagnosis methods, repair steps, and preventive tips to keep your RV in top shape. Remember, a stitch in time saves nine – tackle that leak before it causes major damage. Keep your RV kitchen sink leak-free and hit the road with confidence!

