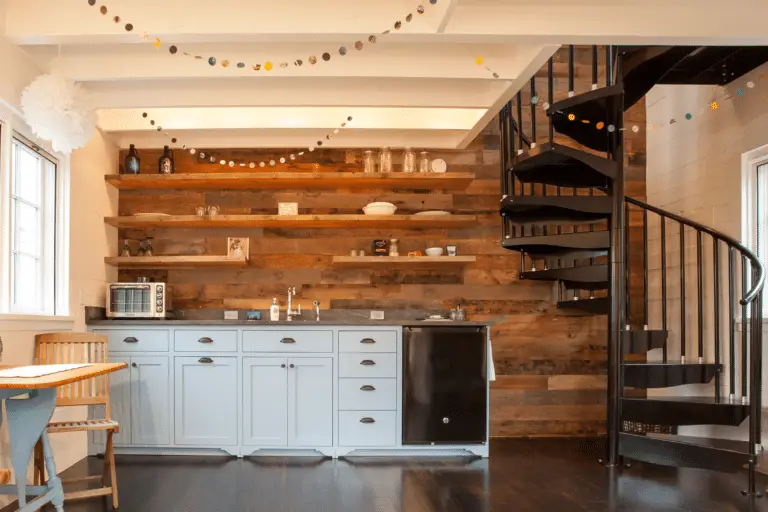
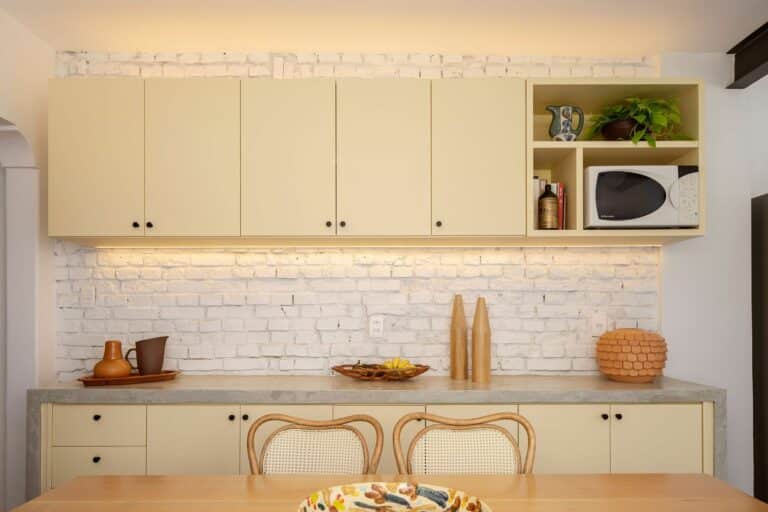
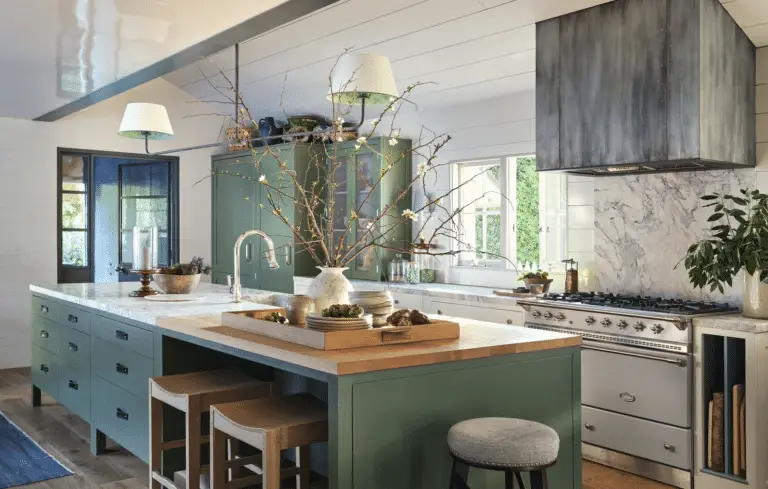
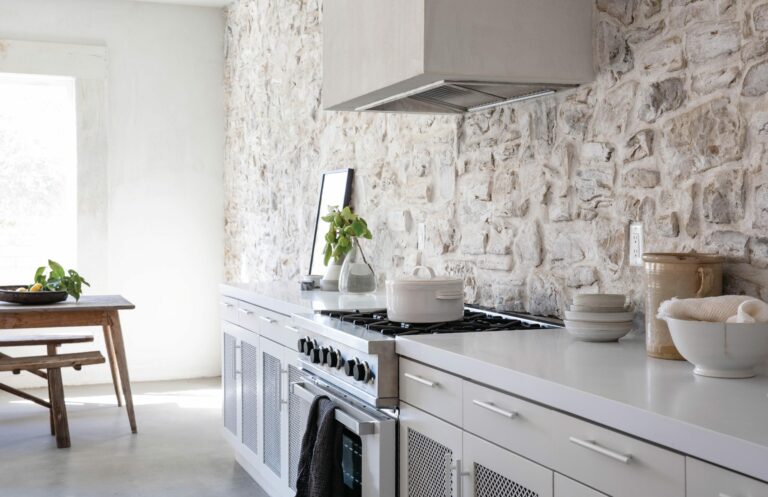
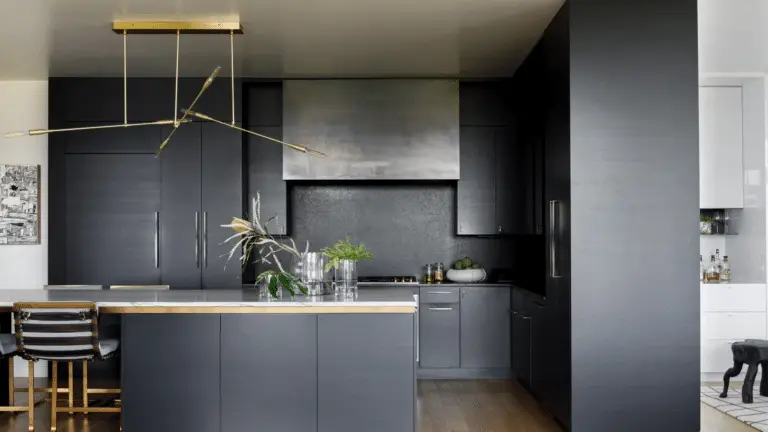
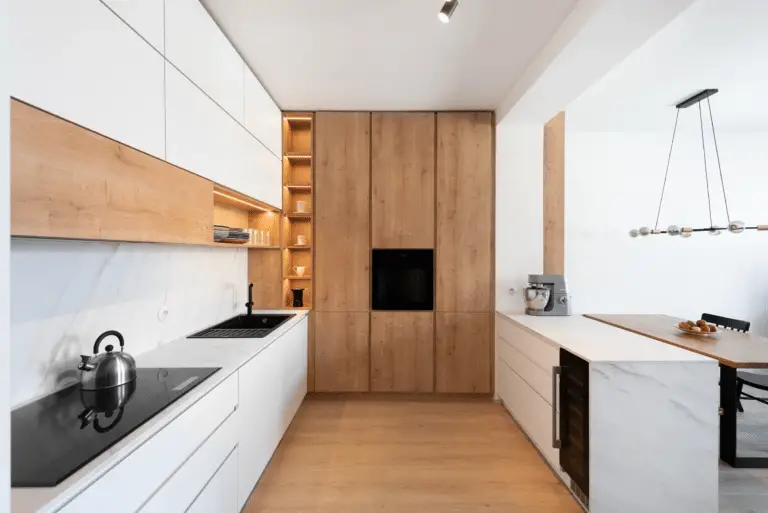
Hey there, ready to upgrade your kitchen with a sleek and modern touch? Let’s talk about subway tile patterns and layouts for your kitchen backsplash! Discover the benefits of using these trendy tiles, explore different patterns and layouts, learn how to install them like a pro, and get tips on maintenance. Spice up your kitchen design with these stylish and versatile subway tiles!
Introduction to Subway Tile Patterns
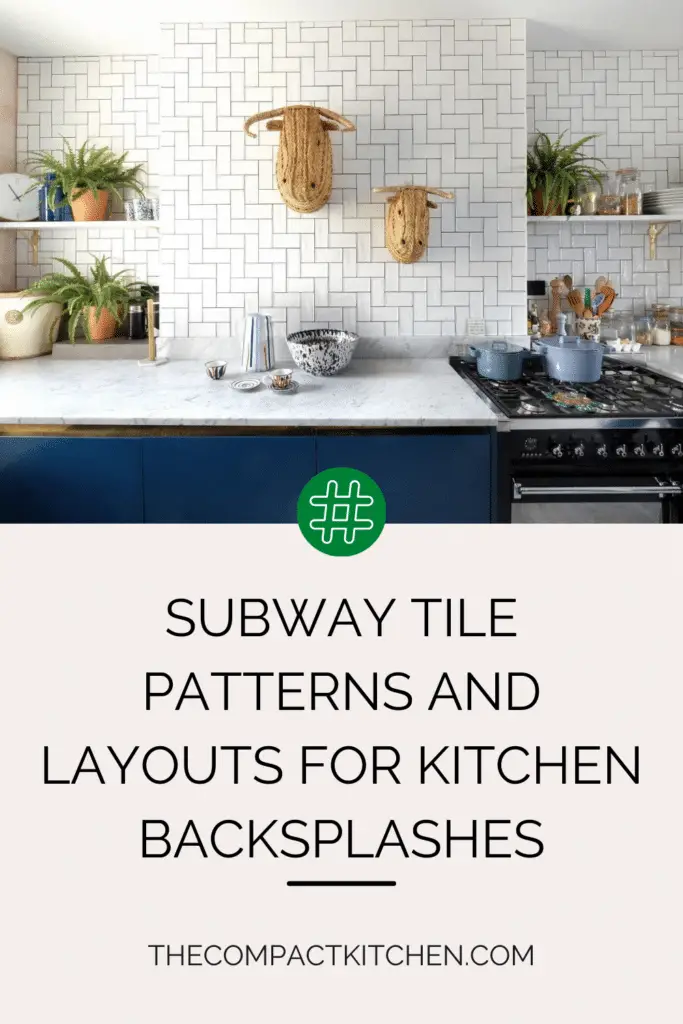
Subway tile patterns are a classic choice for kitchen backsplashes, offering a timeless and elegant look. These patterns consist of rectangular tiles laid out in a specific arrangement, creating a clean and symmetrical design. One of the main benefits of subway tile patterns is their versatility – they can complement a variety of kitchen styles, from traditional to modern.
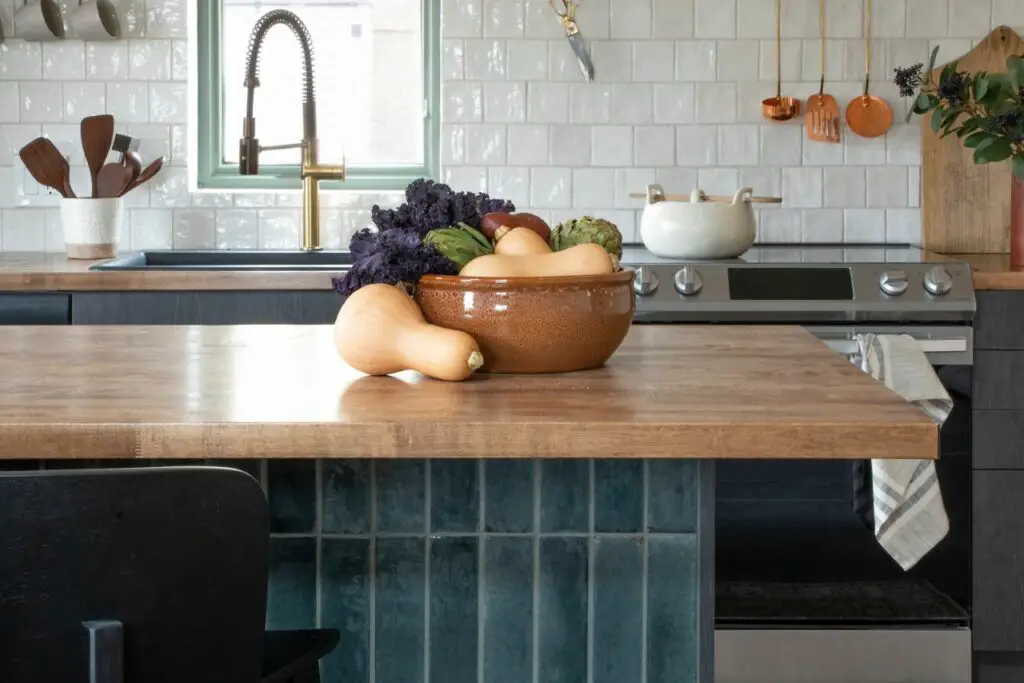
When it comes to modern kitchen designs, subway tile patterns are often the preferred choice due to their minimalist aesthetic and ability to create a sense of openness in the space. Their clean lines and simple layout make them a perfect fit for contemporary kitchens that prioritize functionality and style.
Types of Subway Tile Patterns for Kitchen Backsplashes
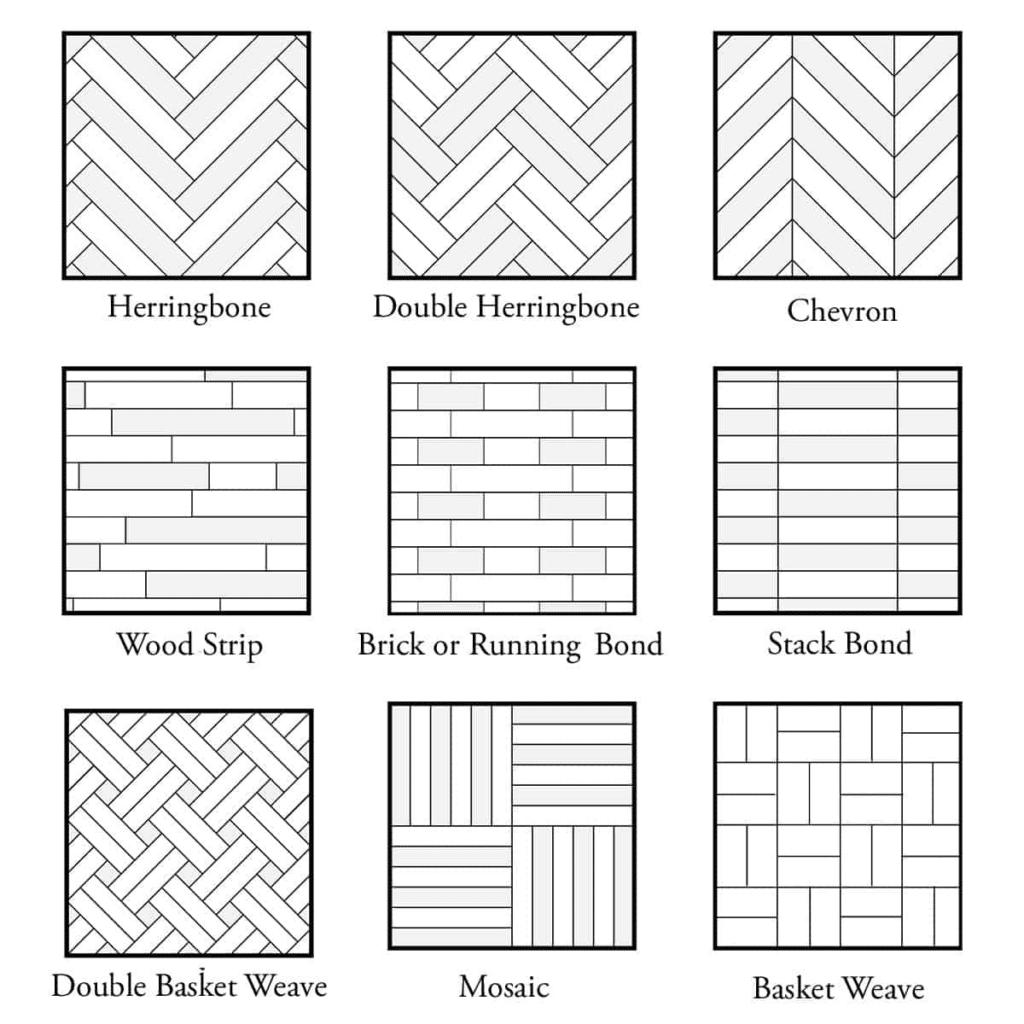
When it comes to designing a kitchen backsplash with subway tiles, the possibilities are endless. The type of pattern you choose can greatly influence the overall aesthetic of your kitchen. Let’s explore some of the most popular subway tile patterns to consider for your project.
Detailed Description of Various Patterns
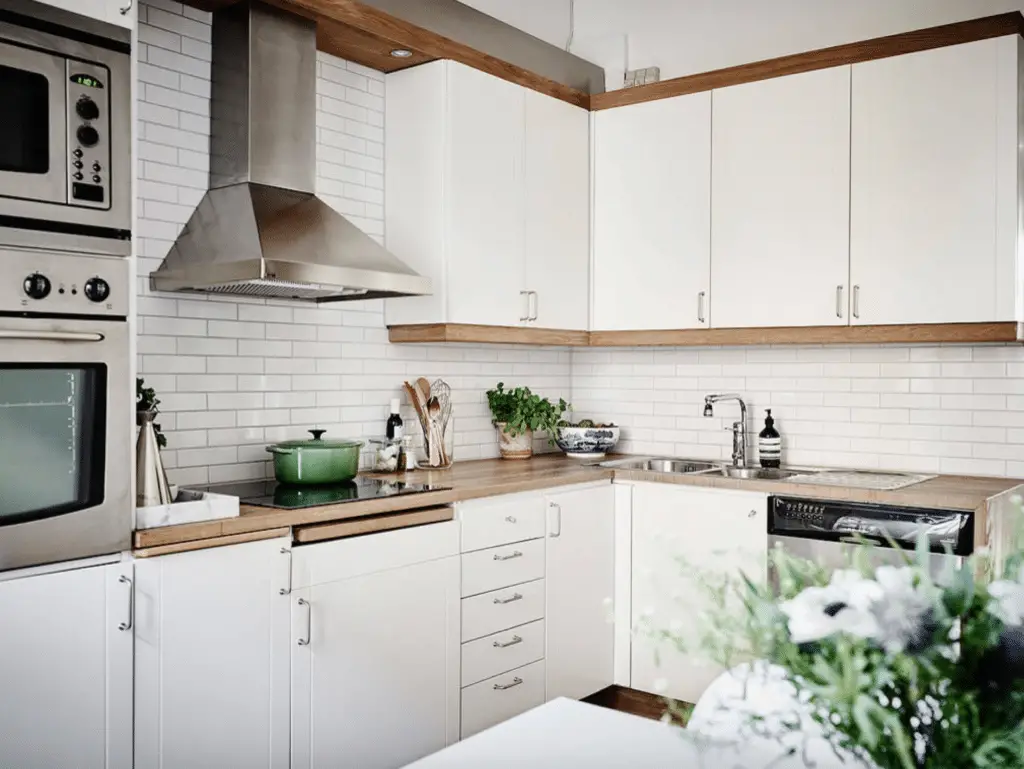
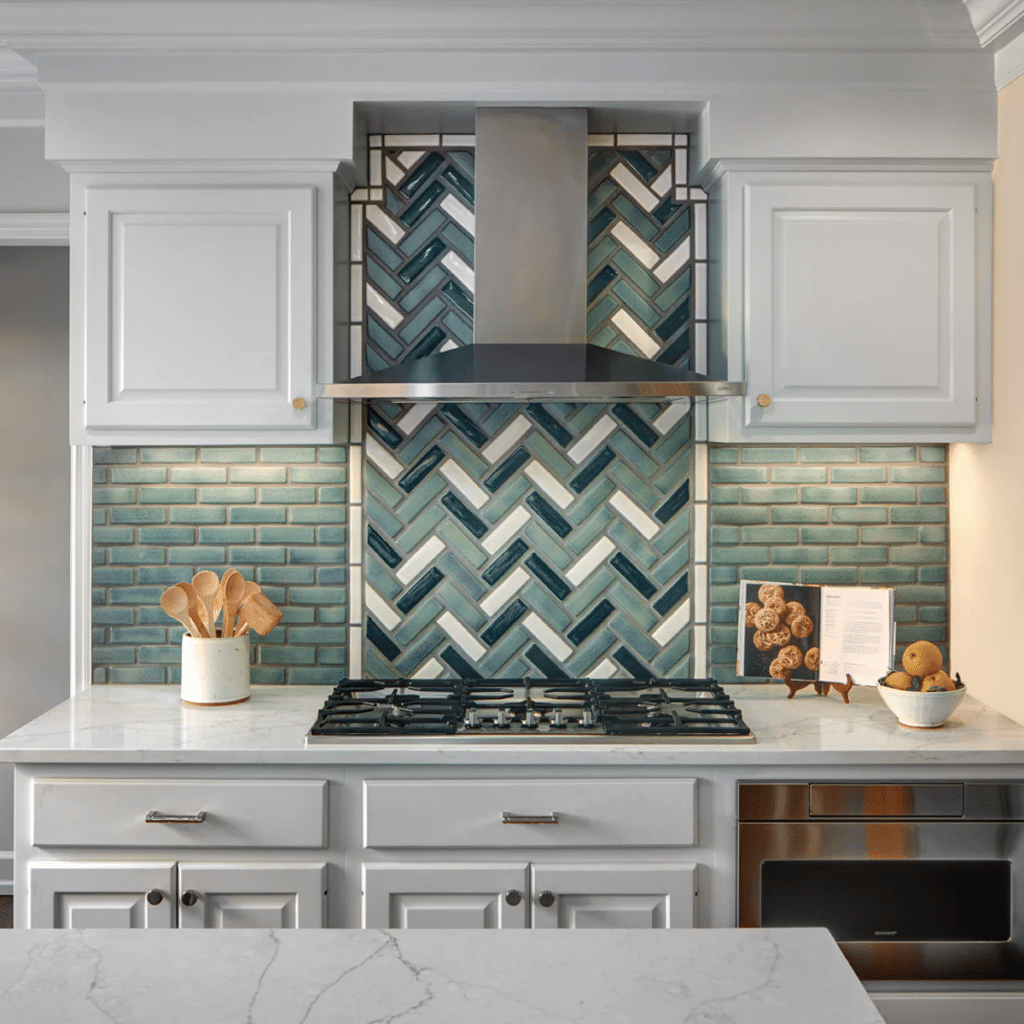
One of the most common subway tile patterns is the offset design, where each row of tiles is offset from the one below it in a brick-like pattern. This classic layout is versatile and works well with both traditional and modern kitchen designs. For a more intricate look, you can opt for the herringbone pattern, which involves tiles laid in a zig-zag formation that adds visual interest to the space.
If you’re looking for a more unique option, consider the crosshatch pattern, where tiles are arranged in a crisscross fashion. This pattern creates a playful and dynamic look that can add personality to your kitchen.

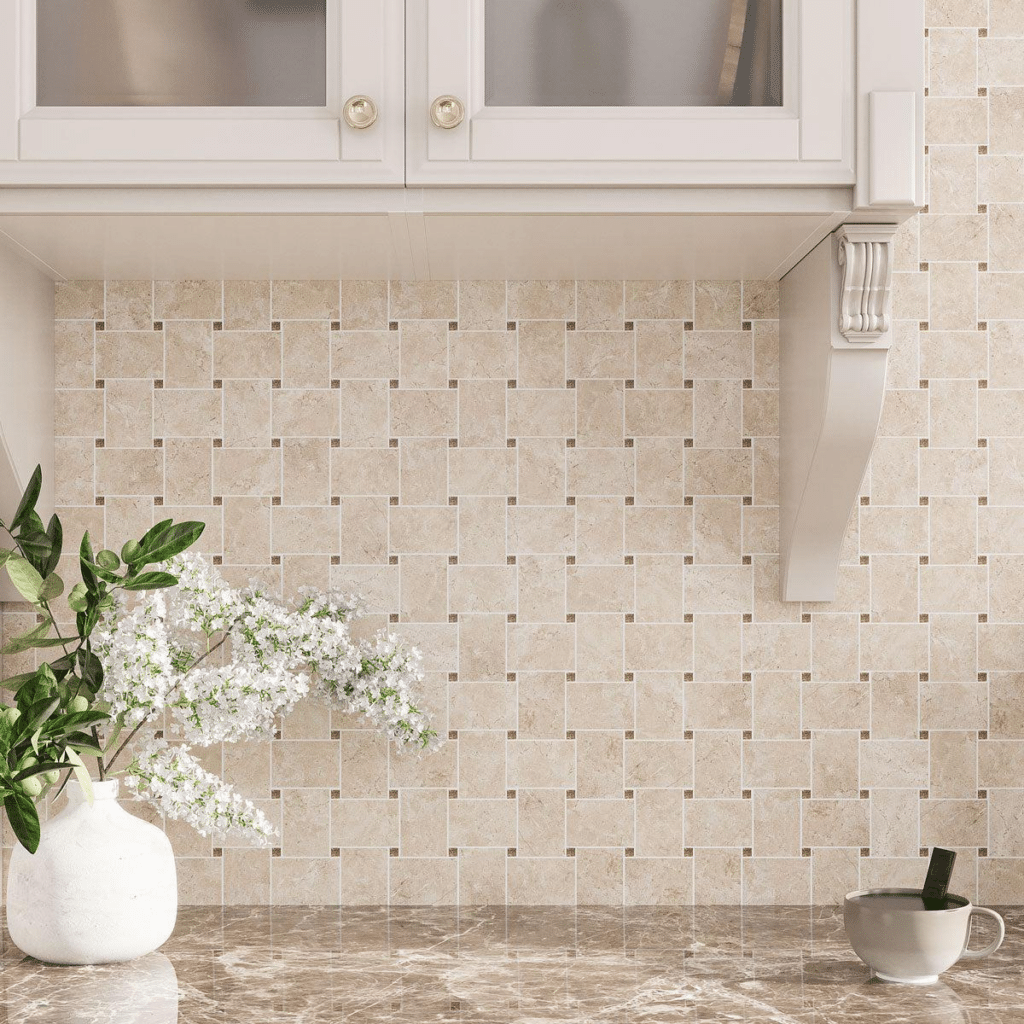
Other popular subway tile patterns include the basketweave, vertical stack, and running bond layouts, each offering its own distinct charm.
Suggestions for Choosing the Best Pattern
When selecting a subway tile pattern for your kitchen backsplash, it’s important to consider the overall style and theme of your kitchen. For a sleek and contemporary look, opt for a simple offset or stacked pattern. If you prefer a more intricate design, the herringbone or crosshatch layout may be the perfect choice.
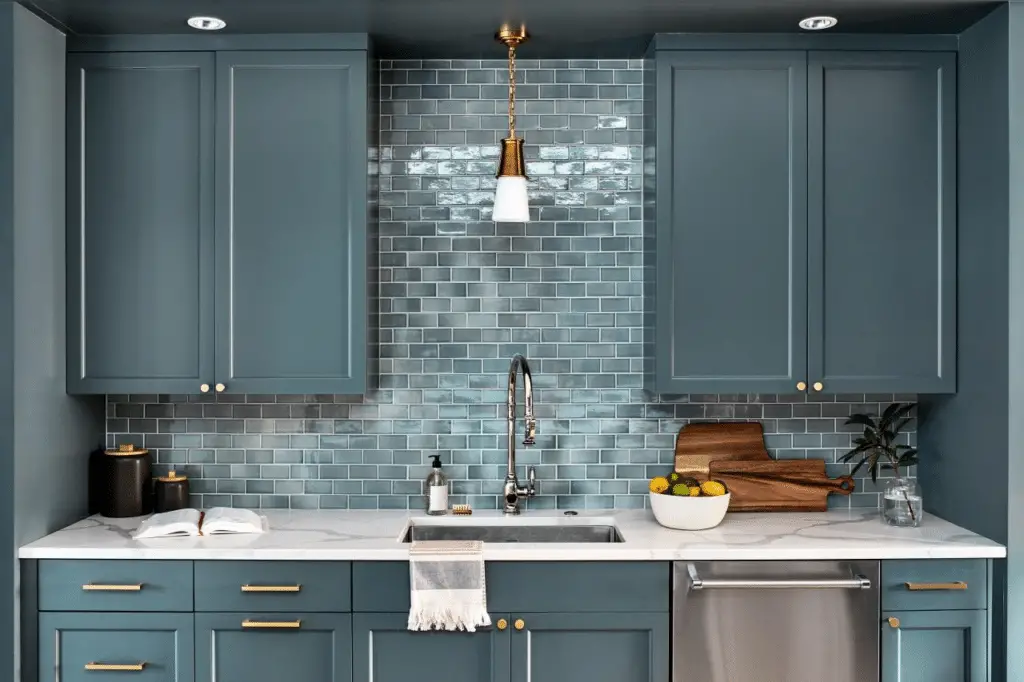
Additionally, take into account the size of your kitchen and the amount of natural light it receives. Larger patterns like basketweave or vertical stack can visually expand a small space, while smaller patterns like the running bond layout can create a cozy atmosphere in a larger kitchen. Ultimately, the best pattern is one that reflects your personal style and enhances the beauty of your kitchen.
Unique Subway Tile Layouts for Kitchen Backsplashes
When it comes to designing your kitchen backsplash with subway tiles, the layout you choose can make a big impact on the overall look and feel of the space. While traditional stacked or offset layouts are always classic choices, there are plenty of unique layouts that can add a touch of personality to your kitchen. Let’s explore some of these creative subway tile layouts and how you can incorporate them into your kitchen design.
Diagonal Layout
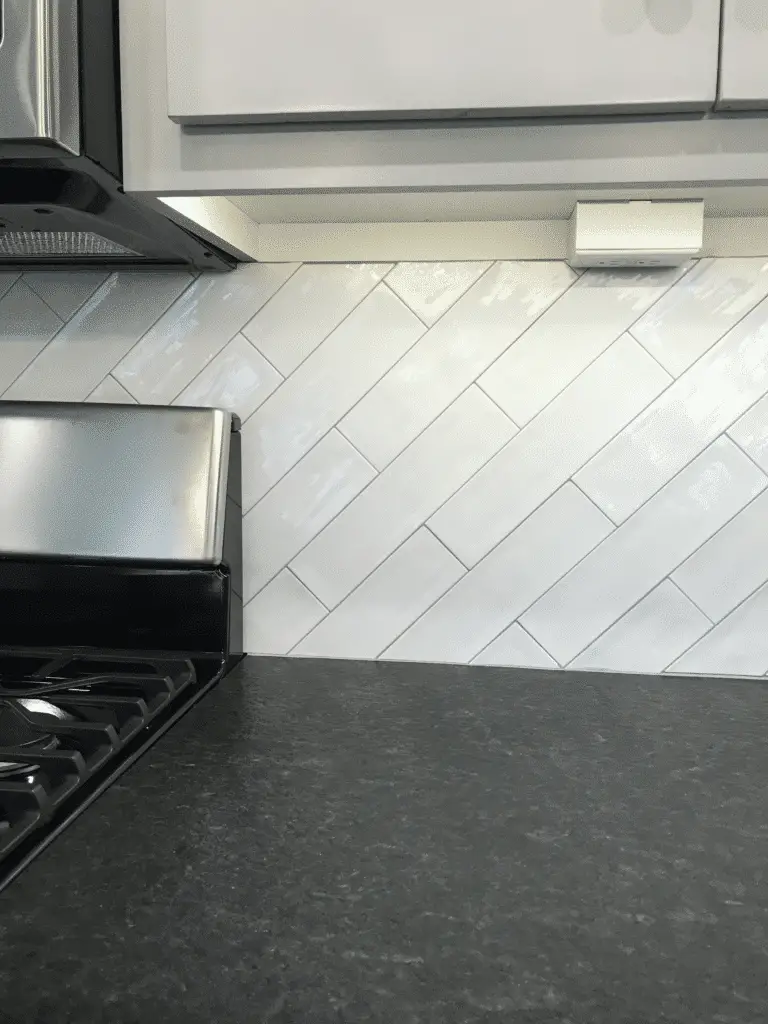
One stylish option for a subway tile backsplash is the diagonal layout. By simply laying the tiles at a 45-degree angle, you can create a dynamic and visually interesting pattern that adds a modern touch to your kitchen. This layout works especially well in smaller kitchens, as it can make the space appear larger and more open.
Chevron Pattern
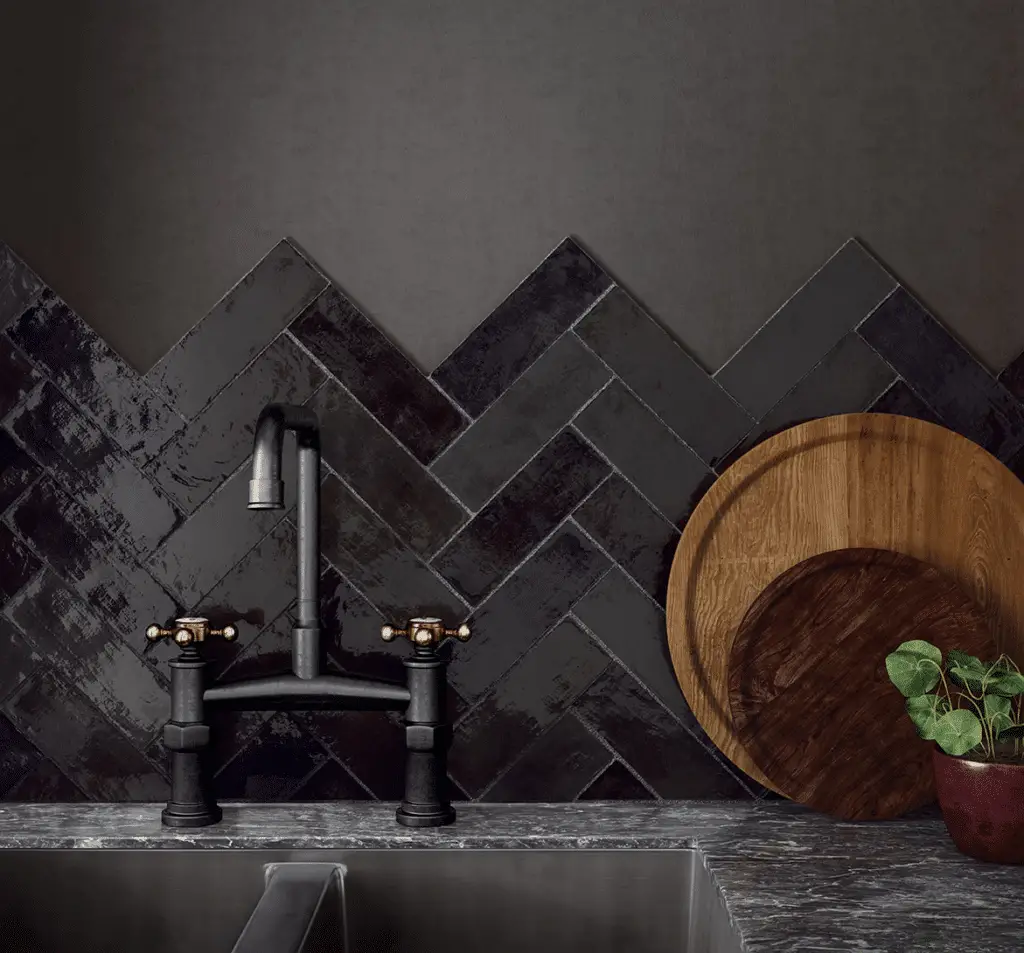
For a more intricate and eye-catching design, consider the chevron pattern. This layout involves arranging subway tiles in a V-shaped zigzag pattern, creating a sophisticated and stylish look. The chevron pattern is perfect for adding a touch of elegance to your kitchen backsplash and works well with both traditional and contemporary kitchen styles.
Basket Weave Design

If you’re looking for a subway tile layout that adds texture and depth to your kitchen backsplash, the basket weave design is a great choice. This pattern involves alternating horizontal and vertical tiles to create a woven effect that adds visual interest to the space. The basket weave design is a unique and timeless choice that can complement a variety of kitchen styles.
Arabesque Layout
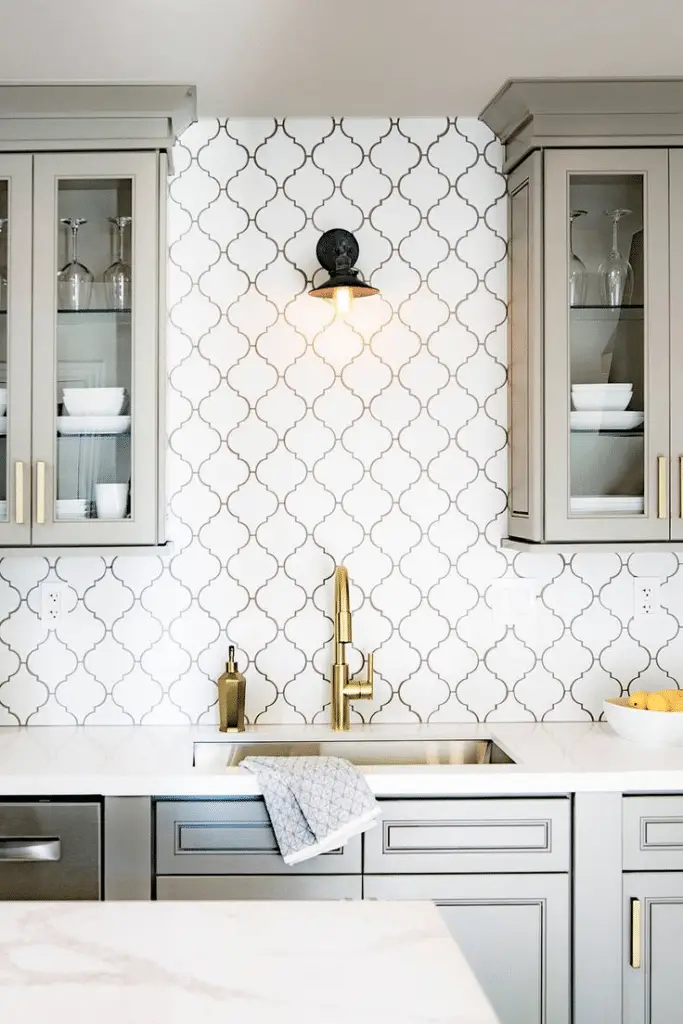
For a touch of glamour and luxury in your kitchen, consider the arabesque layout for your subway tile backsplash. This intricate pattern features curved and flowing lines that create a mesmerizing and elegant look. The arabesque layout is perfect for adding a touch of sophistication to your kitchen and can be a stunning focal point in the space.
Incorporating unique subway tile layouts into your kitchen backsplash design is a great way to infuse personality and style into your space. Whether you opt for a diagonal layout, chevron pattern, basket weave design, or arabesque layout, you can create a visually appealing and stylish kitchen that reflects your taste and personality. Be bold, be creative, and have fun experimenting with different subway tile layouts to find the perfect one for your kitchen.
How to Install Subway Tile Patterns for Kitchen Backsplashes
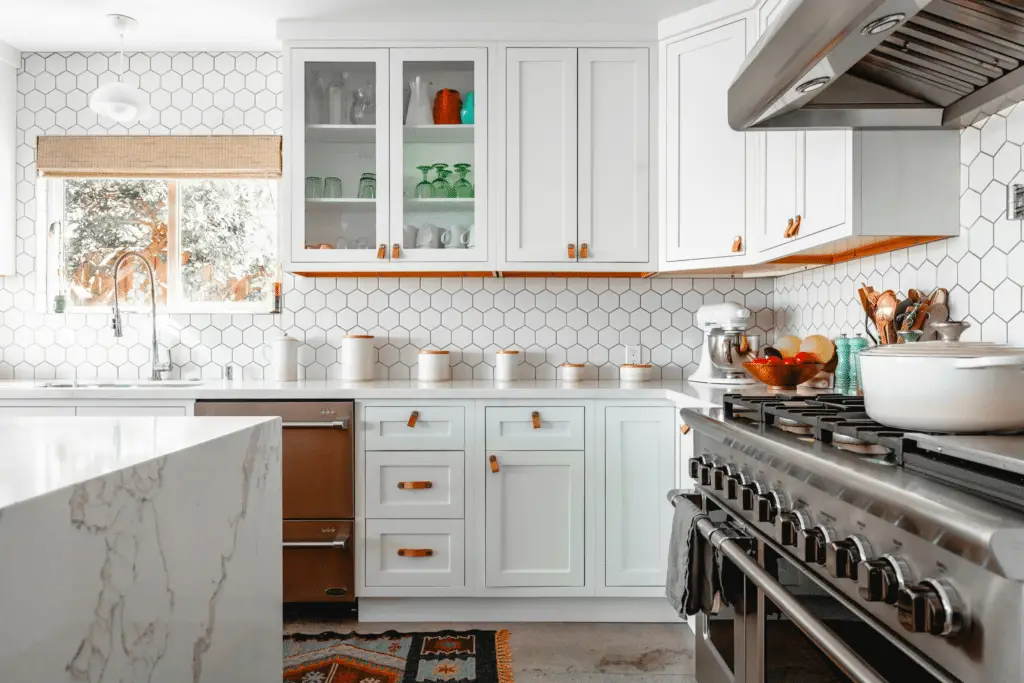
So, you’ve chosen the perfect subway tile pattern for your kitchen backsplash, now it’s time to roll up your sleeves and get to work! Installing subway tiles may seem like a daunting task, but with the right guidance, you can achieve a professional-looking result that will elevate the design of your kitchen.
Step-by-Step Installation Guide
Before you begin the installation process, make sure you have all the necessary tools and materials on hand. This includes subway tiles, adhesive, grout, tile spacers, a tile cutter, and a notched trowel.
Start by preparing the surface where you will be installing the tiles. Ensure that the wall is clean, dry, and free of any debris. Apply a layer of adhesive to the wall using the notched trowel, then press the tiles firmly into place, using tile spacers to maintain an even pattern.
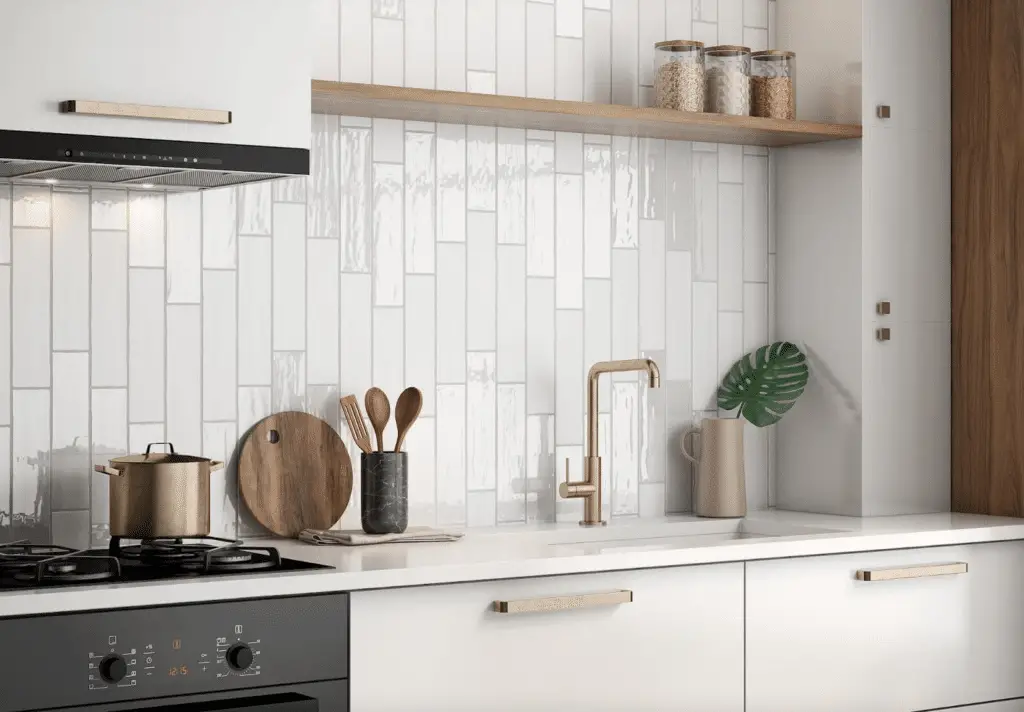
Once all the tiles are in place, allow the adhesive to dry according to the manufacturer’s instructions. After the tiles have set, it’s time to apply the grout. Use a float to spread the grout over the tiles, making sure to fill in all the gaps. Wipe away any excess grout with a damp sponge.
Finally, once the grout has dried, use a clean, dry cloth to buff away any haze left behind on the tiles. And there you have it – a beautifully installed subway tile backsplash that will be the focal point of your kitchen!
Important Dos and Don’ts
When installing subway tiles, there are a few key dos and don’ts to keep in mind to ensure a successful outcome. Do make sure to measure and plan out your tile layout before starting the installation process. This will help you avoid any unsightly cuts or awkward gaps in the pattern.
Don’t rush the drying times for the adhesive and grout. It’s important to allow each layer to dry completely before moving on to the next step to prevent any issues with the final result.
Do take your time and pay attention to detail. Installing subway tiles requires precision and patience to achieve a flawless finish. And most importantly, don’t forget to step back and admire your handiwork once the installation is complete – you deserve it!
Maintenance and Care for Subway Tile Kitchen Backsplashes

Now that you have your stunning subway tile kitchen backsplash installed, it’s essential to know how to properly maintain and care for it to ensure it stays looking fresh and new for years to come. Here are some expert tips on how to keep your subway tile backsplash in top shape:
Regular Cleaning Routine
One of the easiest ways to maintain your subway tile kitchen backsplash is to establish a regular cleaning routine. Wiping down the tiles with a mild cleaning solution and warm water will help prevent dirt and grime buildup. Avoid using harsh chemicals that could damage the grout or tiles themselves.
Grout Maintenance
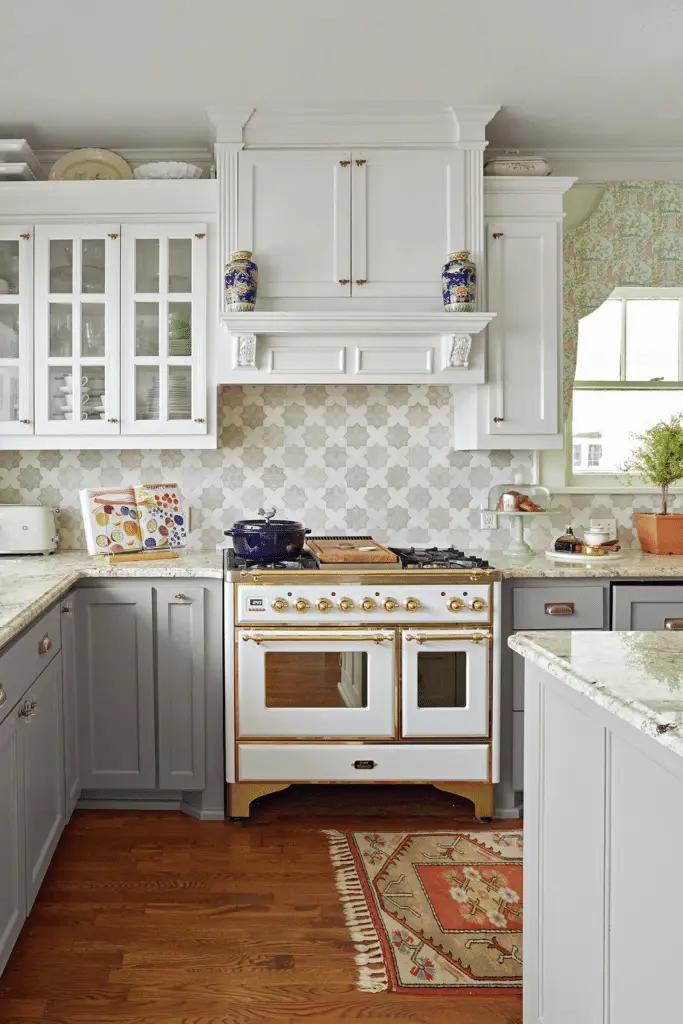
Speaking of grout, it’s essential to keep it clean and sealed to prevent staining and discoloration. Regularly inspect the grout lines for any signs of wear or damage and reseal them as needed. This will not only keep your subway tile backsplash looking great but also extend its lifespan.
Preventative Measures
To avoid any major issues down the line, it’s crucial to take preventative measures to protect your subway tile backsplash. Use a trivet or cutting board when working with hot pots and pans to prevent heat damage to the tiles. Additionally, immediately clean up any spills or splatters to prevent staining.
Professional Maintenance
While regular cleaning and maintenance can go a long way in preserving your subway tile kitchen backsplash, it’s also a good idea to schedule professional maintenance every once in a while. Professional tile cleaners can deep clean the tiles and grout, ensuring they look as good as new.

By following these maintenance tips, you can keep your subway tile kitchen backsplash looking fresh and stylish for years to come. Remember, a well-maintained backsplash not only enhances the overall look of your kitchen but also adds value to your home.
Wrapping Up the Subway Tile Journey
Let’s toast to the endless possibilities of subway tile patterns and layouts for your kitchen backsplash! Remember, each pattern tells a unique story, and every layout adds character to your space. So, whether you go for a classic offset or a trendy herringbone, make sure it reflects your style.
Installation? Easy-peasy. Maintenance? Piece of cake. Just keep those tiles sparkling! Your kitchen backsplash is the canvas; now go create a masterpiece with subway tiles!


