
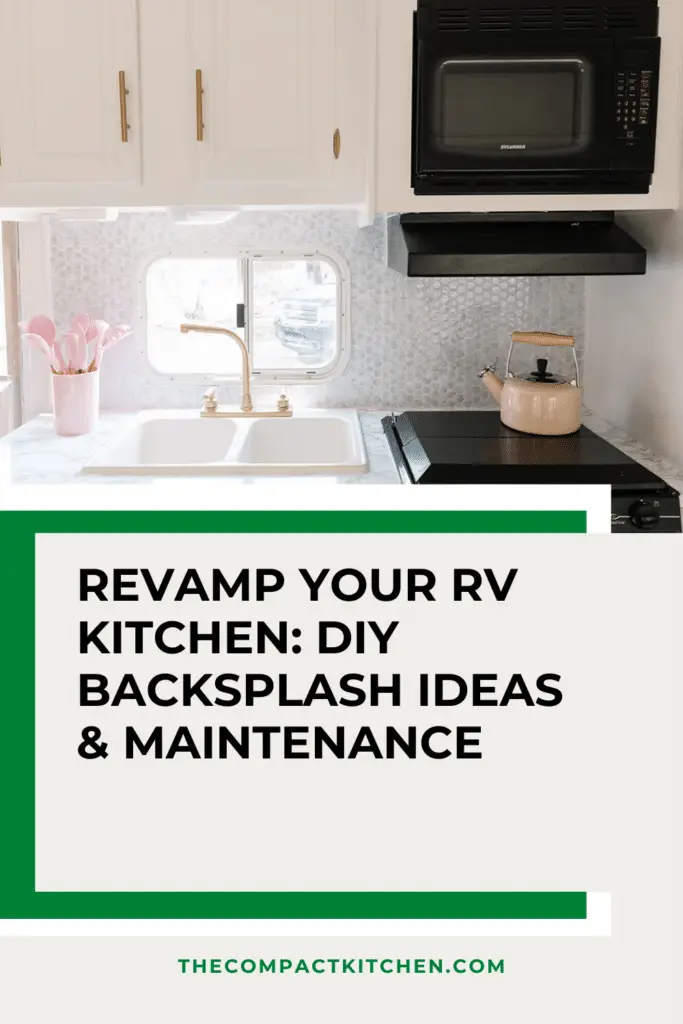
Looking to spruce up your RV kitchen? Dive into the world of DIY RV Kitchen Backsplash Projects! From essential tools and materials to creative design ideas, this blog post has got you covered.
Learn how to create your own stunning Backsplash step-by-step and get inspired by various design options. Plus, don’t forget the importance of proper maintenance to keep your Backsplash looking fresh. Ready to transform your RV kitchen? Let’s get started!

Introduction to DIY RV Kitchen Backsplash Projects
So, you’re ready to take on the challenge of sprucing up your RV kitchen with a DIY backsplash project. Congratulations on taking the first step towards transforming your living space into a cozy, personalized haven on wheels. Whether you’re a full-time RVer looking to add some flair to your home on the road, or a weekend warrior looking for a fun project to tackle, DIY RV Kitchen Backsplash Projects are a fantastic way to inject personality and style into your space.
Creating a DIY Kitchen Backsplash allows you to showcase your creativity, add a personalized touch to your RV, and enhance the overall aesthetic of your kitchen area. Not only does a backsplash protect your walls from splatters and spills, but it also serves as a focal point that can tie together the design elements of your space.
Key Takeaways:
- DIY RV Kitchen Backsplash Projects are a great way to personalize and enhance your living space on the road.
- Adding a backsplash to your kitchen area can protect your walls and serve as a stylish focal point.
- Creating a DIY backsplash allows you to showcase your creativity and unique style.
Essential Tools and Materials Needed for the Project
When it comes to tackling a DIY RV Kitchen Backsplash project, having the right tools and materials is essential for success. Whether you’re a seasoned DIY enthusiast or a beginner looking to spruce up your RV kitchen, having the proper supplies will make the process smoother and more efficient.
Gather Your Supplies
Before you dive into your DIY RV Kitchen Backsplash project, you’ll need to gather all the necessary supplies. The good news is that many of these items can be found at your local hardware store or online for a reasonable price. Here’s a detailed shopping list to guide you through the process:
- Tile adhesive
- Grout
- Tiles (consider peel and stick for easy installation)
- Tile spacers
- Tile cutter or wet saw
- Grout float
- Bucket for mixing grout
- Tile sponge or cleaning cloth
- Measuring tape
- Pencil
- Level
- Painter’s tape
- Protective gloves and eyewear
Invest in Quality Tools
While it may be tempting to cut corners and use whatever tools you have on hand, investing in quality tools specifically designed for tile work will ensure a professional finish. A tile cutter or wet saw is essential for accurately cutting tiles to fit your space. A grout float will help you apply grout smoothly and evenly, while a tile sponge or cleaning cloth is perfect for wiping away any excess grout.
Don’t forget to protect yourself by wearing gloves and eyewear when working with adhesives and grout. Safety should always come first, even in the excitement of a DIY project!
By ensuring you have the right tools and materials on hand, you’ll set yourself up for success and a beautiful finished product. So, gather your supplies, roll up your sleeves, and get ready to transform your RV kitchen with a stunning DIY backsplash!
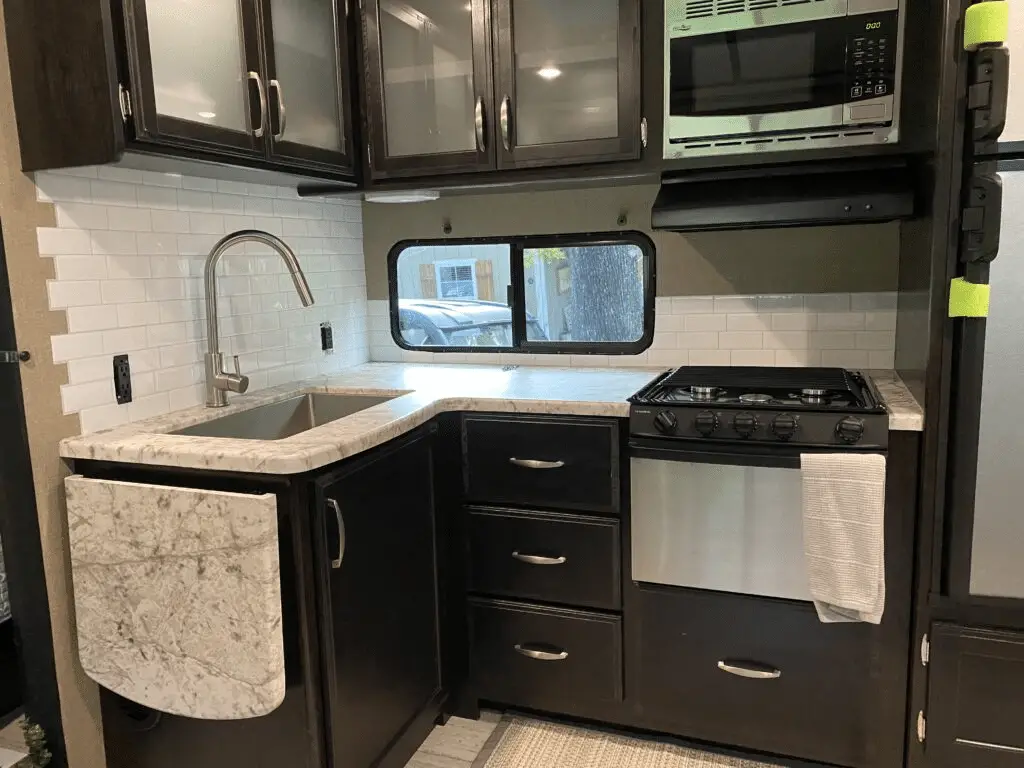
Step-by-step Guide to Creating Your Own RV Kitchen Backsplash
Creating your own DIY RV kitchen backsplash can be a rewarding and fun project that adds a personal touch to your camper. Follow this step-by-step guide to get started on your own unique kitchen backsplash design.
1. Planning and Preparation
The first step in creating your DIY RV kitchen backsplash is to plan out your design. Consider the style and color scheme of your kitchen, as well as any themes or patterns you want to incorporate. Measure the area where the backsplash will go to determine how much material you will need.
Next, gather all the necessary tools and materials. This may include adhesive, tiles, grout, a trowel, spacers, sponges, and a level. Make sure you have everything you need before starting the project to avoid any interruptions.
2. Installation
Begin by thoroughly cleaning the area where the backsplash will be installed. This will ensure that the adhesive sticks properly and that your backsplash stays in place. Use a level to mark a straight line where the bottom of your backsplash will be.
Spread the adhesive onto the wall using a trowel, and then press the tiles into place. Use spacers to ensure even gaps between the tiles. Once the tiles are in place, allow the adhesive to dry before removing the spacers and applying grout.
Apply the grout with a sponge, making sure to fill in all the gaps between the tiles. Wipe away any excess grout with a damp sponge. Allow the grout to dry completely before moving on to the final step.
3. Finishing Touches
After the grout has dried, clean the tiles with a damp cloth to remove any leftover grout residue. Inspect the backsplash to ensure that all the tiles are firmly in place and that the grout lines are clean and straight.
To add a professional touch to your DIY RV kitchen backsplash, consider using a sealant to protect the tiles and grout from water and stains. This will help prolong the life of your backsplash and keep it looking great for years to come.
By following these steps and taking your time to plan and execute your DIY RV kitchen backsplash project, you can create a beautiful and functional addition to your camper that reflects your style and personality. Enjoy the process and have fun creating a space that you love!
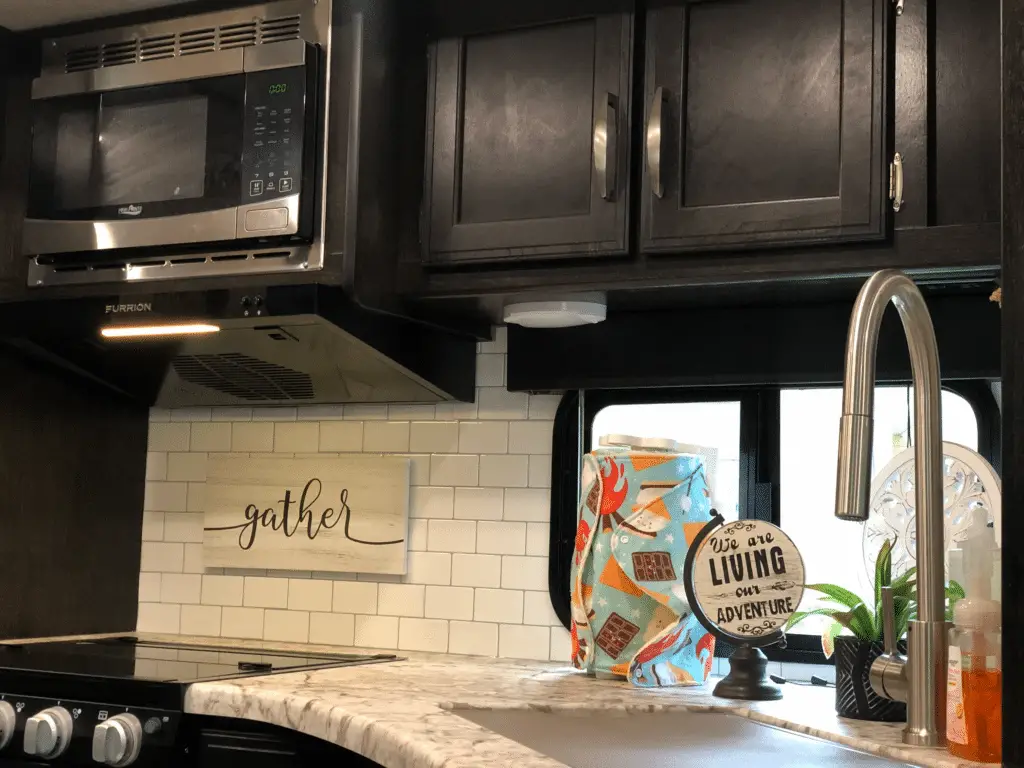
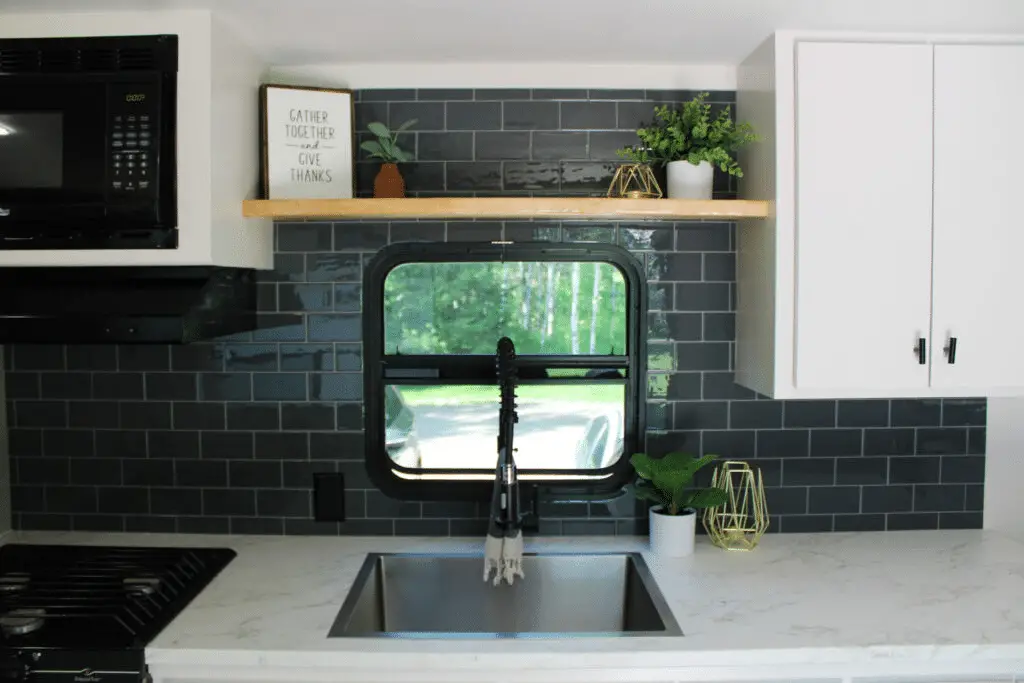
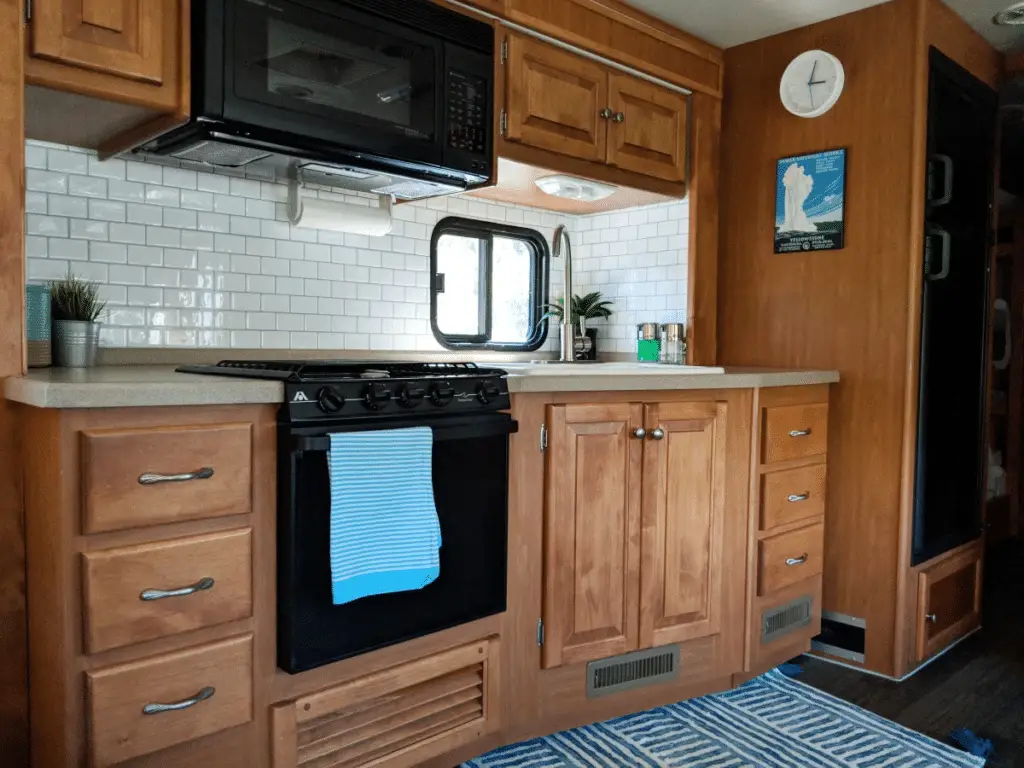
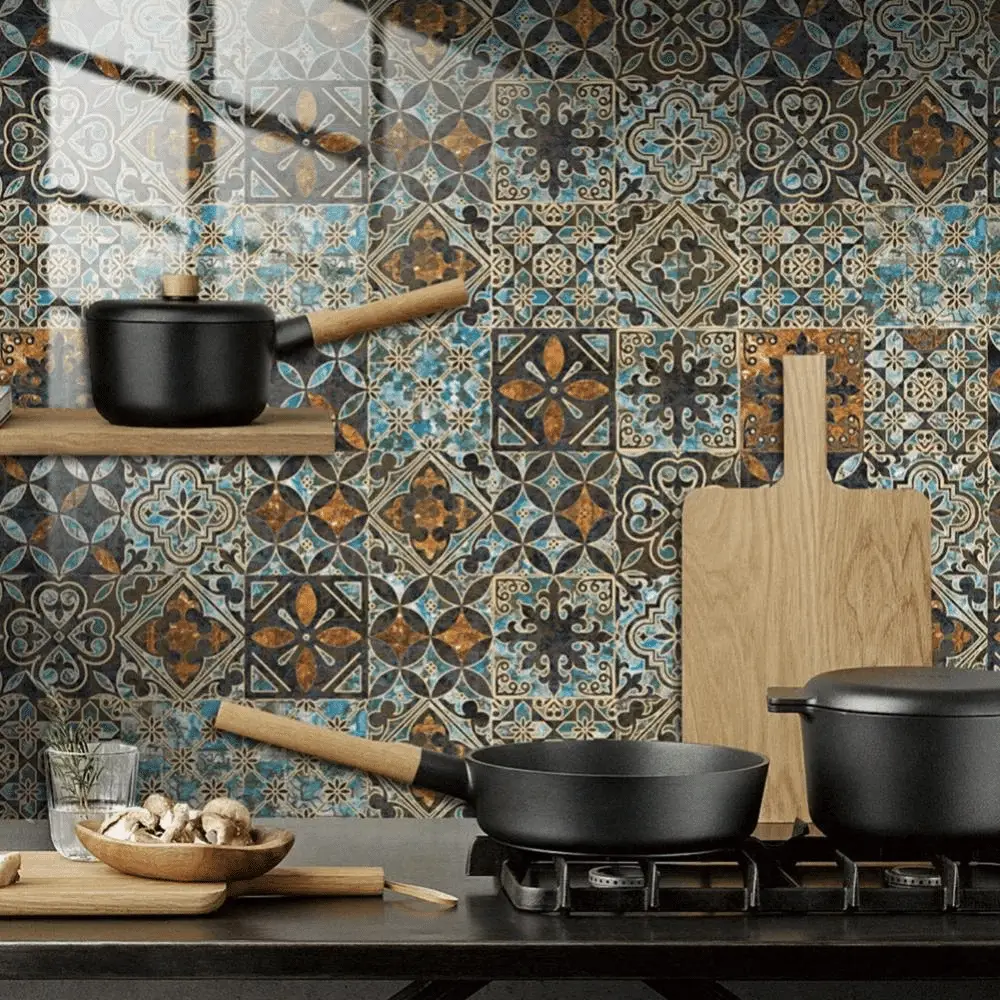
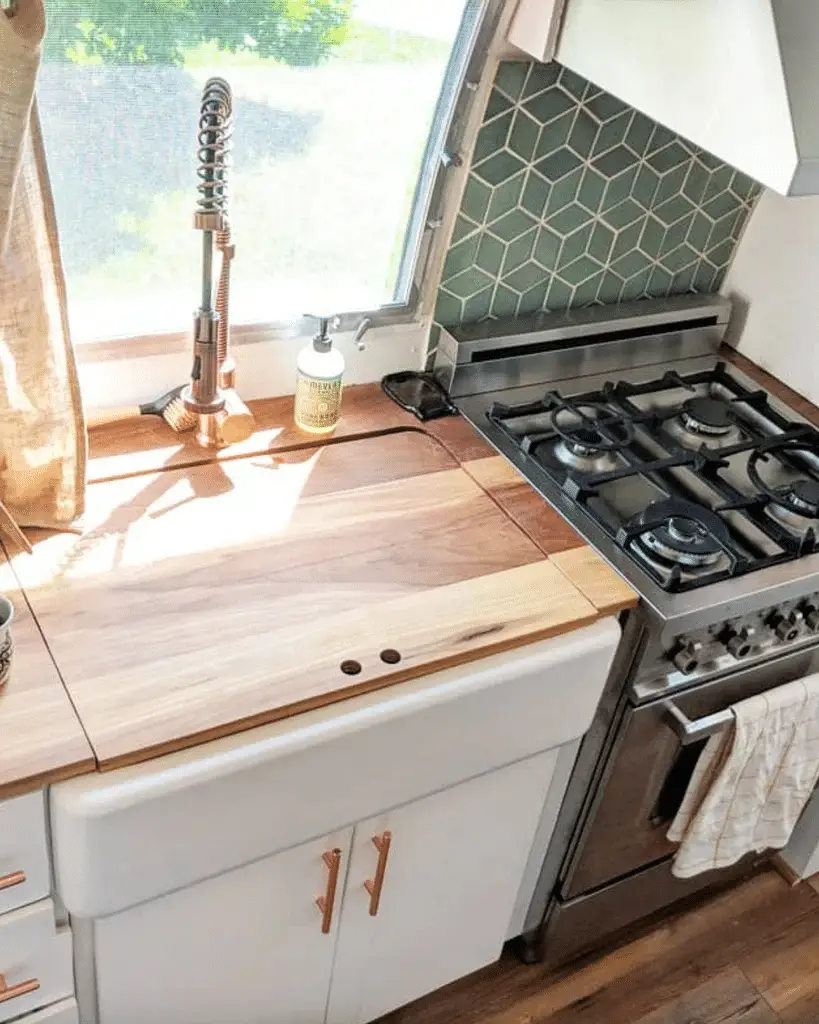
Creative Ideas for DIY RV Kitchen Backsplash Projects
Now that you have the tools and materials ready, and you’ve followed the step-by-step guide to create your own RV kitchen backsplash, it’s time to get creative! Your backsplash is a focal point in your RV kitchen, so why not make it a design statement?
1. Mix and Match Patterns
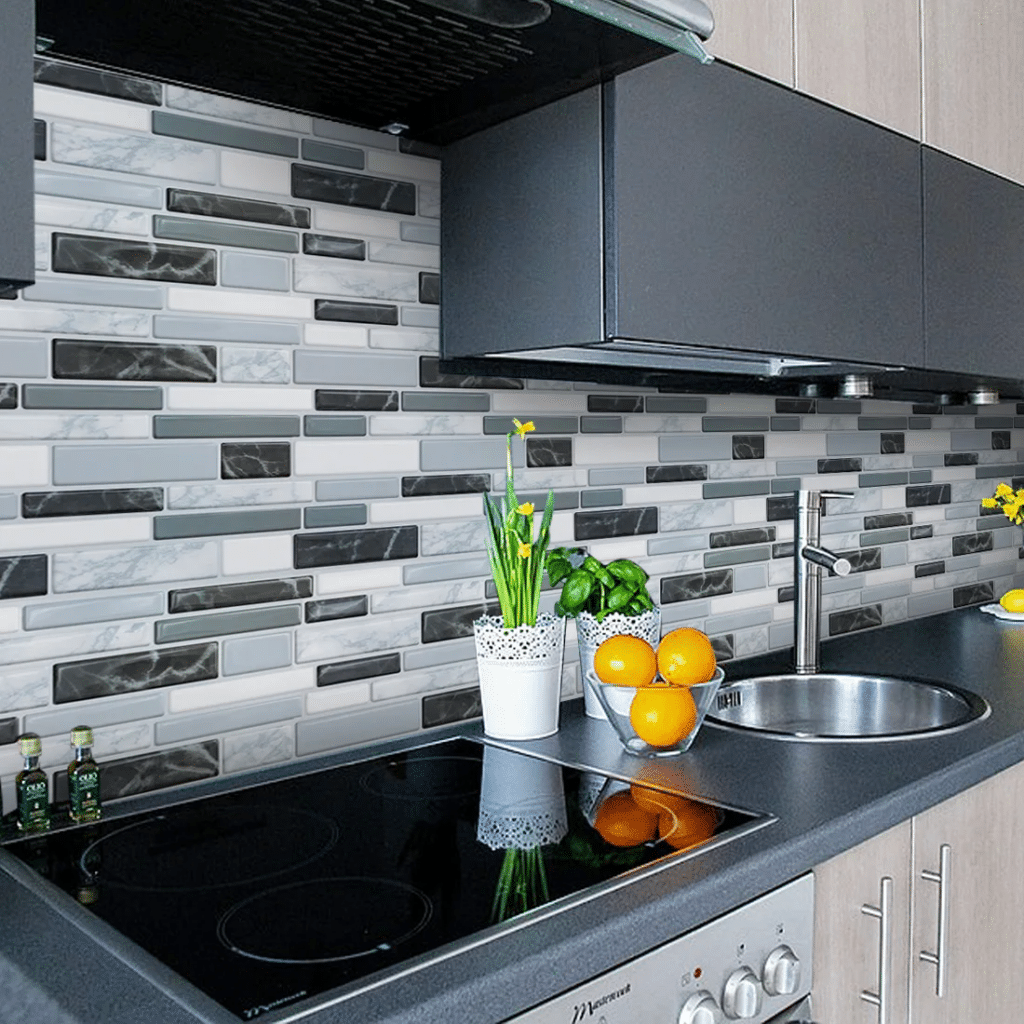
Don’t be afraid to mix and match different patterns for a unique look. You could consider using a combination of geometric tiles with floral patterns, or even opt for a mix of textured and smooth tiles. Let your creativity flow!
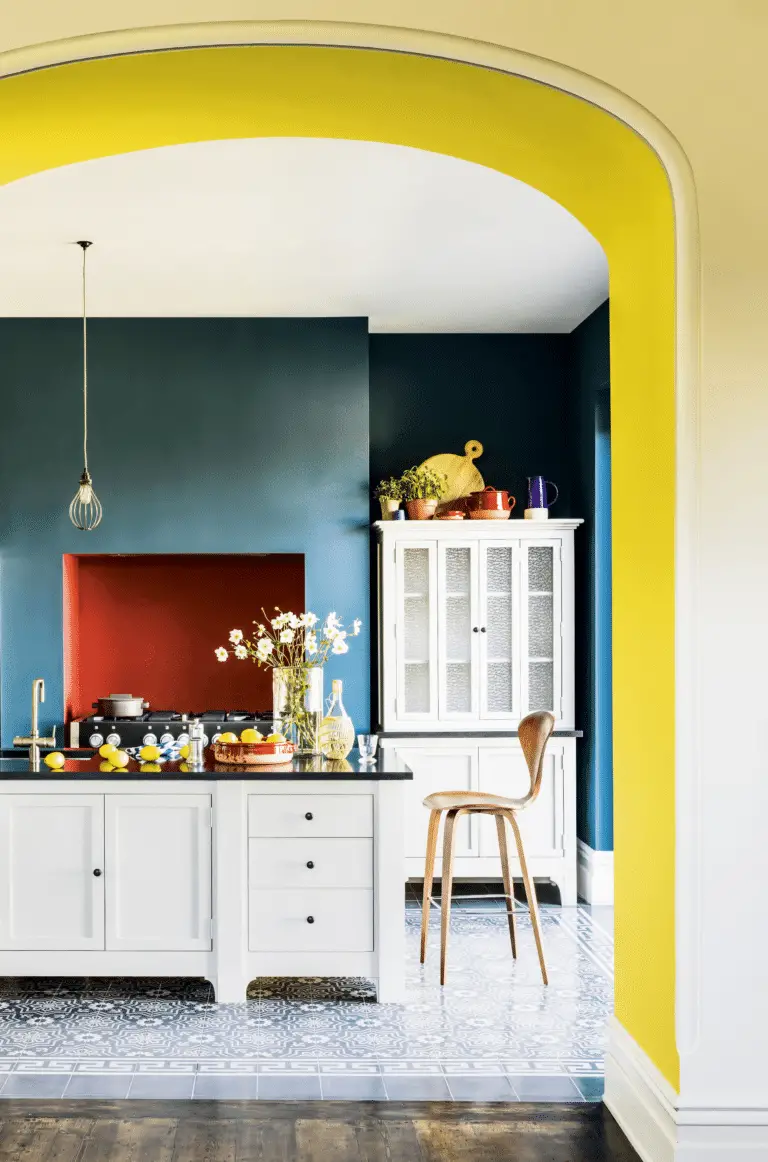
2. Play with Colors
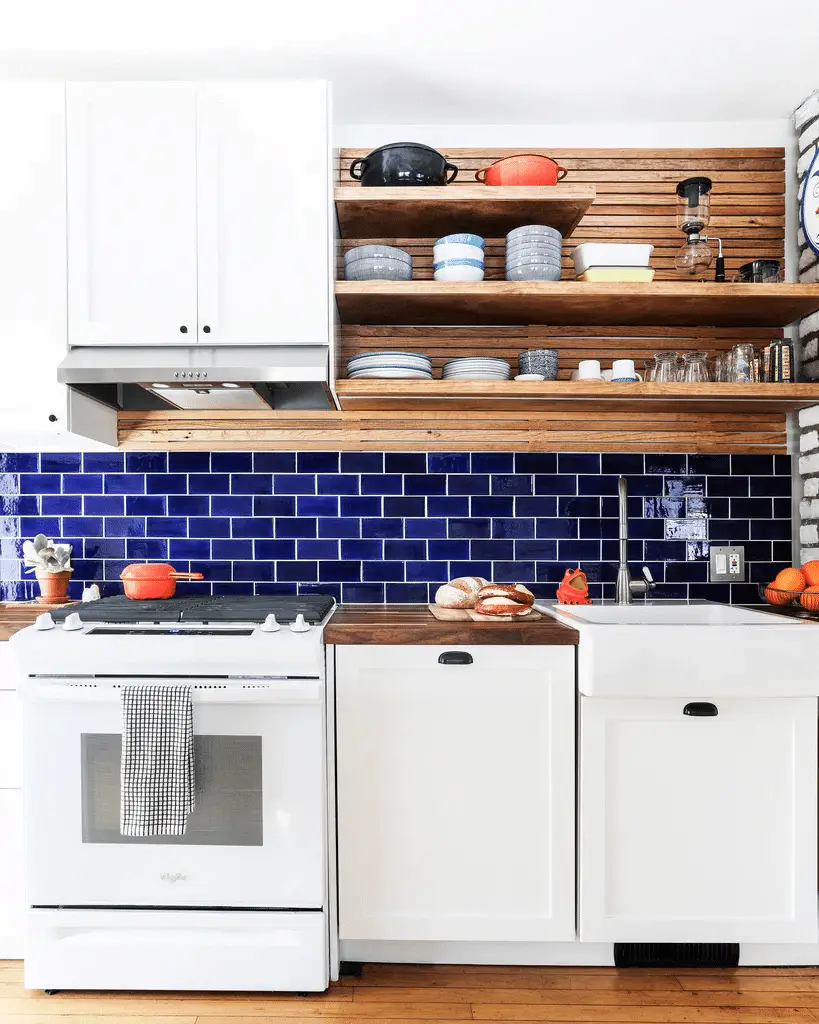
Adding a pop of color to your RV kitchen backsplash can create a lively and inviting space. Consider using bright and bold hues like turquoise, coral, or sunny yellow to add a touch of personality to your kitchen.
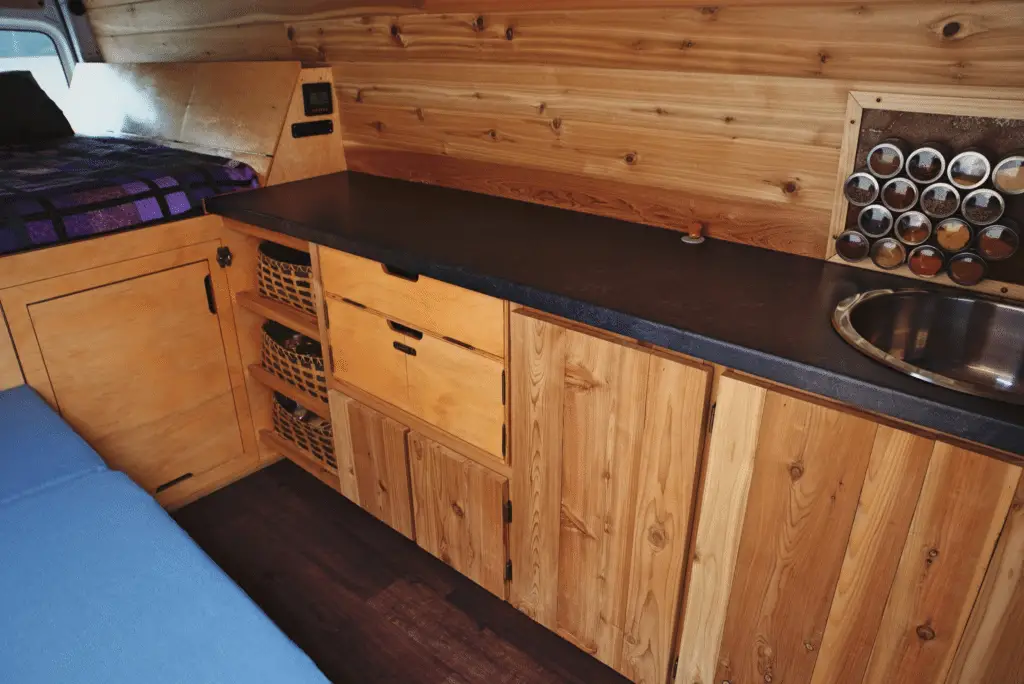
3. Incorporate Natural Elements
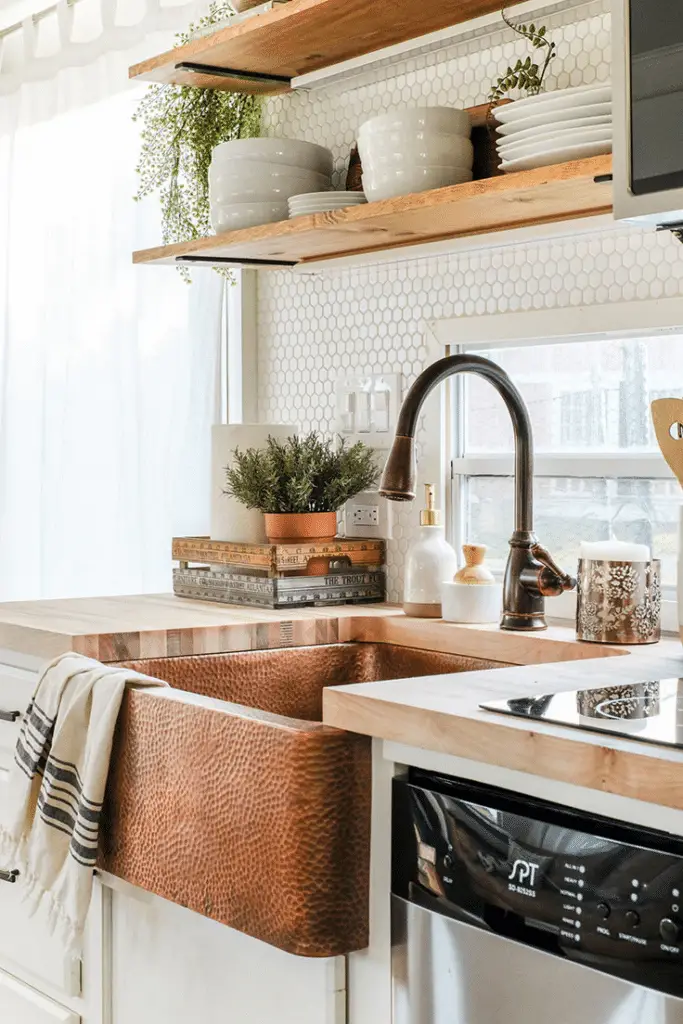
Bring the outdoors inside by incorporating natural elements into your backsplash design. Consider using pebble tiles, wood accents, or even a mosaic of seashells for a beachy vibe. It’s a great way to add warmth and texture to your kitchen.
4. Opt for a Metallic Finish
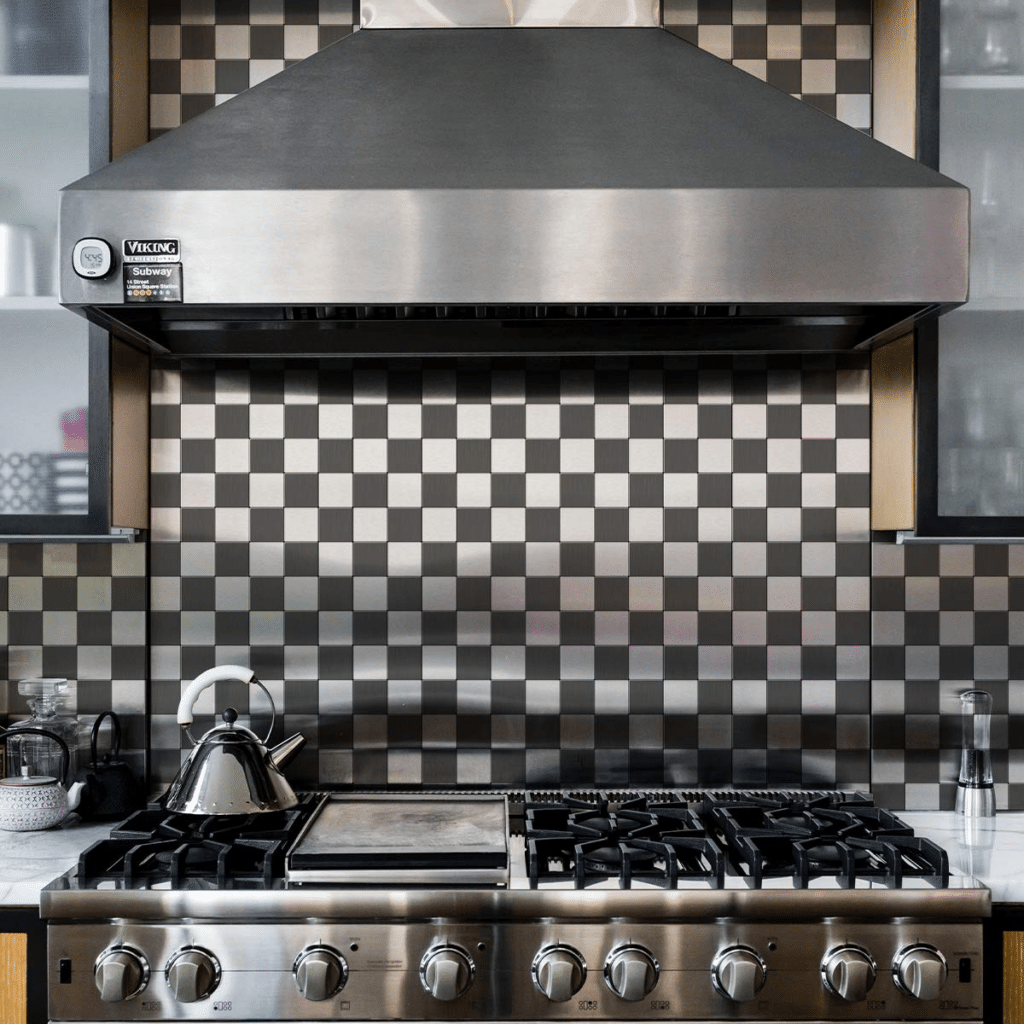
A metallic finish can add a touch of glamour and sophistication to your RV kitchen backsplash. Consider using stainless steel tiles, copper accents, or even metallic paint to create a chic and modern look. It’s a great way to elevate the overall design of your kitchen.
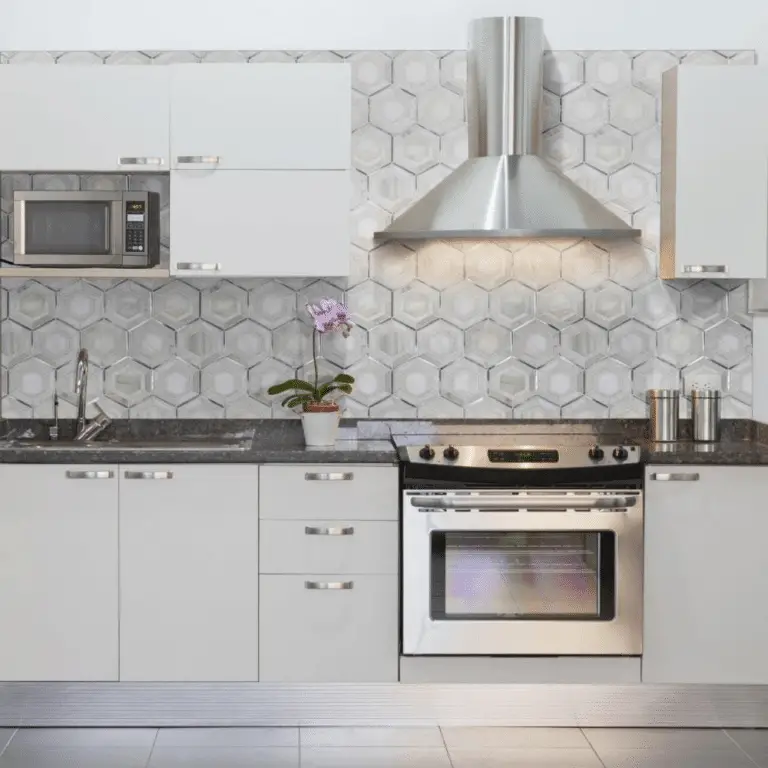
5. Get Creative with Shapes
Who says your RV kitchen backsplash has to be made up of square tiles? Consider using hexagonal, diamond, or even fish scale tiles to create a one-of-a-kind look. Play around with different shapes to add visual interest and depth to your kitchen.
Remember, the key to a successful DIY RV kitchen backsplash project is to let your creativity shine. Experiment with different design elements, mix and match patterns and colors, and have fun with the process. Your RV kitchen backsplash should reflect your personality and style, so don’t be afraid to think outside the box!
Maintenance and Upkeep of Your DIY Kitchen Backsplash
Now that you’ve put in the effort to create a stunning DIY RV Kitchen Backsplash, it’s essential to maintain and care for it properly. By regularly maintaining your backsplash, you can ensure that it stays looking fresh and beautiful for years to come.
Importance of Proper Maintenance
Proper maintenance is crucial for preserving the integrity and appearance of your DIY RV Kitchen Backsplash. Over time, grease, food splatters, and other debris can build up on the backsplash surface, making it look dirty and dull. By cleaning your backsplash regularly, you can prevent this buildup and keep it looking like new.
Additionally, proper maintenance can help extend the lifespan of your backsplash and prevent costly repairs or replacements down the road. By taking the time to care for your backsplash now, you can save yourself time, money, and frustration in the long run.
Common Maintenance Issues and Solutions
One common issue that RV owners face with their kitchen backsplashes is discoloration or staining. This can occur due to exposure to heat, moisture, or certain chemicals. To prevent discoloration, it’s essential to clean your backsplash regularly with a gentle cleanser and avoid using harsh chemicals or abrasive scrubbers.
If you do notice discoloration on your backsplash, there are several solutions you can try. For light stains, a mixture of baking soda and water can often do the trick. Simply apply the paste to the stained area, scrub gently, and rinse with water. For tougher stains, you may need to use a commercial cleaning product specifically designed for backsplashes.
Another common maintenance issue is grout discoloration or mold growth. To prevent grout discoloration, be sure to seal your grout regularly and clean it with a mildew-resistant cleaner. If you do notice mold growth, you can use a solution of bleach and water to kill the mold and prevent it from coming back.
Regular Cleaning Tips
To keep your DIY RV Kitchen Backsplash looking its best, it’s recommended to clean it regularly with a gentle cleanser and warm water. Avoid using abrasive scrubbers or harsh chemicals, as these can damage the backsplash surface. Instead, opt for a soft sponge or cloth and a mild detergent to remove grease and grime.
After cleaning, be sure to dry the backsplash thoroughly to prevent water spots or streaks from forming. You can use a clean, dry cloth or towel to buff the surface and restore its shine.
By following these maintenance tips and keeping up with regular cleaning, you can ensure that your DIY RV Kitchen Backsplash stays looking beautiful and vibrant for years to come.
Time to Spice Up Your RV Kitchen with DIY Magic!
Ready to transform your RV kitchen into a stylish oasis? With the right tools and materials, a step-by-step guide, creative ideas, and maintenance tips, your DIY RV Kitchen Backsplash project will be a breeze. Say goodbye to boring walls and hello to a personalized and functional space on the road. Get ready to cook up a storm in style!