
Welcome to the ultimate guide on finishing the underside of kitchen cabinets! Discover the importance of this often overlooked detail and how neglecting it can lead to costly repairs.
Explore different methods for finishing, step-by-step tutorials, cost breakdowns, and maintenance tips to keep your cabinets looking like new. Get ready to transform your kitchen with a flawless and durable finish! Let’s dive in and revamp those cabinet undersides.


Understanding the Importance of Finishing Undersides of Kitchen Cabinets
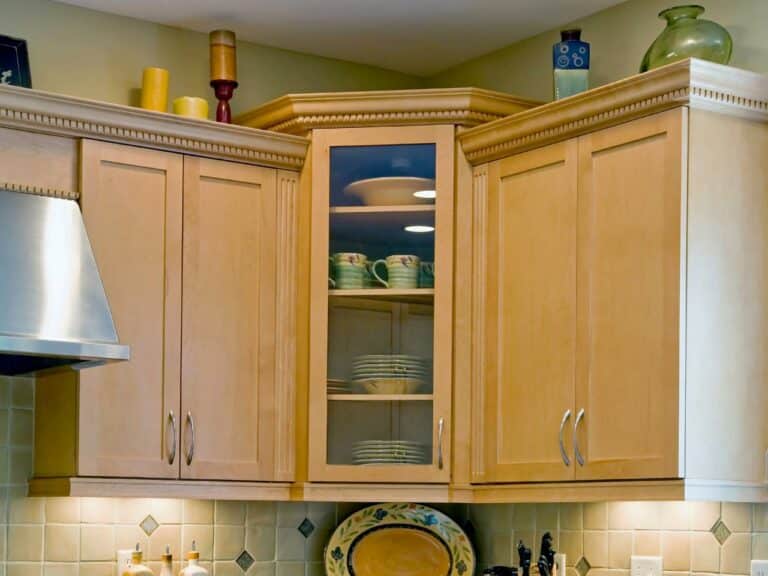
When it comes to renovating or upgrading your kitchen, it’s easy to focus on the visible aspects such as the cabinet doors and countertops. However, one crucial area that often gets overlooked is the underside of the kitchen cabinets. The underside of cabinets plays a significant role in maintaining the overall durability and aesthetic appeal of your kitchen space. Neglecting to finish this area properly can result in wear and tear over time, leading to potential damage that may require costly repairs or even replacements.
Importance of Finishing Undersides
By understanding the importance of finishing the undersides of kitchen cabinets, you can ensure that your investment is protected for the long term. A proper finish not only adds a polished look to the cabinets but also acts as a protective barrier against moisture, grease, and other elements that can cause damage. This extra layer of protection helps in maintaining the structural integrity of the cabinets, preventing warping, cracking, or other issues that may arise from exposure to environmental factors.
Preventing Future Expenses
When considering the cost of finishing the undersides of kitchen cabinets, it’s essential to weigh it against the potential expenses that may arise from neglecting this detail. Investing in a quality finish now can save you money in the long run by avoiding the need for extensive repairs or premature replacements. By taking the time to address this often overlooked area, you can extend the lifespan of your cabinets and keep them looking like new for years to come.
Different Methods for Finishing Undersides of Kitchen Cabinets
When it comes to completing a kitchen remodel, it’s crucial to pay attention to the finer details, including finishing the underside of your cabinets. Neglecting this part of the project can lead to potential issues down the line. In this section, we’ll explore the different methods for finishing the undersides of kitchen cabinets and how they can enhance both the look and functionality of your space.
Popular Finishing Methods
There are several popular methods for finishing the undersides of kitchen cabinets, each with its own benefits and considerations. One common approach is painting, which allows you to customize the color and style of your cabinets to match your overall aesthetic. With the right paint and technique, you can achieve a smooth and durable finish that will withstand daily wear and tear.
Staining is another popular option for finishing cabinet undersides. This method involves applying a stain to the wood, enhancing its natural grain and color while providing protection against moisture and scratches. Stained cabinets offer a warm and classic look that can elevate the design of your kitchen.
For those looking for added protection, applying a protective coating to the underside of cabinets is a smart choice. These coatings act as a barrier against spills, stains, and other damage, extending the lifespan of your cabinets and making them easier to clean and maintain.
Enhancing Look and Functionality
Regardless of the method you choose, finishing the undersides of your kitchen cabinets can have a significant impact on both the look and functionality of your space. A well-finished underside adds a polished and cohesive touch to your cabinets, completing the overall design of your kitchen. It also helps to protect the wood from moisture and other elements that can cause warping or deterioration over time.
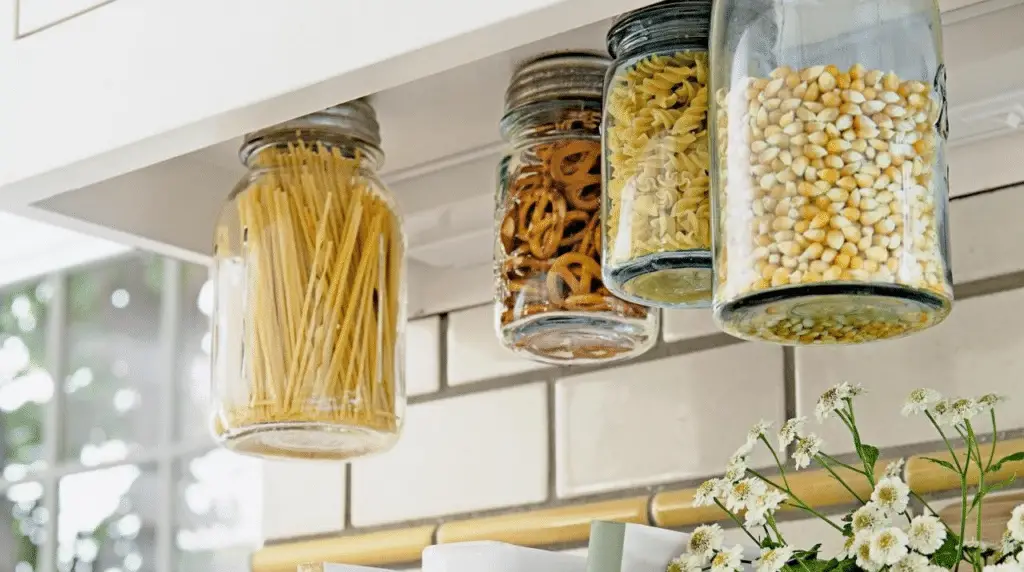
Moreover, a properly finished cabinet underside is easier to clean and maintain, saving you time and effort in the long run. By choosing the right finishing method and taking the time to complete this often-overlooked step, you can ensure that your kitchen cabinets remain in top condition for years to come.
**Remember, when finishing the underside of your cabinets, consider the overall aesthetic you want to achieve, the level of protection needed, and the maintenance requirements that best suit your lifestyle. Each method offers its own benefits, so be sure to choose the one that aligns with your preferences and practical needs.**
Step-by-Step Guide to Finishing Undersides of Kitchen Cabinets
Now that you understand the importance of finishing the underside of your kitchen cabinets, it’s time to roll up your sleeves and get to work. We’ll walk you through a step-by-step guide to ensure that your cabinets not only look great but also stand the test of time.
1. Material Preparation
Before you start the finishing process, you’ll need to gather all the necessary materials. Depending on the method you choose, you may need paint, stain, protective coating, sandpaper, brushes, and a clean cloth. Make sure to prepare your work area by covering surfaces to avoid any accidental spills or splatters.
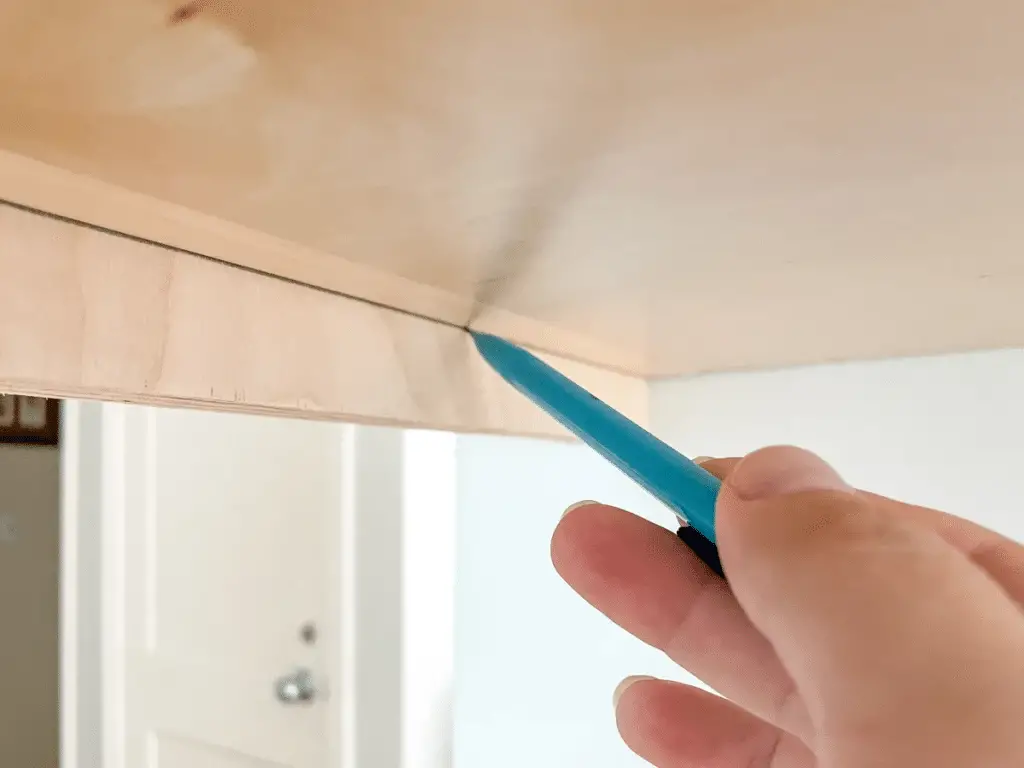
2. Cleaning and Sanding
The key to a successful finish is a clean and smooth surface. Begin by thoroughly cleaning the underside of the cabinets to remove any dirt, grease, or residue. Once clean, use sandpaper to gently sand the surface, creating a rough texture that will help the finish adhere better.
3. Applying the Finish
Next, it’s time to apply the finish of your choice. Whether you opt for a classic paint color to match your kitchen decor or a rich stain to highlight the natural wood grain, make sure to follow the manufacturer’s instructions for application. Take your time and apply thin, even coats to avoid drips or uneven coverage.
4. Final Touches
Once the final coat has dried, inspect the cabinets for any imperfections. If needed, lightly sand any rough spots and apply an additional coat for a flawless finish. Remember, attention to detail is key in achieving professional results.
5. Mistakes to Avoid and Tips for Success
As you embark on your cabinet finishing journey, keep in mind a few common mistakes to avoid. These include rushing the process, failing to clean the surface properly, and neglecting to protect your work area. Additionally, consider investing in high-quality materials and tools to ensure a long-lasting finish.
By following this step-by-step guide, you can transform the underside of your kitchen cabinets from a forgotten detail to a focal point of your space. Not only will a well-finished underside enhance the overall look of your kitchen, but it will also provide durable protection against everyday wear and tear.
Cost and Time Implications of Finishing Undersides of Kitchen Cabinets
When it comes to finishing the undersides of kitchen cabinets, it’s essential to consider both the financial costs and time investments involved. Understanding the implications of these factors can help you make informed decisions and plan accordingly for your project.
Breaking Down the Costs
The cost of finishing the undersides of kitchen cabinets can vary depending on the chosen method and materials used. For example, if you opt for painting the undersides, you’ll need to purchase paint, brushes, and possibly primer. On the other hand, staining may require specific stains, sealants, and applicators.
Additionally, if you decide to hire a professional to finish the undersides for you, you’ll need to factor in labor costs. Professional services can significantly impact the overall cost of the project, but they often ensure a high-quality finish that is worth the investment.
Considering Time Requirements
Finishing the undersides of kitchen cabinets can be a time-consuming process, especially if you choose to tackle the project yourself. Painting, staining, or applying a protective coating all require a certain amount of time for preparation, application, and drying.
Professional services may expedite the process, but it’s important to communicate your timeframe expectations with the hired professionals. Waiting for the finish to dry and cure properly before using the cabinets is crucial to ensure long-lasting results.
Ultimately, balancing the costs and time required for finishing the undersides of kitchen cabinets is essential to achieve the desired outcome within your budget and schedule.
Maintenance Tips for the Finished Undersides of Kitchen Cabinets
So, you’ve put in the time and effort to finish the undersides of your kitchen cabinets, now what? It’s important to understand that proper maintenance is key to ensuring the longevity and appearance of your finished cabinets. Here are some essential maintenance tips to keep your cabinets looking their best:
Regular Cleaning Routine
One of the simplest yet most effective ways to maintain the finish on your cabinet undersides is by incorporating a regular cleaning routine. Use a gentle, non-abrasive cleaner and a soft cloth to wipe down the surfaces, removing any dust, dirt, or spills. Avoid harsh chemicals and abrasive scrubbers that can damage the finish.
Avoid Excessive Moisture
Moisture is the enemy of wood finishes, so it’s important to avoid excessive exposure to water or humidity. Be mindful of spills and leaks in the kitchen that could potentially damage the underside of your cabinets. Quickly clean up any spills and ensure proper ventilation in the kitchen to prevent moisture build-up.
Protect from Heat and Sunlight
Direct heat and sunlight can also take a toll on the finish of your cabinets. Position your cabinets away from heat sources such as stoves or ovens, and consider using window treatments to block out harsh sunlight. This will help prevent the finish from fading or becoming discolored over time.
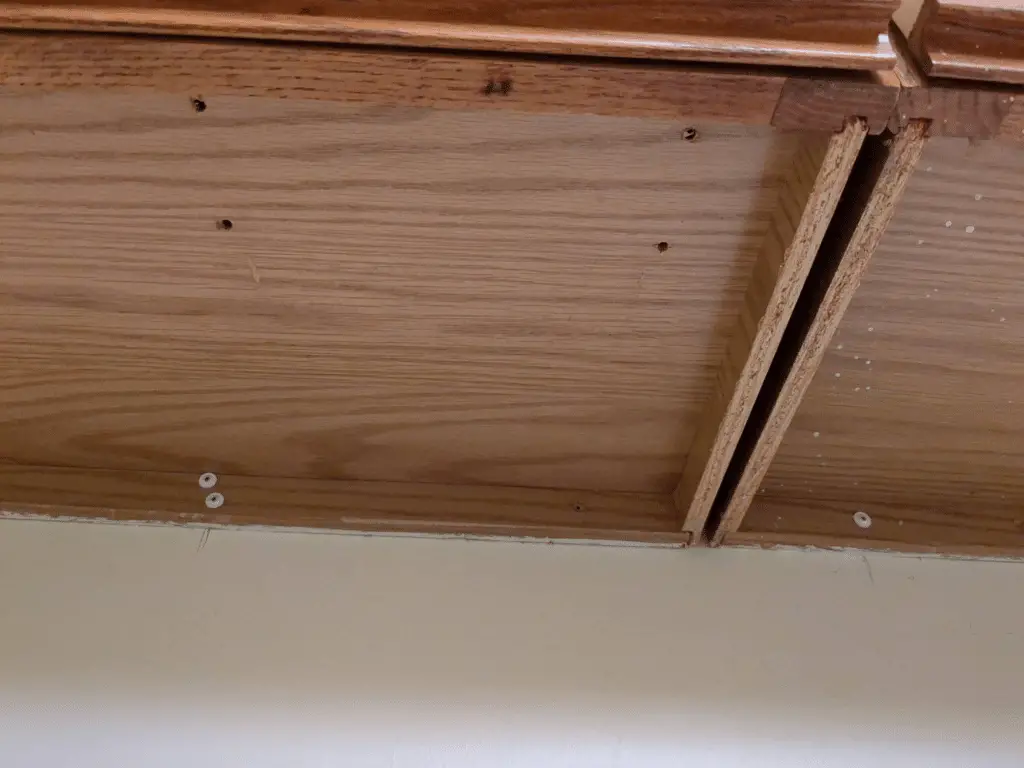
Inspect and Touch Up as Needed
Regularly inspect the underside of your cabinets for any signs of wear or damage to the finish. If you notice any scratches, chips, or wear spots, consider touching up the finish with a matching product. This will help maintain the integrity of the finish and prevent further damage.
Use Proper Cleaning Products
When selecting cleaning products for your finished cabinet undersides, opt for ones that are specifically formulated for wood surfaces. Avoid using harsh chemicals, ammonia-based cleaners, or abrasive tools that can strip away the finish. Stick to gentle, wood-safe cleaners to preserve the beauty of your cabinets.
Wrapping Up: Keep Your Kitchen Cabinets Looking Fresh!
Remember, the underside of your kitchen cabinets deserves just as much attention as the front. By finishing them properly, you’re not only maintaining their durability but also enhancing their overall look. Whether you choose to paint, stain, or coat them, the key is to follow the steps diligently and avoid common pitfalls. Consider the costs and time involved, but don’t forget the long-term benefits. With the right maintenance, your beautifully finished cabinet undersides will stay looking fresh for years to come. Happy renovating!