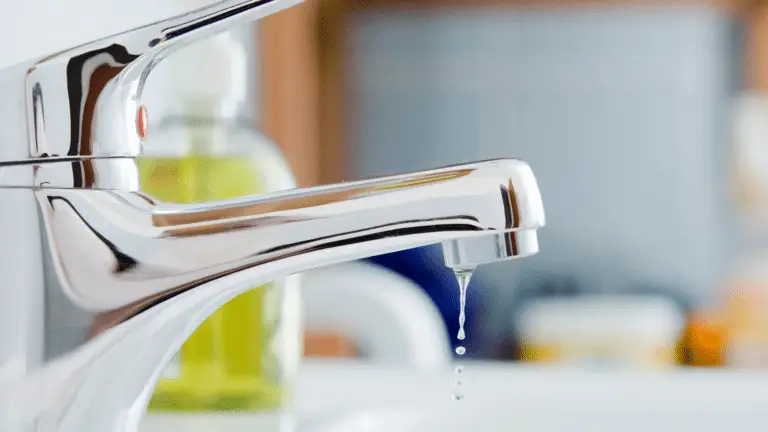
Ever wondered why RV sink aerators are crucial for smooth water flow? Clogged aerators can be a nightmare. Learn to spot the signs and fix them yourself with our step-by-step guide. Regular maintenance can save you from a messy situation. But when in doubt, it’s best to seek professional help. Don’t let a clogged aerator ruin your RV experience. Read on to ensure a hassle-free journey!
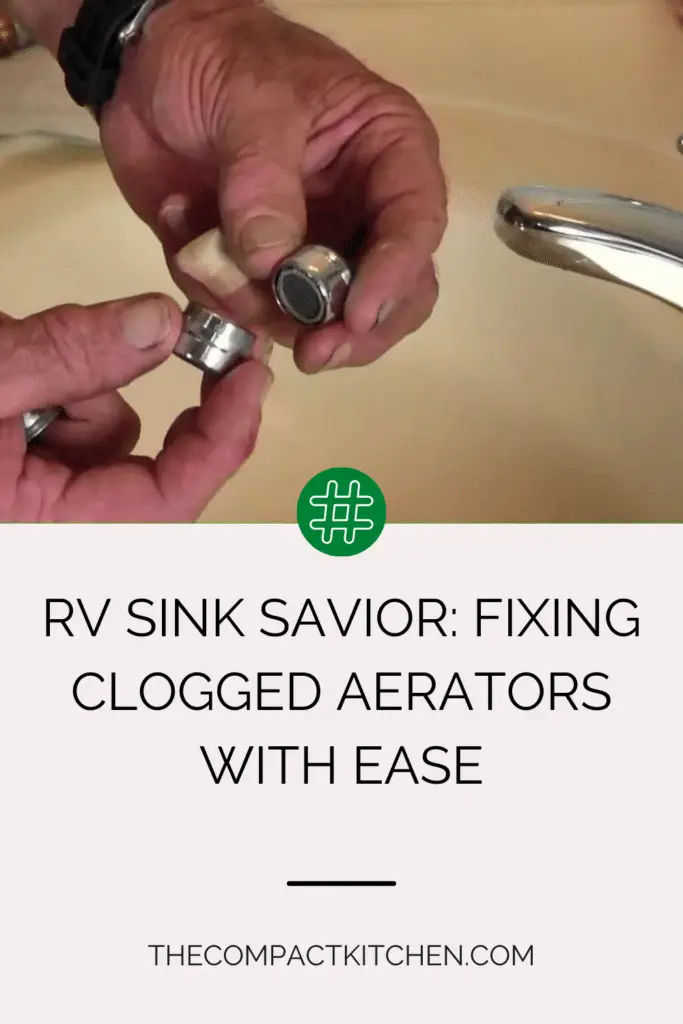
Understanding the Importance of RV Sink Aerators
Sink aerators may seem like a small component of your RV’s plumbing system, but they play a crucial role in conserving water and maintaining a steady water flow. These simple devices help reduce water usage by adding air to the water stream, creating a steady, even flow while using less water. Without aerators, you might find yourself wasting water and struggling with erratic water pressure.
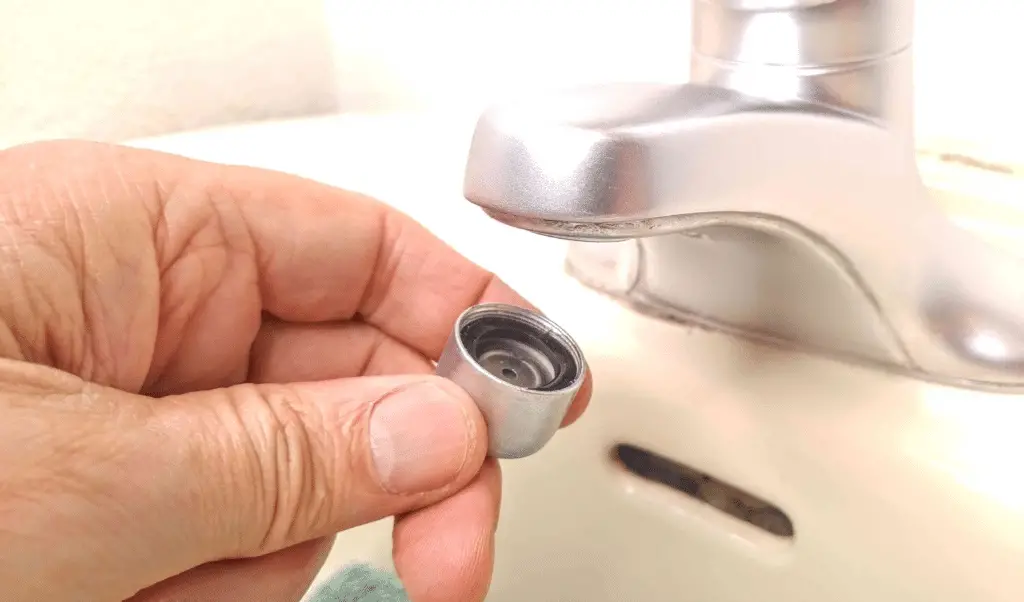
While aerators are essential for efficient water usage, they can also be prone to clogging. Over time, mineral deposits, debris, and other particles can build up in the aerator, leading to reduced flow and water pressure. It’s essential to understand the common issues related to clogged sink aerators in RVs to ensure that your water system continues to function smoothly.
Identifying Signs of a Clogged Aerator
Have you ever experienced a frustratingly slow flow of water from your RV sink faucet? The culprit behind this common issue might just be a clogged aerator. Understanding the signs of a clogged aerator is crucial in maintaining the functionality of your RV sink. Let’s dive into the key indicators that signal a clogged aerator and how to confirm if it is indeed the source of the problem.
Visible Signs of a Clogged Aerator
One of the most obvious signs of a clogged aerator is reduced water pressure. If you notice that the water flow from your RV sink is weaker than usual or sporadically interrupted, there is a high likelihood that the aerator is obstructed. Additionally, you may observe unusual spraying or splashing of water from the faucet, which is another telltale sign of a clogged aerator.

Another visual clue to watch out for is discolored water or debris coming out of the faucet. If you spot particles or sediment in the water or notice a change in water color, it could be a clear indication of a clog in the aerator. These signs should prompt you to investigate further and take steps to address the issue promptly.
Confirming the Problem with the Aerator
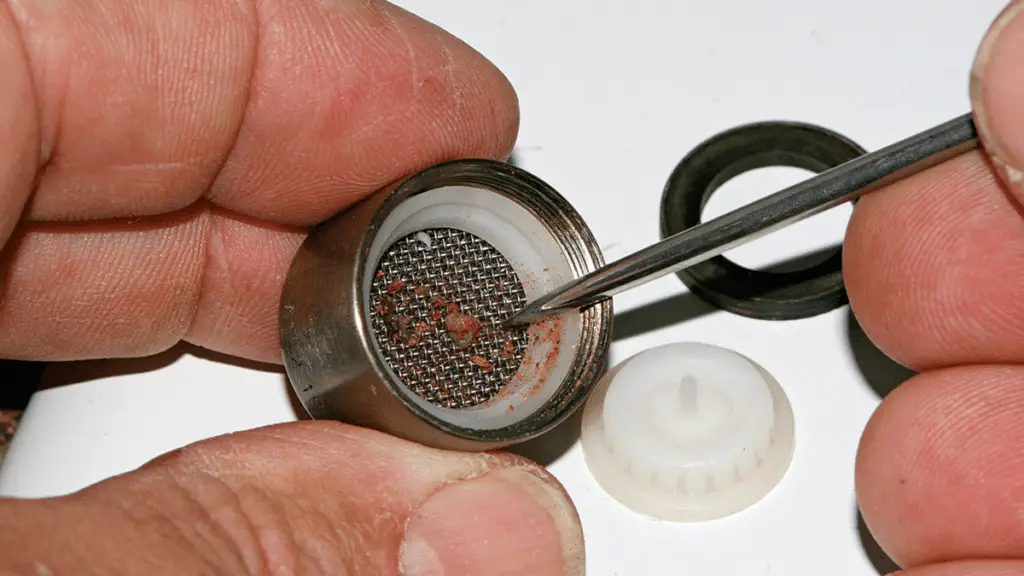
While the symptoms mentioned above point towards a clogged aerator, it is essential to confirm that the aerator is indeed the root cause of the problem. A simple test involves removing the aerator from the faucet and inspecting it for debris or mineral buildup. By unscrewing the aerator from the faucet spout and examining its components, you can visually confirm if it is obstructed.

If upon inspection, you discover significant blockages or visible debris inside the aerator, it is evident that cleaning and unclogging the aerator is necessary to restore proper water flow and pressure in your RV sink. Understanding these signs and conducting a basic check can help you pinpoint the issue and take appropriate action to fix a clogged RV sink aerator.
Fixing a Clogged RV Sink Aerator: A Step-By-Step Guide
So, you’ve identified that your RV sink aerator is clogged. Don’t fret! With a bit of know-how and some elbow grease, you can easily tackle this issue on your own. Follow this step-by-step guide to get your RV sink aerator flowing smoothly once again.
Safely Disassembling the Aerator
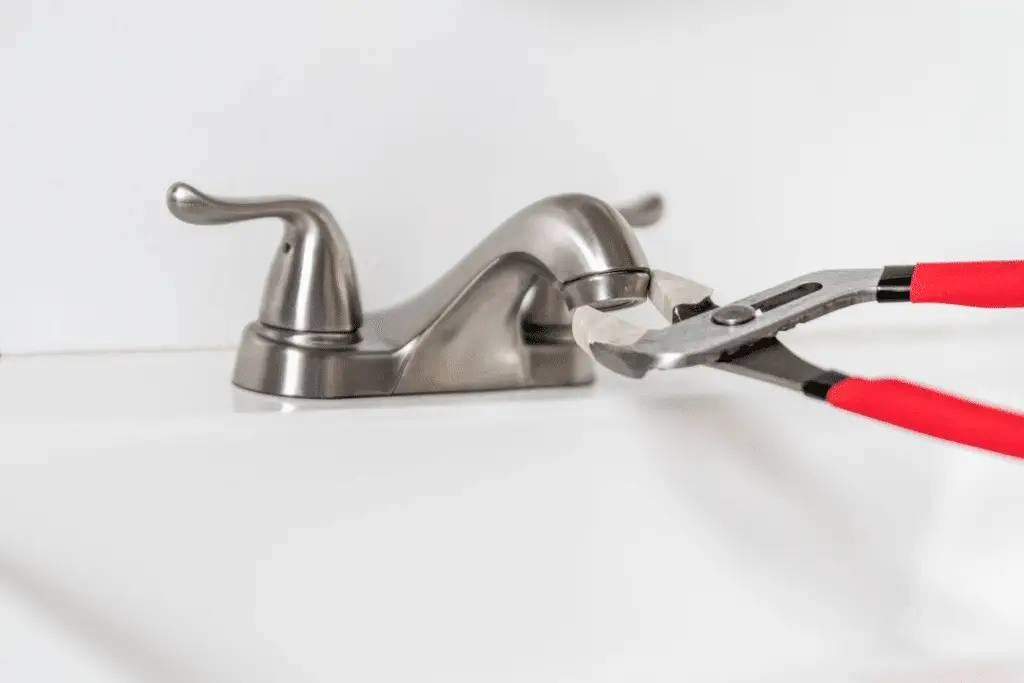
The first step in fixing a clogged RV sink aerator is to safely disassemble it. Start by turning off the water supply to the sink to avoid any unwanted spurts or leaks. Next, carefully unscrew the aerator from the faucet using a pair of pliers or a wrench.
Be sure to place a towel over the sink drain to catch any small parts that may fall out during disassembly. Once the aerator is removed, inspect it for any visible blockages such as debris or mineral buildup.
Locating and Removing Blockages
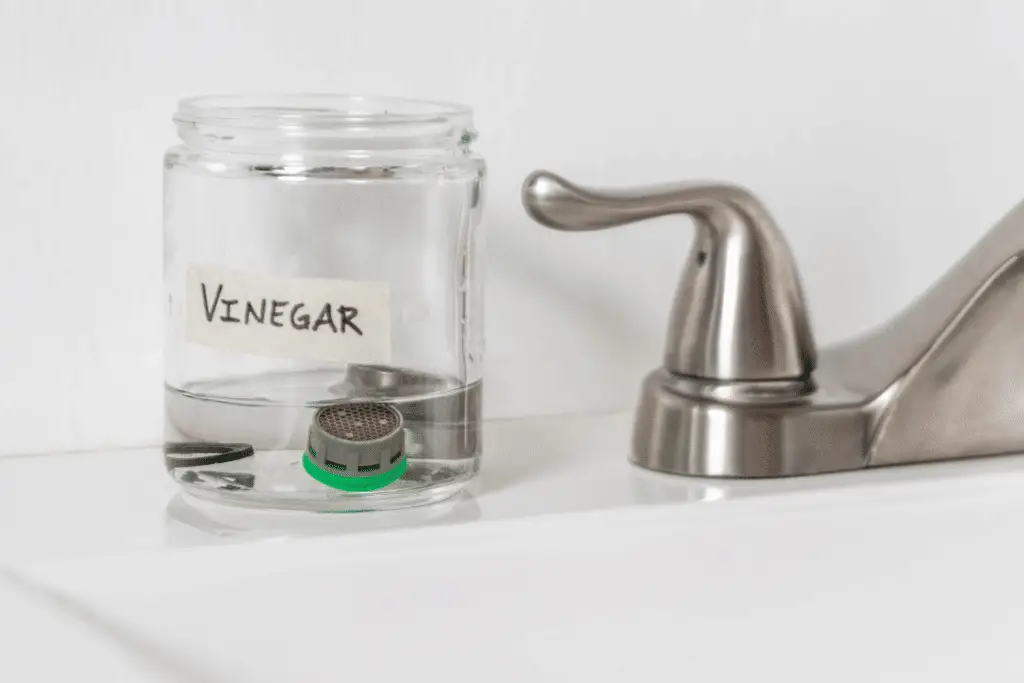
After disassembling the aerator, it’s time to locate and remove the blockages causing the clog. Use a toothbrush or a small brush to gently scrub away any debris or mineral deposits that may be obstructing the flow of water. For tougher clogs, you can soak the aerator in vinegar or a commercial descaling solution to help loosen stubborn buildup.
Once the blockages have been cleared, rinse the aerator thoroughly under running water to ensure all debris has been removed. Reassemble the aerator back onto the faucet, taking care to tighten it securely to prevent any leaks.
Cleaning and Rectifying the Aerator
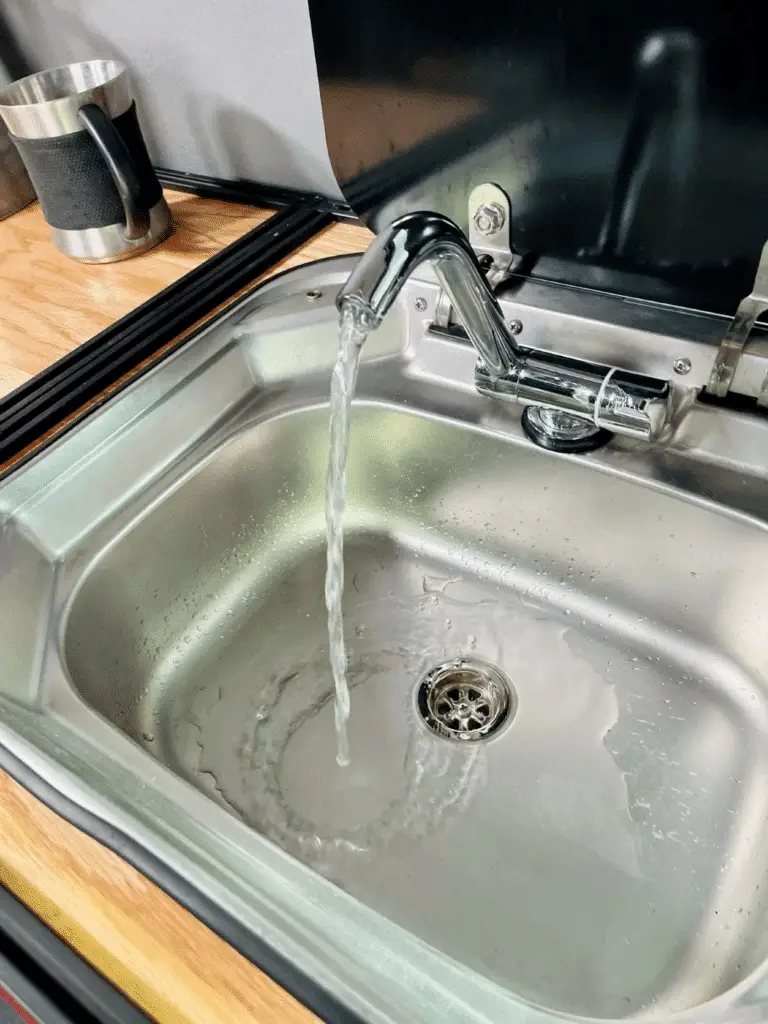
Now that you’ve disassembled, cleaned, and reassembled the aerator, it’s time to test the water flow. Turn on the faucet and check if the water is flowing freely without any sputtering or blockages. If you still notice issues with the water flow, you may need to repeat the cleaning process or consider replacing the aerator if it is damaged beyond repair.
Regularly cleaning and maintaining your RV sink aerators is key to preventing future clogs and ensuring optimal performance. By following these simple steps, you can easily keep your RV sink aerators in top condition and enjoy uninterrupted water flow during your travels.
Maintaining RV Sink Aerators: Prevention is Better than Cure
Maintaining your RV sink aerators is crucial to ensure the smooth functioning of your plumbing system. Preventing clogs in the first place is much easier than dealing with a clogged aerator later on. By implementing regular cleaning and maintenance practices, you can avoid the hassle of fixing a clogged aerator and potentially damaging your RV sink.
**Regular Cleaning:** One of the most effective ways to prevent clogs in RV sink aerators is to clean them regularly. This involves removing the aerator from the faucet and rinsing it with water to remove any debris or buildup. You can also use a mixture of vinegar and water to soak the aerator and dissolve any mineral deposits that may be causing a blockage.
**Avoid Harmful Products:** When cleaning your RV sink aerators, it’s important to use gentle cleaning products that won’t damage the aerator or the plumbing system. Avoid harsh chemicals or abrasive scrubbers that could scratch the aerator and create more opportunities for buildup. Stick to mild solutions like vinegar or specialized aerator cleaning solutions to maintain the integrity of the aerator over time.
**Regular Inspection:** Make it a habit to inspect your RV sink aerators periodically for any signs of clogging or buildup. Look out for reduced water flow, irregular spraying patterns, or visible debris inside the aerator. Catching these issues early on can help you address them before they develop into a full-blown clog that requires more extensive cleaning or repair.
**DIY Maintenance:** In addition to regular cleaning, there are other DIY maintenance practices you can implement to keep your RV sink aerators in top condition. This includes checking the aerator screens for any damage or wear, replacing worn-out parts as needed, and ensuring that the aerator is securely attached to the faucet to prevent leaks or loosening over time.
**Summary:** By following these maintenance tips and incorporating them into your routine, you can keep your RV sink aerators in optimal condition and avoid the inconvenience of clogged aerators. Remember, prevention is always better than trying to fix a problem after it has already occurred. Take care of your RV sink aerators, and they will take care of you in return.
When to Seek Professional Help: Beyond DIY Repairs
While DIY repairs can often solve common issues with clogged RV sink aerators, there are certain situations where seeking professional help is the best course of action. Knowing when to call in the experts can save you time, money, and potential headaches in the long run.
Signs that Professional Help is Needed
1. Persistent Clogs: If you have repeatedly cleaned your RV sink aerators and they continue to clog shortly after, there may be a deeper issue at play. A professional can diagnose the root cause and provide a lasting solution.
2. Water Pressure Problems: A clogged aerator can lead to decreased water pressure in your RV sink. If you notice a significant drop in water pressure even after cleaning the aerator, it may be time to call a professional to assess the situation.
3. Strange Noises or Smells: Unusual noises or odors coming from your RV sink can indicate a more serious problem than a simple clog. A professional can investigate the issue thoroughly to determine the appropriate course of action.
Recommendations for Professional Service Providers
When seeking professional help for your clogged RV sink aerators, it is important to choose reputable service providers with experience in RV repairs. Look for companies or individuals who specialize in aerator maintenance and are familiar with the unique challenges of RV plumbing systems.
Ask for recommendations from fellow RV enthusiasts or check online reviews to find reliable professionals in your area. Don’t hesitate to inquire about their specific experience with RV sink aerators and inquire about their pricing and warranty policies before committing to their services.
By knowing when to seek professional help for your clogged sink aerators and choosing the right service provider, you can ensure that your RV plumbing system remains in top condition for your next adventure on the road.
Keep Your RV Sink Flowing Smoothly!
Remember, prevention is key when it comes to maintaining your RV sink aerators. By regularly cleaning and following maintenance tips, you can avoid the hassle of dealing with clogged aerators. But if you do encounter a blockage, don’t worry! Simply follow the step-by-step guide provided to safely fix the issue yourself. And if all else fails, don’t hesitate to reach out to professional RV repair experts for assistance. Happy RVing!


