

Ready to take your outdoor kitchen to the next level? In this blog post, we’ll explore the importance of installing a backsplash in your outdoor kitchen and the benefits it brings.
From choosing the right material to preparing for installation and maintenance tips, we’ve got you covered. Learn all about the step-by-step process of installing an outdoor kitchen backsplash and how to keep it looking its best for years to come. Let’s dive in!


Introduction to Installing an Outdoor Kitchen Backsplash
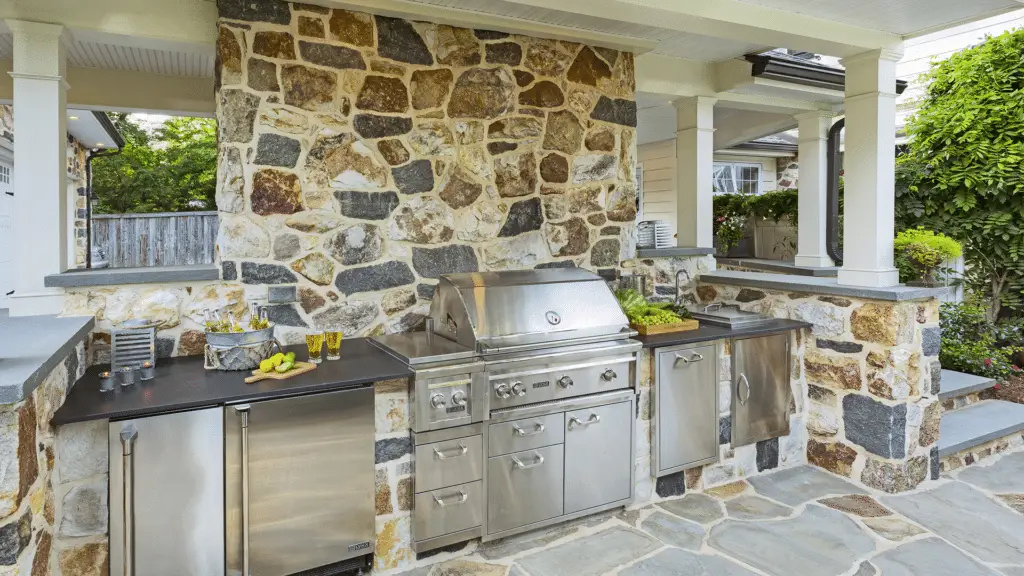
When it comes to designing a functional and aesthetically pleasing outdoor kitchen, the backsplash plays a crucial role in both style and practicality. Not only does it add a decorative touch to the space, but it also serves a vital purpose in protecting the walls from grease splatters, water damage, and other kitchen messes.

Extending the concept of a kitchen backsplash to an outdoor setting brings a whole new level of charm and functionality to your cooking area. Imagine the convenience of having a durable and easy-to-clean surface behind your grill or sink, while also enhancing the overall look of your outdoor space.
Whether you’re a seasoned chef or just enjoy cooking outdoors on weekends, investing in an outdoor kitchen backsplash is definitely a smart choice that will elevate your cooking experience.
Choosing the Material for Outdoor Kitchen Backsplash
When it comes to installing an outdoor kitchen backsplash, choosing the right material is crucial for both functionality and aesthetics. There are several options available in the market, each with its own benefits and drawbacks. Let’s take a closer look at some of the most popular materials for outdoor kitchen backsplashes.
Ceramic
Ceramic tiles are a classic choice for kitchen backsplashes, both indoor and outdoor. They are durable, easy to clean, and come in a wide range of colors and patterns to suit any design style. One of the main advantages of ceramic is its affordability, making it a cost-effective option for those on a budget.

However, ceramic tiles can be prone to chips and cracks if not properly installed and maintained. Additionally, they may not be as weather-resistant as other materials, so it’s important to choose a high-quality, outdoor-rated ceramic tile for your outdoor kitchen backsplash.
Porcelain

Porcelain tiles are known for their strength and durability, making them an ideal choice for outdoor applications. They are resistant to water, stains, and scratches, making them easy to clean and maintain. Porcelain tiles also come in a variety of colors and textures, allowing for endless design possibilities. While porcelain may be slightly more expensive than ceramic, the long-term benefits of its durability and weather resistance make it a worthwhile investment for your outdoor kitchen backsplash.
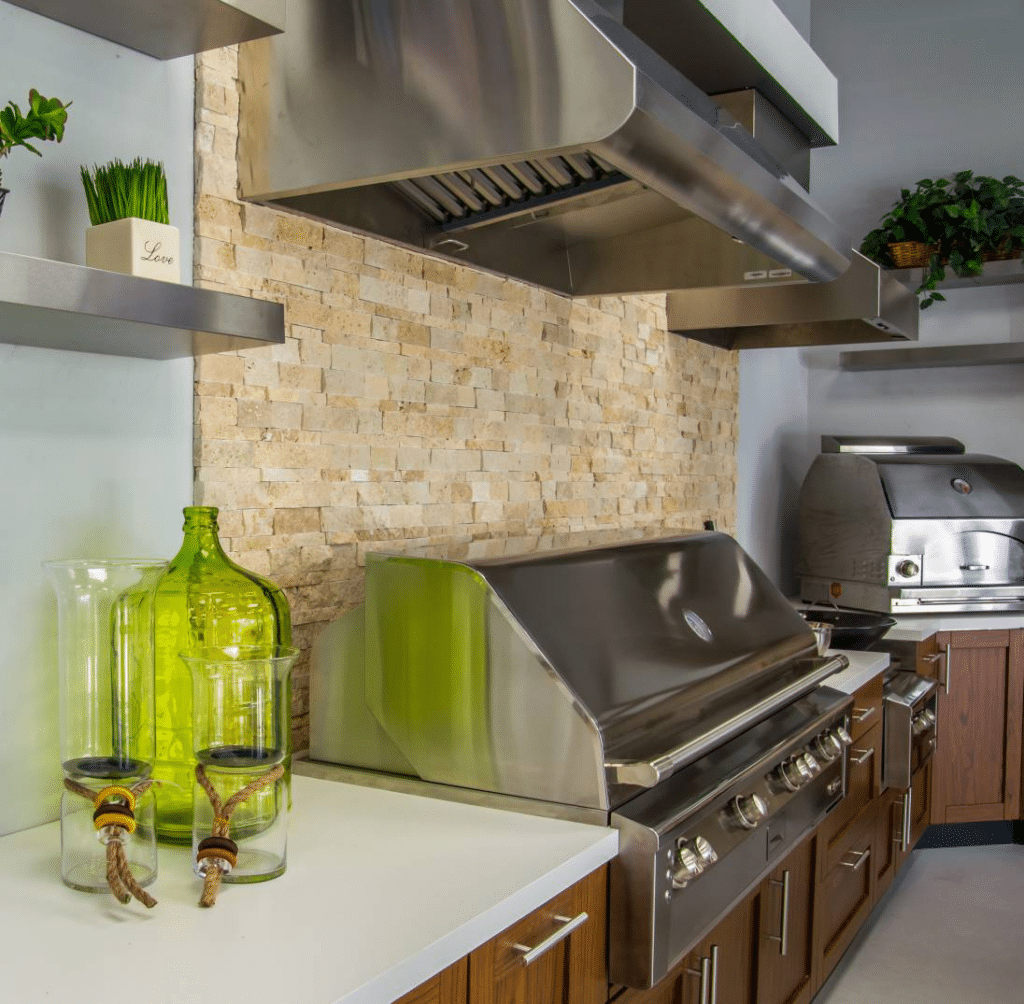
Stone
Natural stone, such as marble, granite, or travertine, can add a touch of elegance and luxury to your outdoor kitchen backsplash. Stone tiles are unique in their veining and patterns, creating a one-of-a-kind look for your space. While stone is a durable material, it may require more maintenance than ceramic or porcelain, as it is more susceptible to staining and etching. Additionally, natural stone can be more expensive and may require professional installation due to its weight and complexity.
Stainless Steel

For a modern and sleek look, consider using stainless steel tiles for your outdoor kitchen backsplash. Stainless steel is extremely durable, resistant to rust and corrosion, and easy to clean with just a quick wipe-down. It is also heat-resistant, making it a practical choice for behind stovetops and grills. While stainless steel can be more expensive than other materials, its longevity and low-maintenance qualities make it a popular choice for outdoor kitchens with a contemporary aesthetic.
When choosing the material for your outdoor kitchen backsplash, consider factors such as durability, weather resistance, maintenance requirements, and design aesthetics. Each material has its own unique qualities, so be sure to select the one that best fits your needs and preferences.
Preparing for the Installation

Before diving into the exciting world of outdoor kitchen backsplash installation, it’s crucial to adequately prepare for the task at hand. Like any successful project, proper preparation is the key to a seamless and flawless finish. Let’s walk through the essential steps and considerations when getting ready to install your outdoor kitchen backsplash.
Necessary Tools and Equipment
First things first, gather all the necessary tools and equipment for the installation process. You wouldn’t want to be halfway through only to realize you’re missing a crucial tool. Some of the basic tools you’ll need include a trowel, spacers, level, tile cutter, grout float, and safety gear such as gloves and goggles. Having everything within arm’s reach will make the installation process much smoother.
Accurate Measurements and Cleaning
Next up, take accurate measurements of the area where you’ll be installing the backsplash. Precision is key here, as any miscalculations could lead to uneven placement and a less than perfect finish. Once you have your measurements, thoroughly clean the wall surface where the backsplash will go. Remove any dirt, grease, or debris to ensure proper adhesion of the tiles.
Safety Measures

When it comes to safety, there’s no room for compromise. Make sure to take necessary safety measures during the preparation and setup of your outdoor kitchen backsplash. This includes wearing appropriate safety gear, such as gloves and goggles, to protect yourself from any potential hazards. Additionally, if you’re working with power tools, be sure to follow all safety guidelines and instructions to prevent accidents.
By properly preparing for the installation of your outdoor kitchen backsplash, you’re setting yourself up for success. Taking the time to gather the right tools, accurately measure the space, clean the wall surface, and follow safety measures will ensure a smooth and efficient installation process. Now that you’re all set, it’s time to roll up your sleeves and get ready to transform your outdoor kitchen with a stunning new backsplash!
Step-by-Step Guide to Installing the Backsplash

Now that you have chosen the perfect material for your outdoor kitchen backsplash and have prepared all the necessary tools and equipment, it’s time to dive into the installation process. Follow these step-by-step instructions to ensure a successful and long-lasting backsplash:
1. Applying Adhesive
Start by applying adhesive to the back of your chosen backsplash material. Make sure to follow the manufacturer’s instructions for the specific type of adhesive you are using. Use a trowel to spread the adhesive evenly across the surface where the backsplash will be installed.
2. Positioning the Tiles
Once the adhesive is applied, carefully position the tiles or material on the wall in the desired pattern. Use spacers to ensure even spacing between each tile. Check for levelness and adjust as needed before the adhesive sets.
3. Grouting
After the adhesive has dried and the tiles are securely in place, it’s time to grout the seams. Mix the grout according to the manufacturer’s instructions and apply it with a rubber float, pressing it into the seams between the tiles. Use a damp sponge to clean off any excess grout from the tiles before it sets.
4. Sealing the Backsplash
Once the grout has dried, it’s important to seal the backsplash to protect it from moisture, stains, and other outdoor elements. Choose a quality sealant that is suitable for your backsplash material and apply it according to the manufacturer’s instructions. Allow the sealant to dry completely before using your outdoor kitchen.
Tips for Troubleshooting
While installing your outdoor kitchen backsplash, you may encounter some common issues that can be easily resolved with these tips:
- If you notice air bubbles under the tiles, gently press them out with a flat tool to ensure proper adhesion.
- If the grout lines are uneven or messy, use a grout saw or fine sandpaper to clean up the edges for a polished look.
- In case of excess grout haze on the tiles, mix a solution of water and vinegar to gently clean the surface without damaging the grout.
Remember, patience and attention to detail are key in achieving a flawless installation. Take your time and double-check each step to ensure a professional finish that will last for years to come.
Maintaining an Outdoor Kitchen Backsplash

Congratulations on successfully installing your outdoor kitchen backsplash! Now that it’s in place, it’s essential to maintain it properly to ensure its longevity and keep it looking pristine. Here are some key maintenance tips to help you take care of your outdoor kitchen backsplash:
Regular Cleaning Routine
Just like any other surface in your outdoor kitchen, your backsplash will need regular cleaning to remove dirt, grease, and other build-ups. However, outdoor backsplashes might require more frequent cleaning due to exposure to the elements.
To clean your outdoor kitchen backsplash, start by wiping down the surface with a damp cloth or sponge and a mild detergent. Avoid using harsh chemicals or abrasive cleaners, as they can damage the material.
For tougher stains or stubborn grime, consider using a specialized cleaner that is safe for your backsplash material. Always follow the manufacturer’s instructions to prevent any damage.
Inspection and Maintenance
In addition to regular cleaning, it’s crucial to inspect your outdoor kitchen backsplash periodically for any signs of damage or wear. Look out for cracks, chips, or discoloration that may indicate underlying issues.
If you notice any minor damages, such as small cracks or chips, you can attempt to repair them yourself. There are DIY repair kits available for different backsplash materials that can help you fix minor issues without professional help.
Professional Help
While some minor repairs can be done DIY style, there are instances where it’s best to seek professional help. If you’re dealing with extensive damage, such as large cracks or significant discoloration, it’s best to consult a professional backsplash repair service.
Hiring a professional will ensure that the repair is done correctly and that the integrity of your outdoor kitchen backsplash is maintained. Plus, they can provide expert advice on how to prevent similar issues in the future.
By following these maintenance tips and staying proactive in caring for your outdoor kitchen backsplash, you can enjoy a beautiful and functional outdoor cooking space for years to come.
Wrap Up Your Backsplash Adventure!
Congratulations on embarking on the journey of installing an outdoor kitchen backsplash! Remember, choosing the right material is key, preparing meticulously is essential, and following the steps diligently is crucial. Regular maintenance will keep your backsplash looking pristine for years to come.
So, roll up your sleeves, get creative, and transform your outdoor space into a functional and stylish kitchen oasis!