
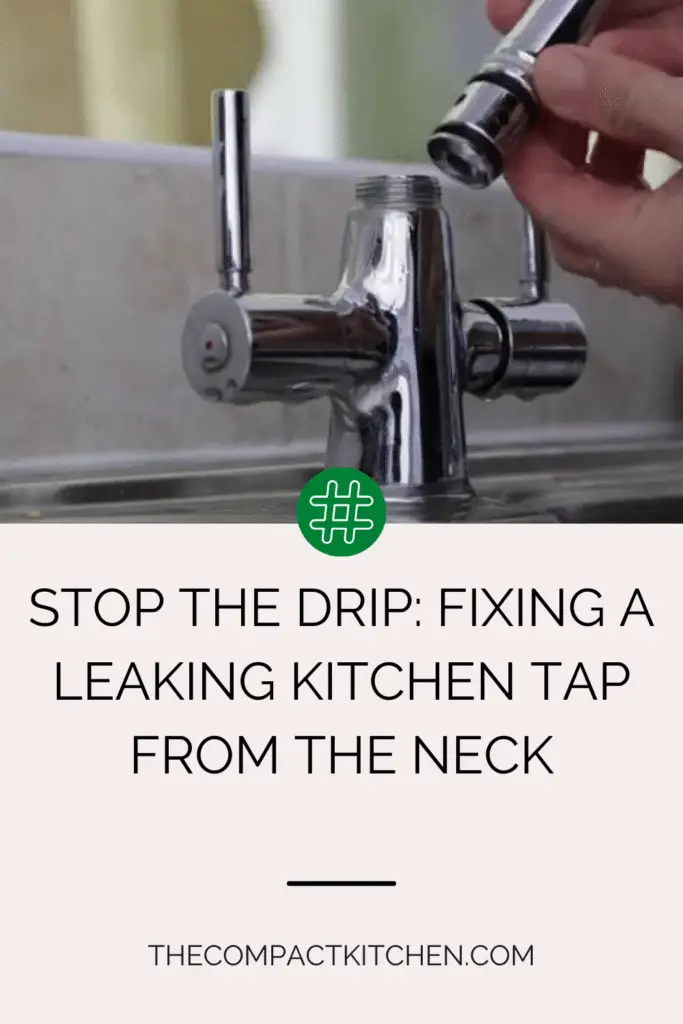
Hey there! Ever wondered why your kitchen tap is leaking from the neck? From causes to diagnosis, tools needed, and step-by-step fixes, we’ve got you covered. Find out how regular wear and tear or high water pressure can lead to leakage and learn when it’s time to call a pro.
Stay tuned for our expert guide on fixing that pesky leak! Let’s get that tap flowing smoothly again.

Understanding the causes of a leaking kitchen tap from the neck
Different factors can contribute to a leaking kitchen tap, with one common issue being leaks from the neck. The neck of the tap refers to the part where the water flows out, and if there is a leak here, it can lead to water wastage and potential damage to your kitchen.
One of the main reasons for a leaking tap from the neck is improper installation. If the tap wasn’t installed correctly, it can cause gaps in the connections that lead to leaks. Another common cause is worn-out seals. Over time, the seals within the tap can deteriorate due to regular wear and tear or exposure to high water pressure. When these seals fail, water can start leaking from the neck of the tap.
How to Diagnose a Leaking Kitchen Tap from the Neck
When your kitchen tap starts leaking from the neck, it can be a frustrating and messy issue to deal with. Knowing how to diagnose the problem properly can help you take the necessary steps to fix it promptly. Here are some key takeaways on how to diagnose a leaking kitchen tap from the neck.
Visual Inspection
One of the first steps in diagnosing a leaking tap is to visually inspect the tap for any visible signs of damage or wear and tear. Look for cracks, rust, or mineral deposits around the neck of the tap. These physical indicators can point to where the leak is originating from. If you notice any obvious damage, it’s likely that this is where the leak is occurring.
Checking Water Pressure

Changes in water pressure can also be a clue that the leak is coming from the neck of the tap. If you notice a sudden decrease in water pressure when using the tap, it could indicate that there is a leak in the neck causing water to escape before reaching the spout. Monitoring water pressure while using the tap can help you pinpoint the location of the leak.
Identifying the Type of Leak
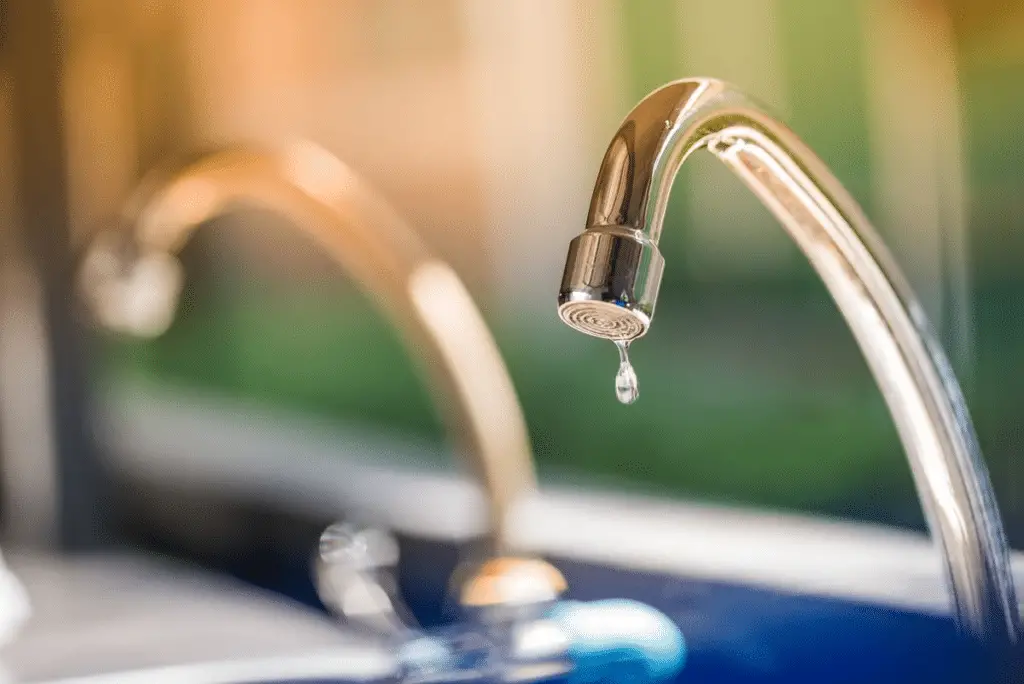
There are different types of leaks that can occur in a kitchen tap, such as constant dripping, intermittent leaking, or a sudden gush of water. Identifying the type of leak can help you determine the source of the problem. If the leak is continuous, it may be a sign of worn out seals or a cracked neck. On the other hand, intermittent leaks can be caused by loose fittings or faulty parts. Understanding the type of leak can guide you in addressing the issue effectively.
By conducting a visual inspection, monitoring water pressure, and identifying the type of leak, you can diagnose a leaking kitchen tap from the neck more accurately. This information will be valuable in deciding on the appropriate course of action to repair the tap and prevent further water damage in your kitchen.
When it comes to fixing a leaking kitchen tap, having the right tools is crucial to successfully addressing the issue. In this section, we’ll discuss the essential tools required to fix a leaking kitchen tap from the neck.
Required Tools for Fixing a Leaking Kitchen Tap
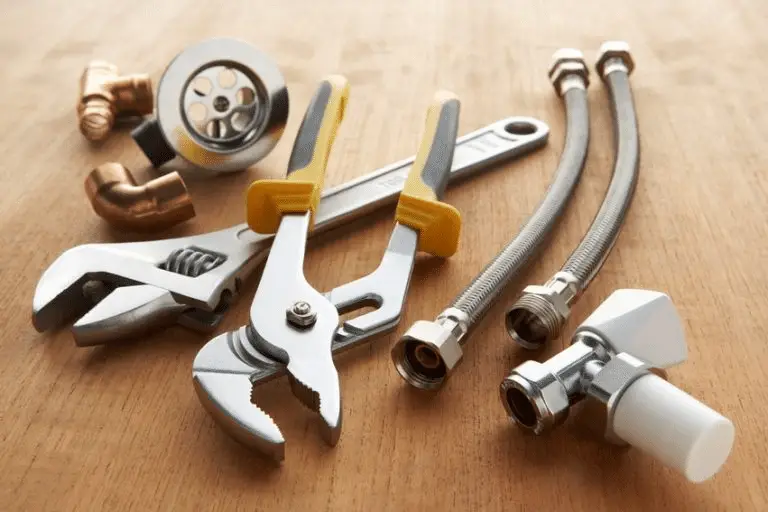
Before you begin attempting to repair a leaking tap, make sure you have the following tools on hand:
Wrench
A wrench is essential for loosening and tightening the various components of the tap. It will help you remove the handle and stem to access the internal parts that may be causing the leakage.
Screwdriver
A screwdriver will be needed to remove screws and bolts that hold the tap together. It’s important to have different types and sizes of screwdrivers to accommodate the various screws in the tap.
Plumber’s Tape
Plumber’s tape, also known as Teflon tape, is used to seal pipe threads to prevent leaks. Applying plumber’s tape to the threads of the tap components will help create a watertight seal and prevent future leaks.
Replacement Seals or Parts
If the cause of the leakage is worn-out seals or damaged parts, having replacement seals or parts on hand is essential. Make sure you identify the correct type and size of seals or parts needed for your specific tap before starting the repair.
Safety Equipment
When working on plumbing repairs, it’s important to prioritize safety. Wear gloves to protect your hands from sharp edges and potential cuts, and safety glasses to shield your eyes from any debris that may be dislodged during the repair process.
By having these essential tools and safety equipment ready, you’ll be well-equipped to tackle the task of fixing a leaking kitchen tap from the neck. Remember to approach the repair process with caution and follow the step-by-step guide to ensure a successful outcome.
Step-by-step guide to fixing a leaking kitchen tap from the neck
So, you’ve identified that the source of your kitchen tap leak is the neck. Don’t worry; with a few simple steps, you can tackle this issue like a pro. Here’s a detailed guide to help you fix your leaking kitchen tap:
1. Shut off the water supply
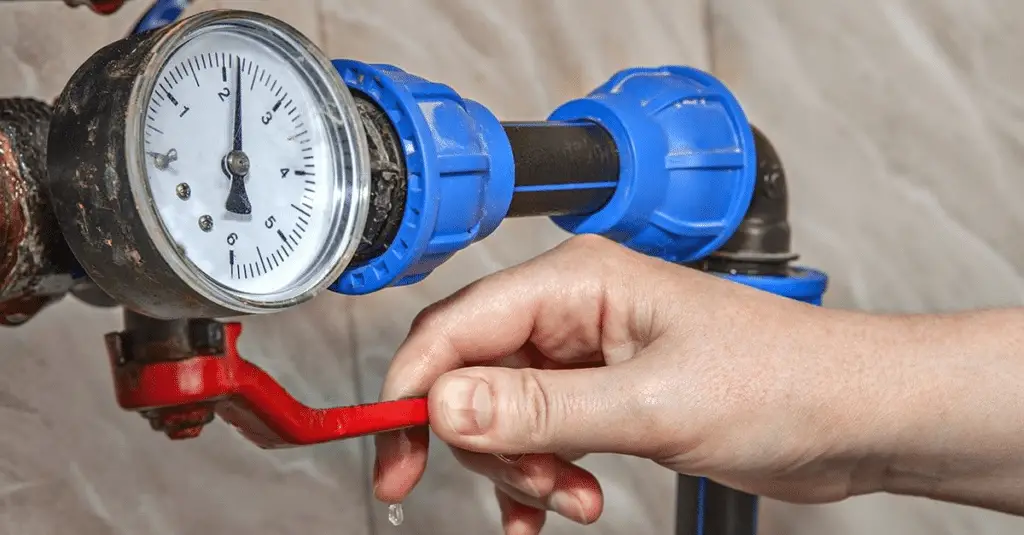
Before you start any repair work, it’s crucial to turn off the water supply to avoid any unexpected water spurts or leaks. Locate the shut-off valve under your sink and twist it clockwise to shut off the water flow.
2. Remove the tap handle
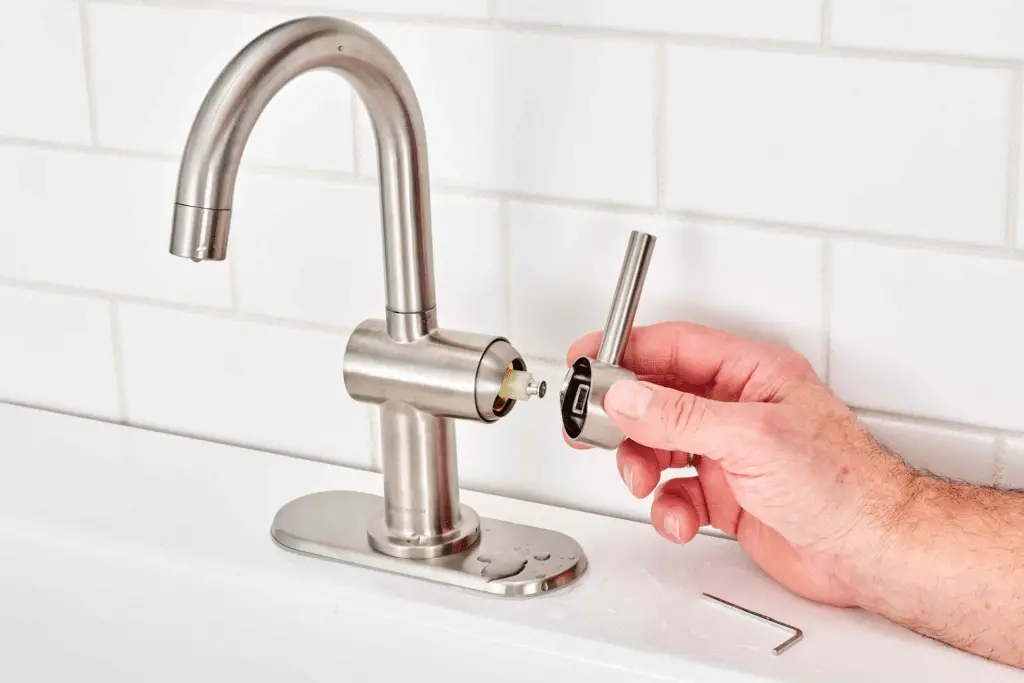
Using a screwdriver, carefully remove the screw that secures the tap handle in place. Once the screw is removed, gently pull off the handle to expose the inner components of the tap.
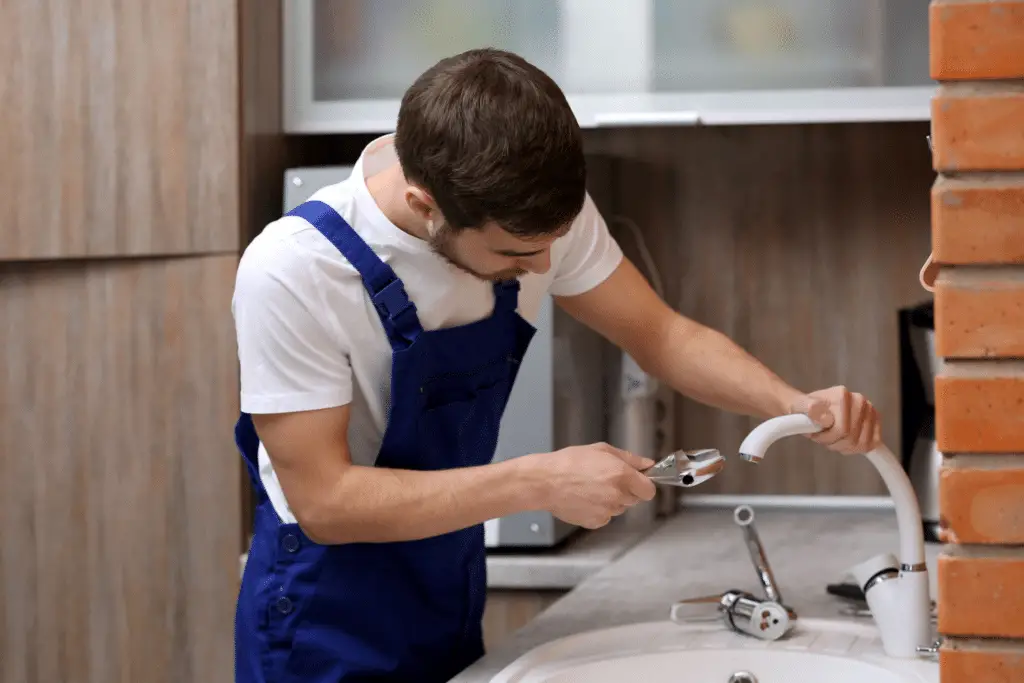
3. Inspect the neck for damage

Take a close look at the neck of the tap for any visible cracks, corrosion, or signs of wear and tear. If you notice any damage, it may be necessary to replace the neck to prevent further leakage.
4. Replace faulty parts

Inspect the seals and O-rings within the neck of the tap for any signs of damage or deterioration. These components are often the culprits behind a leaking tap. Replace any faulty seals or O-rings with new ones to ensure a tight seal and prevent future leaks.
5. Reassemble the tap

Once you’ve replaced the faulty parts, carefully reassemble the tap handle and screw it back into place. Make sure everything is securely tightened to prevent any wobbling or leaks.
6. Turn on the water supply
After completing the repair work, slowly turn on the water supply to test the tap for leaks. If you notice any drips or leaks, double-check the connections and tighten any loose components.
By following these simple steps, you can effectively fix a leaking kitchen tap from the neck and prevent any further water damage in your home. Remember, if you’re ever unsure or uncomfortable with performing the repairs yourself, don’t hesitate to call in a professional plumber for assistance.
When to call a professional for a leaking kitchen tap from the neck
So, you’ve tried to fix that pesky leaking kitchen tap from the neck, but the problem just won’t go away. Don’t worry; sometimes DIY solutions aren’t enough to tackle the root cause of the issue. Knowing when it’s time to call in the experts can save you time, money, and a lot of frustration.
Persistent Leakage
If you’ve followed all the necessary steps to fix the leaking tap, including replacing seals and tightening connections, but the leak persists, it’s time to admit defeat and seek professional help. A persistent leak could indicate a more significant underlying problem that requires the expertise of a trained plumber.
Major Issues
There are some issues that go beyond the realm of basic DIY troubleshooting. For instance, if you discover cracks in the pipes or realize that the water supply is inadequate, these are signs that the problem is more complex than you initially thought. Attempting to fix these issues without the proper knowledge and tools can lead to further damage and costly repairs.
Remember, it’s always better to be safe than sorry when it comes to plumbing problems. Trying to tackle a job that’s beyond your skill level can result in a bigger mess and a heftier bill in the long run. So, when in doubt, don’t hesitate to call in a professional plumber to assess and fix the leaking kitchen tap from the neck.
Wrap Up: Don’t Let the Drips Get You Down!
Hey there, DIY warriors! Remember, when it comes to a leaking kitchen tap from the neck, understanding the causes, diagnosing the issue, having the right tools, following a step-by-step guide, and knowing when to call in the pros are crucial. So, roll up your sleeves, grab those tools, and tackle that leak head-on. Don’t let those drips get you down – you’ve got this! Happy fixing!