
Tired of boring kitchen windows? Let’s explore the trendy world of subway tile around kitchen windows! Discover the beauty and practicality of this design trend, along with helpful tips for installation, design ideas, and maintenance.
Dive into the pros and cons, step-by-step installation guide, creative design recommendations, and effective cleaning strategies. Get ready to transform your kitchen with subway tiles around the window!


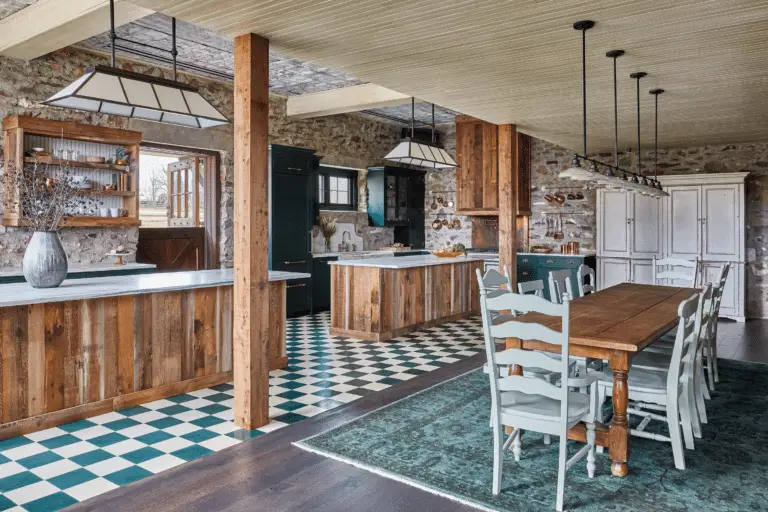
Introduction to Subway Tile around Kitchen Window
When it comes to kitchen design trends, subway tile has been a classic choice for decades. One area where subway tile shines is around the kitchen window. This design choice not only adds a touch of elegance to the kitchen but also serves a practical purpose. Let’s delve into why subway tile around the kitchen window is a popular option for homeowners.
Beauty and Practicality
Subway tile around the kitchen window offers a clean and timeless look that can complement a variety of kitchen styles. The sleek and simple design of subway tile provides a versatile backdrop that pairs well with both modern and traditional kitchen aesthetics. Additionally, the smooth surface of subway tile is ideal for areas prone to splashes and spills, making it a practical choice for the kitchen.

One of the main reasons why homeowners opt for subway tile around the kitchen window is its ability to reflect light and brighten up the space. The glossy finish of subway tile can help open up a small kitchen and create an illusion of depth, making the room feel more spacious and airy.
As subway tile continues to gain popularity in kitchen design, incorporating it around the kitchen window is a trend that combines beauty and functionality seamlessly.
Pros and Cons of Using Subway Tile around Kitchen Window
When it comes to choosing the perfect tile for your kitchen, subway tile is a timeless option that has gained immense popularity. One particular area where subway tile shines is around the kitchen window. Let’s delve into the pros and cons of using subway tile around the kitchen window to help you make an informed decision for your kitchen renovation.
Advantages of Using Subway Tile
One of the major advantages of subway tile around the kitchen window is its easy maintenance. The smooth surface of subway tile makes it easy to wipe off spills and splatters with a damp cloth, keeping your kitchen looking clean effortlessly.

Another key benefit of subway tile is its timeless appeal. The classic look of subway tile complements a variety of kitchen styles, from modern to traditional, making it a versatile choice for any kitchen decor.
Furthermore, subway tile offers flexibility in design. You can choose from a wide range of colors, patterns, and layouts to create a customized look that reflects your personal style. Whether you prefer a monochromatic design or a bold pattern, subway tile allows you to unleash your creativity.
Potential Challenges of Using Subway Tile
While subway tile is a popular choice for kitchen renovations, there are some potential challenges to consider. One of the main challenges is the installation process. Properly installing subway tile around a kitchen window requires precision and attention to detail to ensure a seamless finish. If you’re not experienced in tile installation, you may need to hire a professional to achieve the desired result.

Cost can also be a consideration when using subway tile. The price of subway tile can vary depending on the design, style, and brand you choose. It’s important to factor in the cost of materials and labor when planning your budget for a subway tile installation around the kitchen window.
In conclusion, subway tile around the kitchen window offers numerous benefits, including easy maintenance, timeless appeal, and design flexibility. However, it’s important to be aware of potential challenges such as installation difficulties and cost variations when choosing subway tile for your kitchen renovation.
Step-By-Step Guide to Installing Subway Tiles around Your Kitchen Window

When it comes to adding a touch of style and elegance to your kitchen, subway tiles are a timeless choice that never goes out of fashion. Installing subway tiles around your kitchen window can elevate the overall look of the space and create a cohesive design. If you are a DIY enthusiast looking to take on this project, here is a step-by-step guide to help you through the process:
1. Prepare the Surface
Before you start installing the subway tiles, make sure the area around your kitchen window is clean and free of any debris. Remove any existing tiles or backsplash and ensure that the surface is smooth and level. Use a level to check for any uneven areas that may need to be corrected before proceeding.
2. Measure and Plan the Layout
Measure the area around your kitchen window where you will be installing the subway tiles. Plan out the layout of the tiles to ensure a symmetrical and visually appealing design. Start by finding the center point of the window and work your way outwards, keeping in mind any cut tiles that may be necessary to fit around the window frame.
3. Apply the Adhesive
Using a trowel, apply a thin layer of tile adhesive to the surface where you will be placing the subway tiles. Make sure to work in small sections to prevent the adhesive from drying out before you can place the tiles. Press each tile firmly into the adhesive, using tile spacers to maintain an even grout line between each tile.
4. Cut and Place the Tiles

If you need to cut any tiles to fit around the window frame or into tight spaces, use a tile cutter or wet saw to make precise cuts. Carefully place each tile onto the adhesive, following your planned layout. Double-check the alignment and spacing of the tiles as you go to ensure a professional-looking finish.
5. Grout the Tiles
Once all the subway tiles are in place and the adhesive has dried, it’s time to grout the tiles. Mix the grout according to the manufacturer’s instructions and use a grout float to fill the spaces between the tiles. Wipe away any excess grout with a damp sponge, being careful not to remove too much grout from between the tiles.
6. Seal the Grout

After the grout has had time to cure, apply a grout sealer to protect it from stains and moisture. Use a small brush to carefully apply the sealer to the grout lines, ensuring complete coverage. Allow the sealer to dry completely before using the area around your kitchen window.
By following this step-by-step guide, you can successfully install subway tiles around your kitchen window and enjoy the beautiful and practical benefits they bring to your space. Don’t be afraid to get creative with different tile patterns and colors to truly personalize the design to suit your style. Happy tiling!
Design and Style Ideas for Subway Tiles around Kitchen Window
When it comes to designing the subway tiles around your kitchen window, the possibilities are endless. By incorporating various colors, patterns, and layouts, you can create a truly unique and eye-catching look for your kitchen. Let’s explore some innovative design recommendations to make your subway tiles stand out.
1. Play with Colors

One of the easiest ways to add personality to your kitchen is by playing with different tile colors. While classic white subway tiles are timeless and versatile, consider mixing in some colored tiles to create a vibrant and eclectic look. Soft pastel hues like pale blue or mint green can add a refreshing pop of color to your kitchen, while darker shades like navy or charcoal can bring a touch of sophistication.
2. Experiment with Patterns
Don’t be afraid to experiment with different tile patterns to add visual interest to your kitchen. Consider incorporating herringbone, basketweave, or chevron patterns to create a dynamic and stylish look. You can also mix and match different patterns within the same color palette for a cohesive yet eclectic design.
3. Opt for Unique Layouts

Instead of the traditional brick pattern, consider opting for a different layout to make your subway tiles stand out. Vertical or diagonal layouts can create a modern and unexpected look, while a stacked layout can give a clean and contemporary feel to your kitchen. Play around with different layouts to find the one that best suits your style.
By incorporating these design and style ideas, you can elevate the look of your kitchen and make the subway tiles around your window a focal point of the room. Remember, the key is to have fun and let your creativity shine through!
Maintenance and Cleaning Tips for Subway Tiles around Kitchen Window

Subway tiles are a popular choice for kitchens due to their timeless appeal and easy maintenance. However, to keep the subway tiles around your kitchen window looking fresh and clean, regular cleaning and maintenance are essential. Here are some effective tips to help you maintain the beauty of your subway tiles:
1. Regular Cleaning
One of the best ways to ensure your subway tiles around the kitchen window stay looking their best is by incorporating regular cleaning into your routine. Use a mild detergent or a mixture of water and vinegar to gently clean the tiles. Avoid harsh chemicals that can damage the tile surface.
2. Grout Maintenance
Grout plays a crucial role in the overall appearance of subway tiles. Over time, grout can discolor or collect dirt and grime. To maintain the cleanliness of the grout, regularly scrub it with a grout brush and a mixture of water and baking soda. This will help prevent mold and mildew buildup.
3. Seal the Tiles
Sealing your subway tiles can help protect them from stains and maintain their appearance for longer. Make sure to use a high-quality tile sealer that is suitable for your specific type of subway tile. Follow the manufacturer’s instructions for application to ensure proper sealing.
4. Avoid Abrasive Cleaners
Avoid using abrasive cleaners or scouring pads on your subway tiles, as they can scratch the surface and cause damage. Stick to gentle cleaning solutions and soft cloths to maintain the integrity of the tiles and keep them looking like new.
5. Address Stains Promptly
If you notice any stains or spills on your subway tiles, it’s essential to address them promptly to prevent them from setting in. Blot up spills immediately and use a gentle cleaner to remove any residue. Avoid letting stains sit for too long, as they can become more challenging to remove over time.
By following these maintenance and cleaning tips, you can ensure that your subway tiles around the kitchen window remain beautiful and in top condition for years to come.
Parting Thoughts on Embracing Subway Tile Magic

As you dive into the world of subway tiles around your kitchen window, remember this: simplicity is key, but creativity is your ally. Embrace the timeless appeal and practicality of subway tiles, but don’t be afraid to add your own twist. From installation woes to design dilemmas, there’s always a solution waiting to be uncovered.
So, roll up your sleeves, grab those tiles, and let your kitchen window shine with subway tile magic! Cheers to a stylish and functional addition to your home!