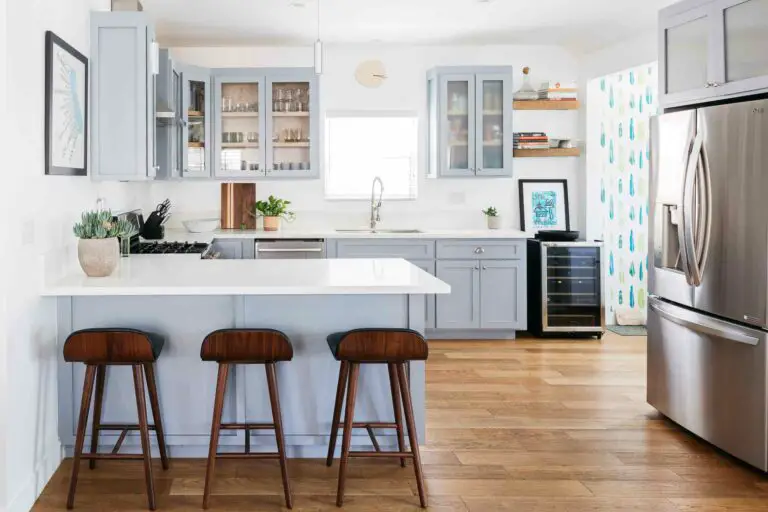

Hey there! Have you ever considered the benefits of installing under-cabinet lighting in your kitchen? From enhancing visibility to creating a cozy ambiance, under-cabinet lighting can make a world of difference in your space.
In this blog post, we’ll dive into the different types of under-cabinet lighting, tools needed for installation, step-by-step guide, maintenance tips, and troubleshooting solutions. Get ready to illuminate your kitchen like a pro!
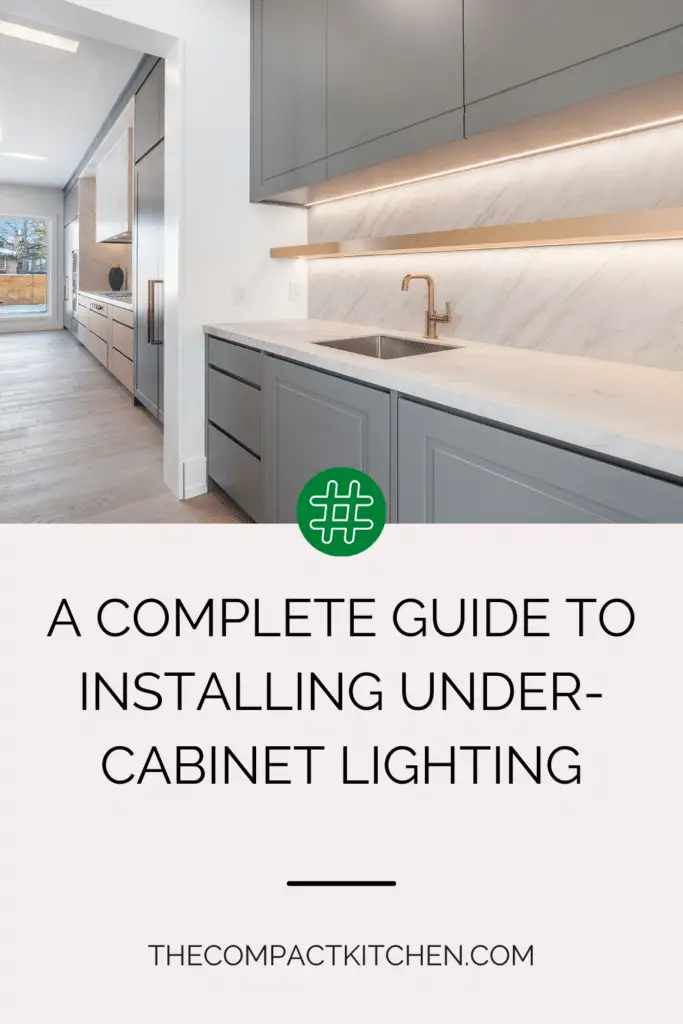

Introduction to Under-Cabinet Lighting
So, you’ve decided it’s time to brighten up your kitchen or workspace with some under-cabinet lighting. Smart choice! Let’s shed some light on why installing under-cabinet lighting is more than just a bright idea.

First off, have you ever struggled to see what you were chopping on the kitchen counter or had a hard time reading a recipe because of poor lighting? That’s where under-cabinet lighting comes to the rescue. Not only does it enhance visibility, but it also adds a touch of elegance and ambiance to your space.
Picture this: you’re cooking dinner and need to dice some onions. With under-cabinet lighting, you’ll have a well-lit workspace, making meal prep a breeze. Plus, if you’re working in your home office or workshop, under-cabinet lighting can provide the perfect task lighting to focus on your projects without straining your eyes.
Different Types of Under-Cabinet Lighting
Now that you understand the importance of under-cabinet lighting, let’s dive into the different types available on the market. When it comes to illuminating the space under your cabinets, there are various options to choose from, each with its own set of pros and cons.
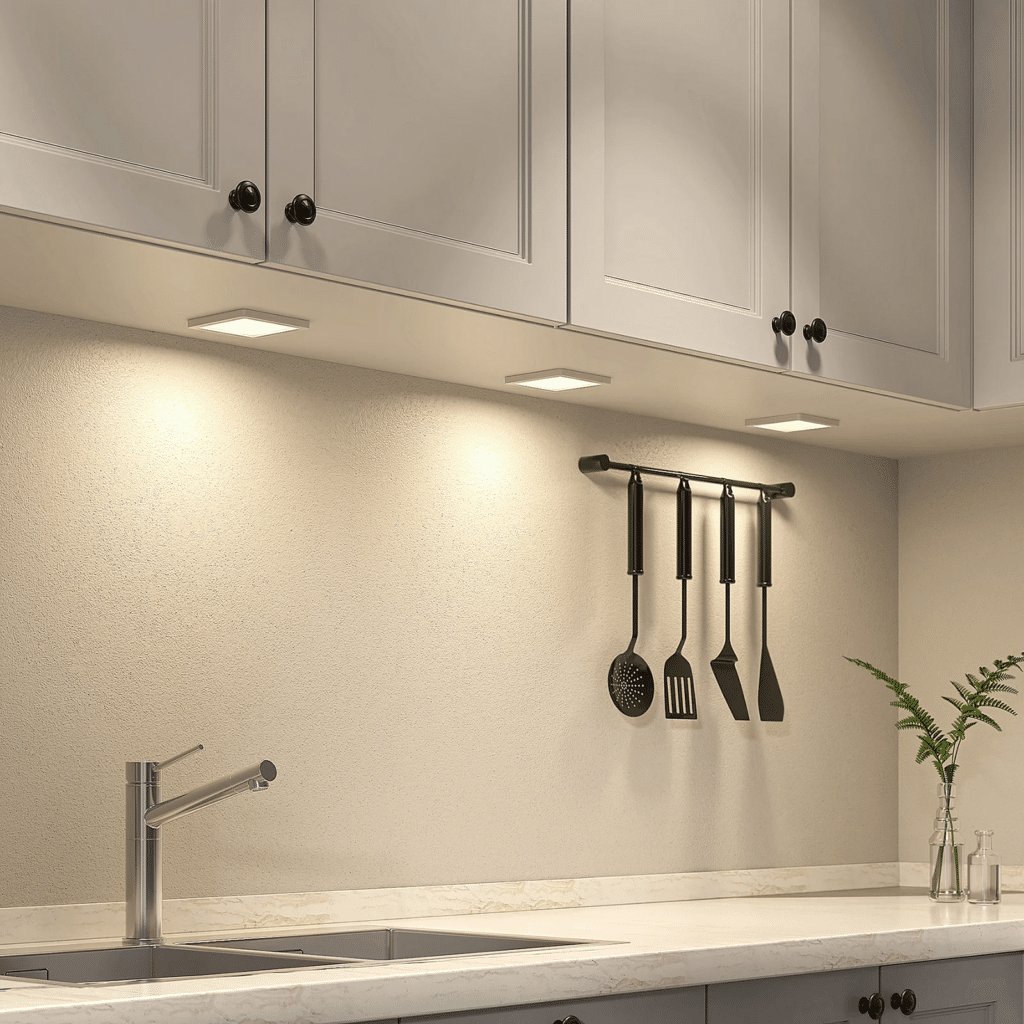
LEDs: Bright and Energy-Efficient
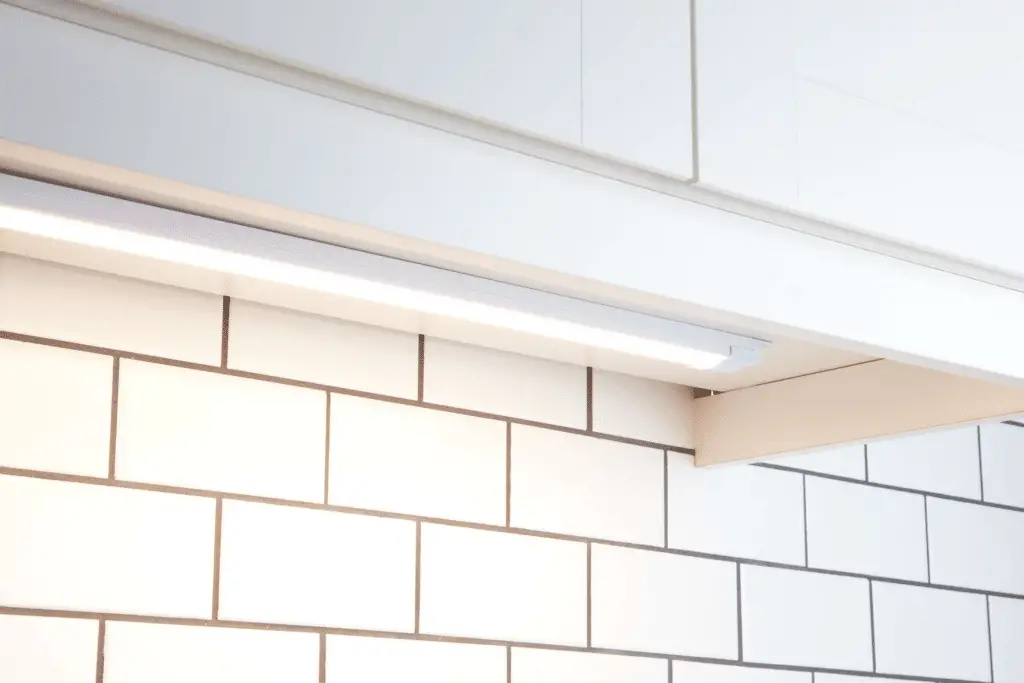
LED lights have gained popularity in recent years for their energy efficiency and brightness. These lights are long-lasting and produce minimal heat, making them a safe choice for under-cabinet lighting. Additionally, LEDs come in a variety of color temperatures, allowing you to customize the ambiance of your kitchen.
Strip Lights: Versatile and Easy to Install

Strip lights are flexible, adhesive-backed strips that can be easily attached to the underside of cabinets. They provide even lighting and come in various lengths to accommodate different cabinet sizes. Strip lights are a versatile option that can be cut to fit specific areas, making them ideal for custom installations.
Puck Lights: Spotlights for Task Lighting
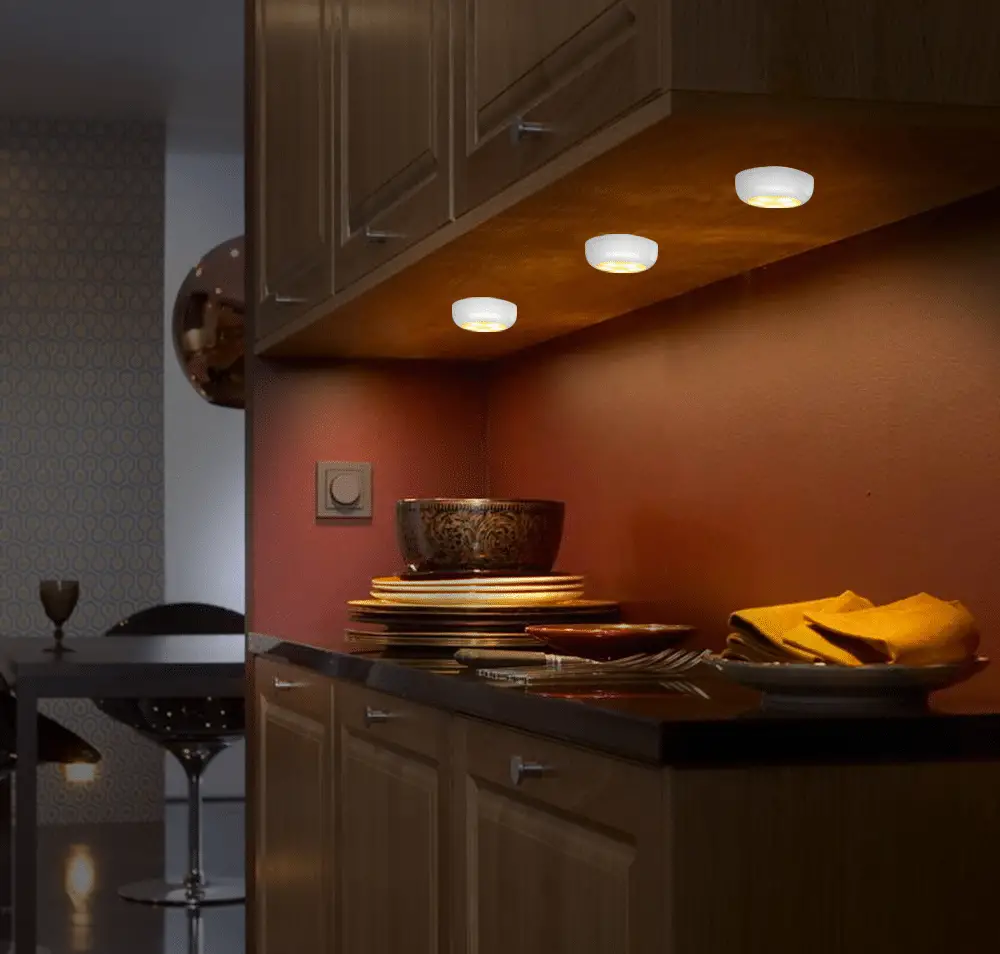
Puck lights are small, round fixtures that provide focused task lighting. These lights are perfect for highlighting specific areas on your countertop, such as your cooking or food prep space. Puck lights are easy to install and can be grouped together for a more dramatic effect.
Fluorescent Lights: Cost-Effective and Bright

Fluorescent lights are a budget-friendly option for under-cabinet lighting. While they may not be as energy-efficient as LEDs, fluorescent lights still provide ample illumination for your workspace. These lights are available in various lengths and color temperatures to suit your kitchen’s design.
When choosing the right type of under-cabinet lighting for your kitchen, consider factors such as brightness, energy efficiency, installation ease, and cost. Each type of lighting has its own unique characteristics, so be sure to select the option that best suits your needs and preferences.
Tools and Materials Needed for Installation
As you gear up to install your under-cabinet lighting, it’s crucial to have the right tools and materials on hand to ensure a smooth and successful installation process. Here is a list of essential items you’ll need:
Tools:
1. Power Drill: A power drill is essential for making holes in the cabinets to pass wires and mount the lights securely. Make sure you have the appropriate drill bits for your specific cabinet material.
2. Screwdriver: Depending on the type of under-cabinet lighting you choose, you may need a screwdriver to attach the lights or mounting brackets to the cabinets.
3. Wire Strippers: You’ll need wire strippers to properly prepare the wires for connection to the power source.
4. Level: A level will help you ensure that your lights are mounted straight and evenly across the cabinets.
5. Pencil: A pencil will come in handy for marking the placement of the lights and any holes that need to be drilled.
Materials:
1. Under-Cabinet Lights: Choose the type of under-cabinet lighting that best suits your needs, whether it’s LED strip lights, puck lights, or linear lights.
2. Mounting Hardware: Make sure you have the appropriate screws and mounting brackets to secure the lights to the cabinets.
3. Wire Nuts: Wire nuts are essential for connecting the wires of the lights to each other and to the power source.
4. Electrical Tape: Electrical tape will help secure the wire connections and provide insulation.
5. Power Source: Depending on the type of lighting you choose, you may need a plug-in adapter, a hardwired transformer, or a battery pack as the power source.
When it comes to purchasing or renting the tools and materials needed for installing under-cabinet lighting, you have several options. You can visit your local home improvement store, hardware store, or even search online for retailers that offer these supplies. Some stores may also provide rental services for tools if you prefer not to invest in purchasing them outright.
Step-by-Step Guide to Installing Under-Cabinet Lighting

Planning and Preparation
Before you start drilling holes and mounting lights, take some time to plan out your installation. Consider where you want to place the lights, how many you’ll need, and what type of under-cabinet lighting will work best for your space. Measure the length of the cabinets where you’ll be installing the lights and make note of any obstacles or challenges you may encounter during the installation.
Once you have a solid plan in place, gather all the tools and materials you’ll need for the installation. This may include power tools, mounting brackets, screws, wires, and of course, the under-cabinet lights themselves. Make sure you have everything on hand before you begin to avoid any unnecessary delays.
Installation Process
Now that you’re fully prepared, it’s time to start the installation process. Begin by turning off the power to the area where you’ll be working to avoid any electrical mishaps. Use a stud finder to locate the studs in the wall where you’ll be mounting the lights, and mark their positions with a pencil.
Next, use a drill to create holes for the mounting brackets or screws that will hold the lights in place. Be sure to follow the manufacturer’s instructions for proper placement and spacing of the lights. Once the brackets are installed, you can then attach the lights to the brackets securely.
If you’re installing LED strip lights, carefully peel off the adhesive backing and press the lights firmly into place under the cabinets. For puck lights, you may need to drill holes for the wiring and connectors to pass through before mounting the lights themselves.
Tips and Warning Signs
As you’re installing the under-cabinet lighting, keep an eye out for any warning signs of potential issues. If the lights flicker or dim unexpectedly, there may be a loose connection or a faulty bulb. Double-check all your connections and replace any faulty components as needed.
Additionally, make sure you test the lights before fully securing them in place to ensure they’re working correctly. Wires should be neatly tucked away and secured to prevent any tripping hazards or accidental damage to the lights.
Finally, once the lights are installed and working properly, take a step back and admire your handiwork. The warm glow of under-cabinet lighting can truly transform a space and add a touch of elegance and functionality. Congratulations on a job well done!
Maintaining and Troubleshooting Under-Cabinet Lighting
So, you’ve successfully installed your under-cabinet lighting and now you want to make sure it keeps shining bright for years to come. Just like any other household appliance, regular maintenance is key to ensuring your under-cabinet lighting stays in top condition. Here are some tips on how to maintain your lighting and troubleshoot any issues that may arise.
Maintenance Tips for Under-Cabinet Lighting
Just like changing the oil in your car or trimming the hedges in your garden, maintaining your under-cabinet lighting should be part of your regular home care routine. Here are some tips to keep your lighting looking and functioning its best:
- Wipe down the lights and fixtures regularly to remove dust and debris that can accumulate over time. A simple microfiber cloth or damp paper towel will do the trick.
- Check the wiring and connection points periodically to ensure everything is secure and in good condition. Loose wires or connections can lead to flickering lights or even a complete outage.
- Inspect the bulbs for any signs of dimming or discoloration, and replace them as needed. Maintaining the proper lighting level is essential for both functionality and aesthetics.
- Consider investing in a surge protector to protect your under-cabinet lighting from power surges and voltage spikes that can damage the fixtures and bulbs.
By following these simple maintenance tips, you can prolong the life of your under-cabinet lighting and ensure it continues to enhance your space for years to come.
Troubleshooting Common Issues
Despite your best efforts to maintain your under-cabinet lighting, issues can still arise from time to time. Here are some common problems you may encounter and tips on how to troubleshoot them:
- Flickering Lights: If your under-cabinet lighting is flickering, it could be a sign of a loose connection or a faulty bulb. Check the wiring and connection points first, and if that doesn’t solve the issue, try replacing the bulb.
- Hot Spots: Hot spots can occur when the bulbs are not evenly spaced or when the fixtures are too close to the countertop. Adjust the position of the fixtures or consider switching to diffused light bulbs to eliminate hot spots.
- Uneven Lighting: If you notice uneven lighting under your cabinets, it could be due to poor installation or a lack of proper spacing between the fixtures. Make sure the fixtures are evenly spaced and positioned at the correct angle for optimal lighting distribution.
- Complete Outage: If your under-cabinet lighting stops working altogether, check the power source first to ensure it’s not a simple issue like a tripped circuit breaker. If the power source is fine, it may be a more serious wiring problem that requires professional assistance.
By following these troubleshooting tips and solutions, you can address common under-cabinet lighting issues quickly and effectively, ensuring your space remains well-lit and inviting.
Shine Bright Like a Diamond with Under-Cabinet Lighting!
In conclusion, under-cabinet lighting is the secret sauce to elevate your space. From highlighting culinary creations to creating a cozy ambiance, the benefits are endless. Remember, choosing the right type, having the necessary tools, and following a step-by-step guide are key to a successful installation. So, light up your life with under-cabinet lighting and say goodbye to dark corners! It’s time to shine bright like a diamond in your home.